

I needed some giant boulders for scatter terrain. You know, the ones seen in almost every Western since the beginning of movies. Not just rocky ground, but a boulder big enough for a gang of outlaws to hide behind while waiting for the stage to come by.
Now I don’t own a large amount of foam or a fancy foam cutter. I’d rather spend my hobby budget on miniatures than on ready built terrain. So what’s a girl to do? Luckily, I found some websites teaching us how to build terrain using a material I have in abundance – cardboard.
You’re in for a treat! In this post you’ll get to see how a klutzy woman who hates crafting builds a piece of scatter terrain.
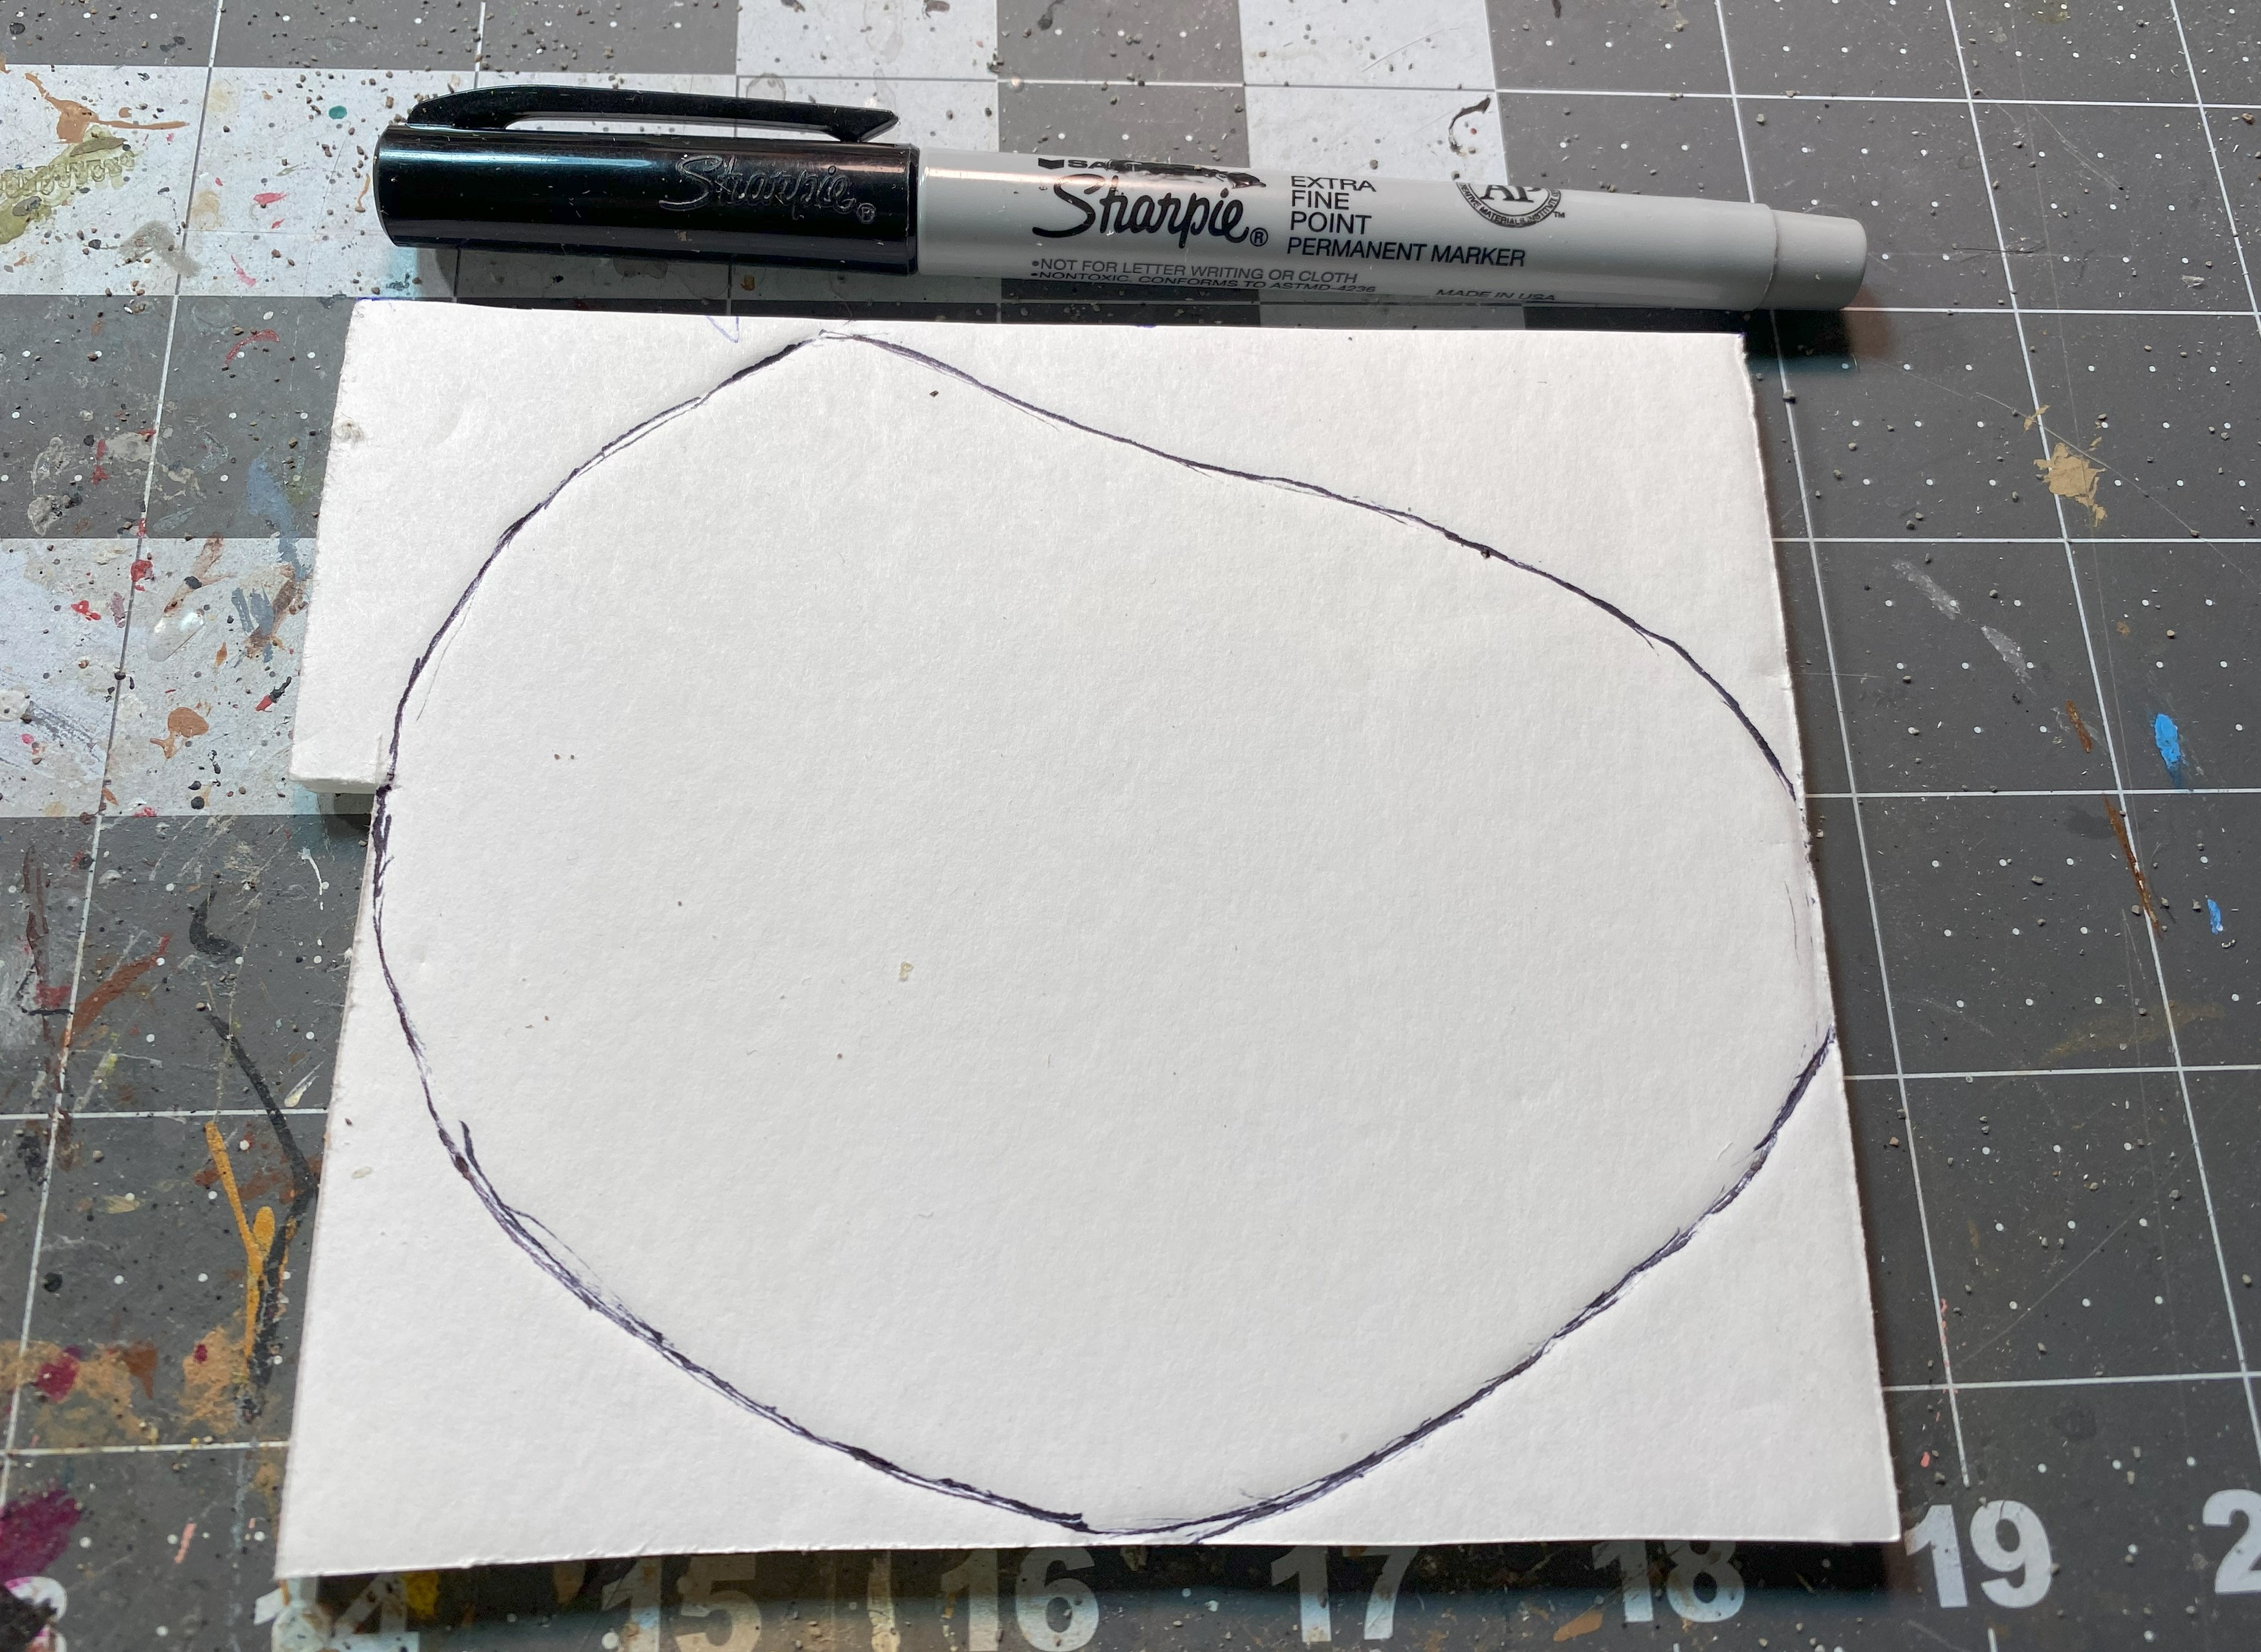
I start with about a 4-inch piece of foamcore board with the paper removed. I like for my scatter terrain pieces to be about 4 inches wide. Onto the foam I use a sharpie (the kind used by orange-skinned fascists) and draw an oval jellybean like pattern.
Next, I cut out the shape; beveled and sanded the edge. I’m finished with the base for now, so I set it aside. What follows is to cut out the general shape of the giant boulder from pieces of corrugated cardboard and stack the pieces until you get the shape and height of the boulder. Glue these pieces onto the base like a stack of pancakes.


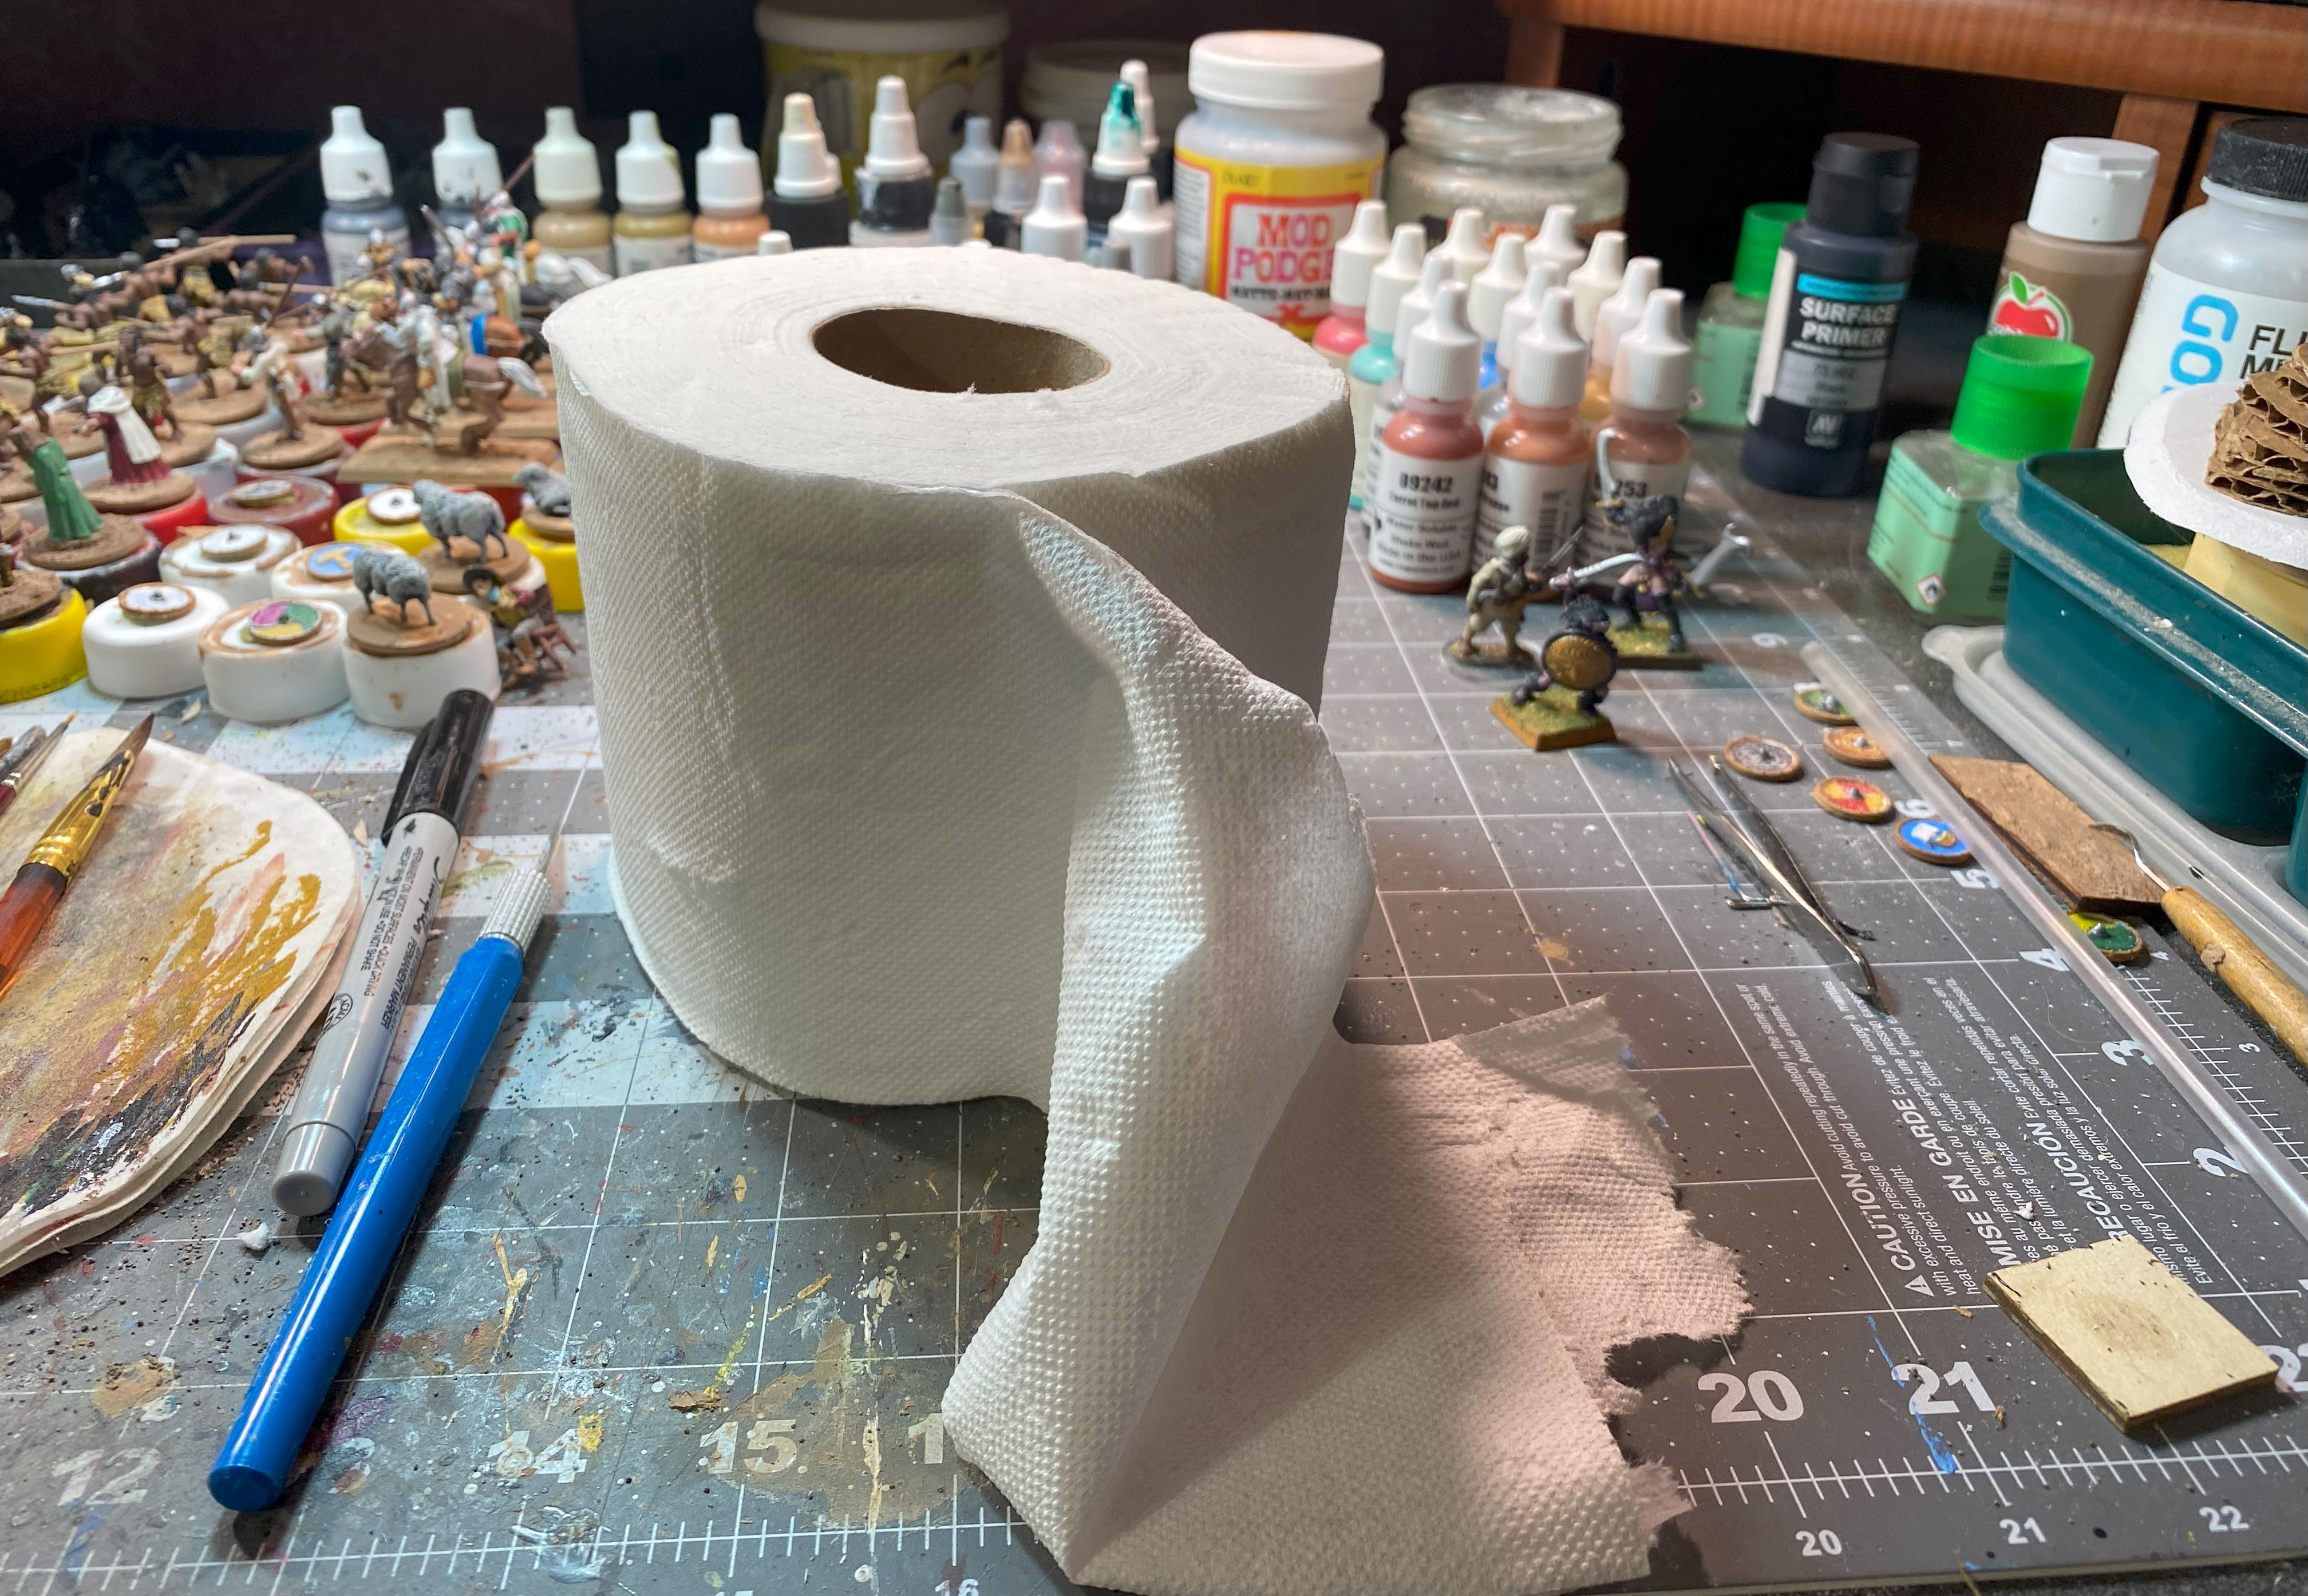
Are you old enough to remember the Red Green Show on PBS? Uncle Red often told us that the handy man’s secret weapon was duct tape. I’ve found out that tabletop crafters also have a secret weapon – toilet paper. “Texture paper” is what some of the crafters call it. In this next step, I slather the stack of cardboard pancakes with thinned PVA glue (about a 50-50 mix of glue and water) and wrap it in toilet paper. Use the back of your paint brush to push the paper into nooks and crannies as desired.

Once you have the paper on the way you want, apply another coat of glue to seal it. Then set the entire thing aside to dry for a few hours.
The next step is to cover the base with sand or texture paste. I used some Woodlands Scenics small ballast I bought decades ago.

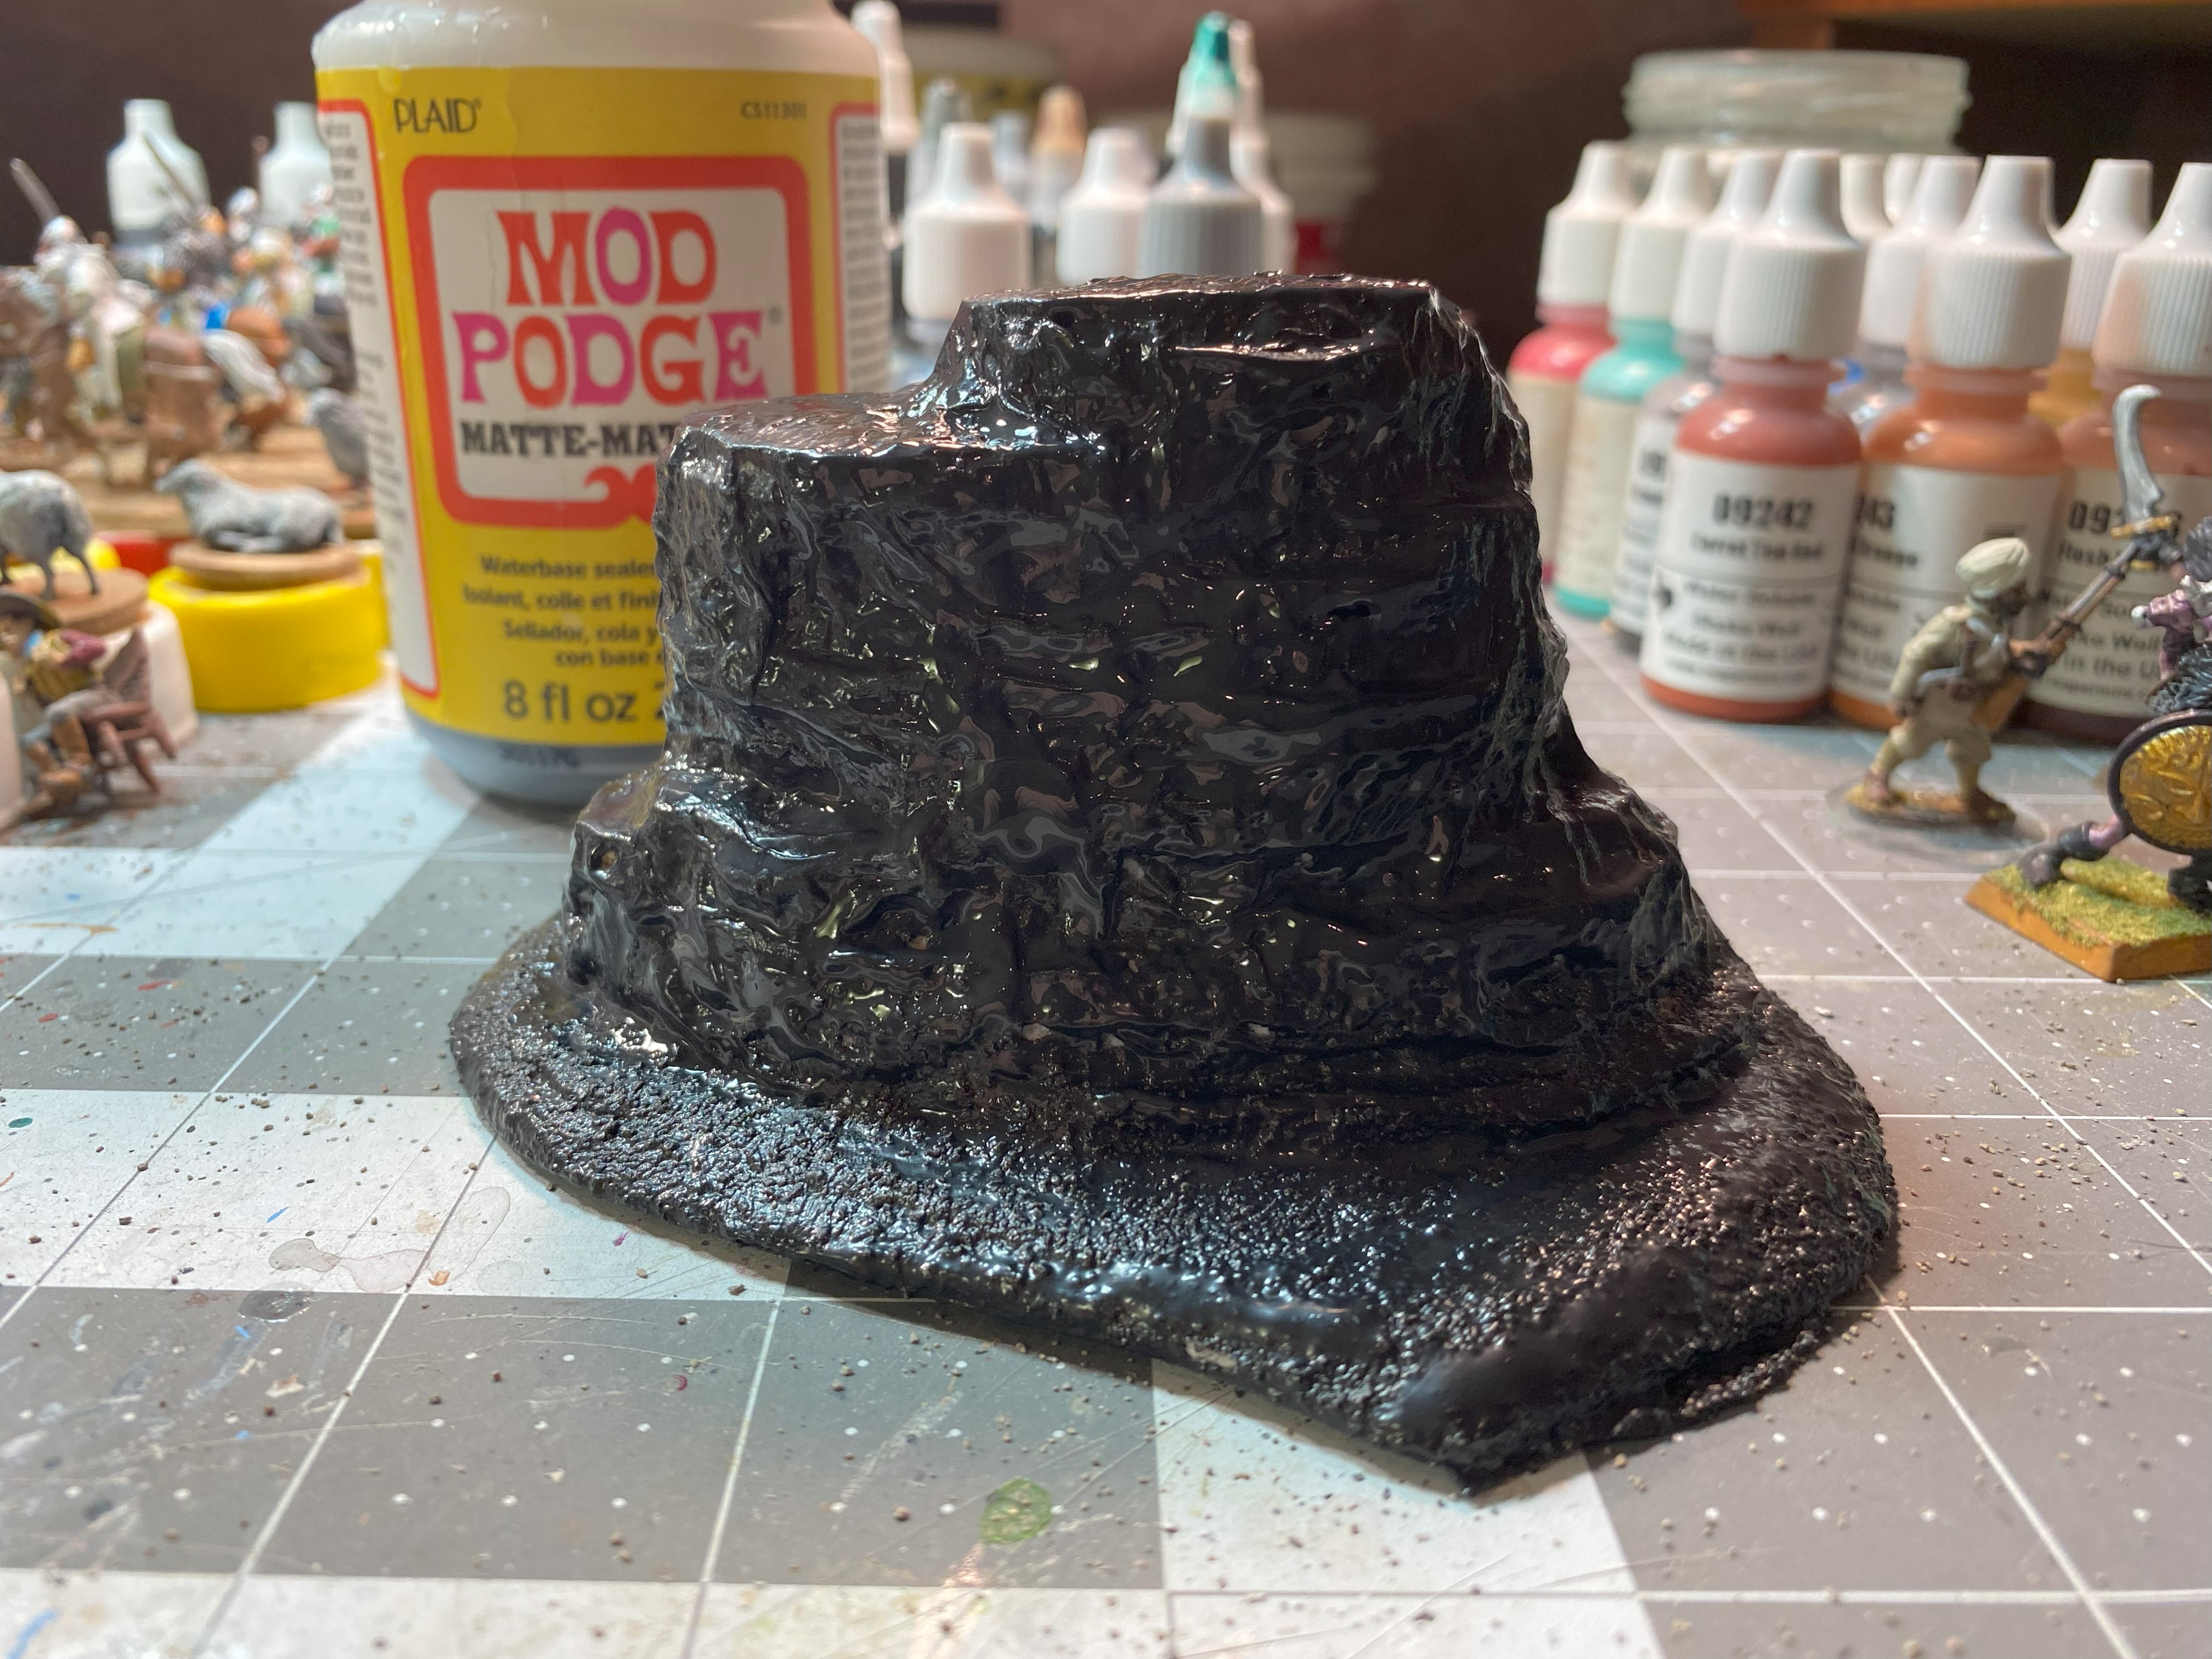
When that is dry, it is time for an important step to make the terrain piece more durable so it can be used in many games over many years. That step is to seal the piece using Mod Podge. Mod Podge is a type of hybrid glue and varnish. I’ve also done what many crafters do and that is to mix some black paint in the Mod Podge to prime the model for painting.
Once the entire piece, including the bottom, has been coated with the black Mod Podge mixture, it is set aside to dry for a few hours. Crafters claim that coating the underside with Mod Podge helps prevent warping. I don’t know if this is true, but pieces I’ve undercoated this way have not warped yet.
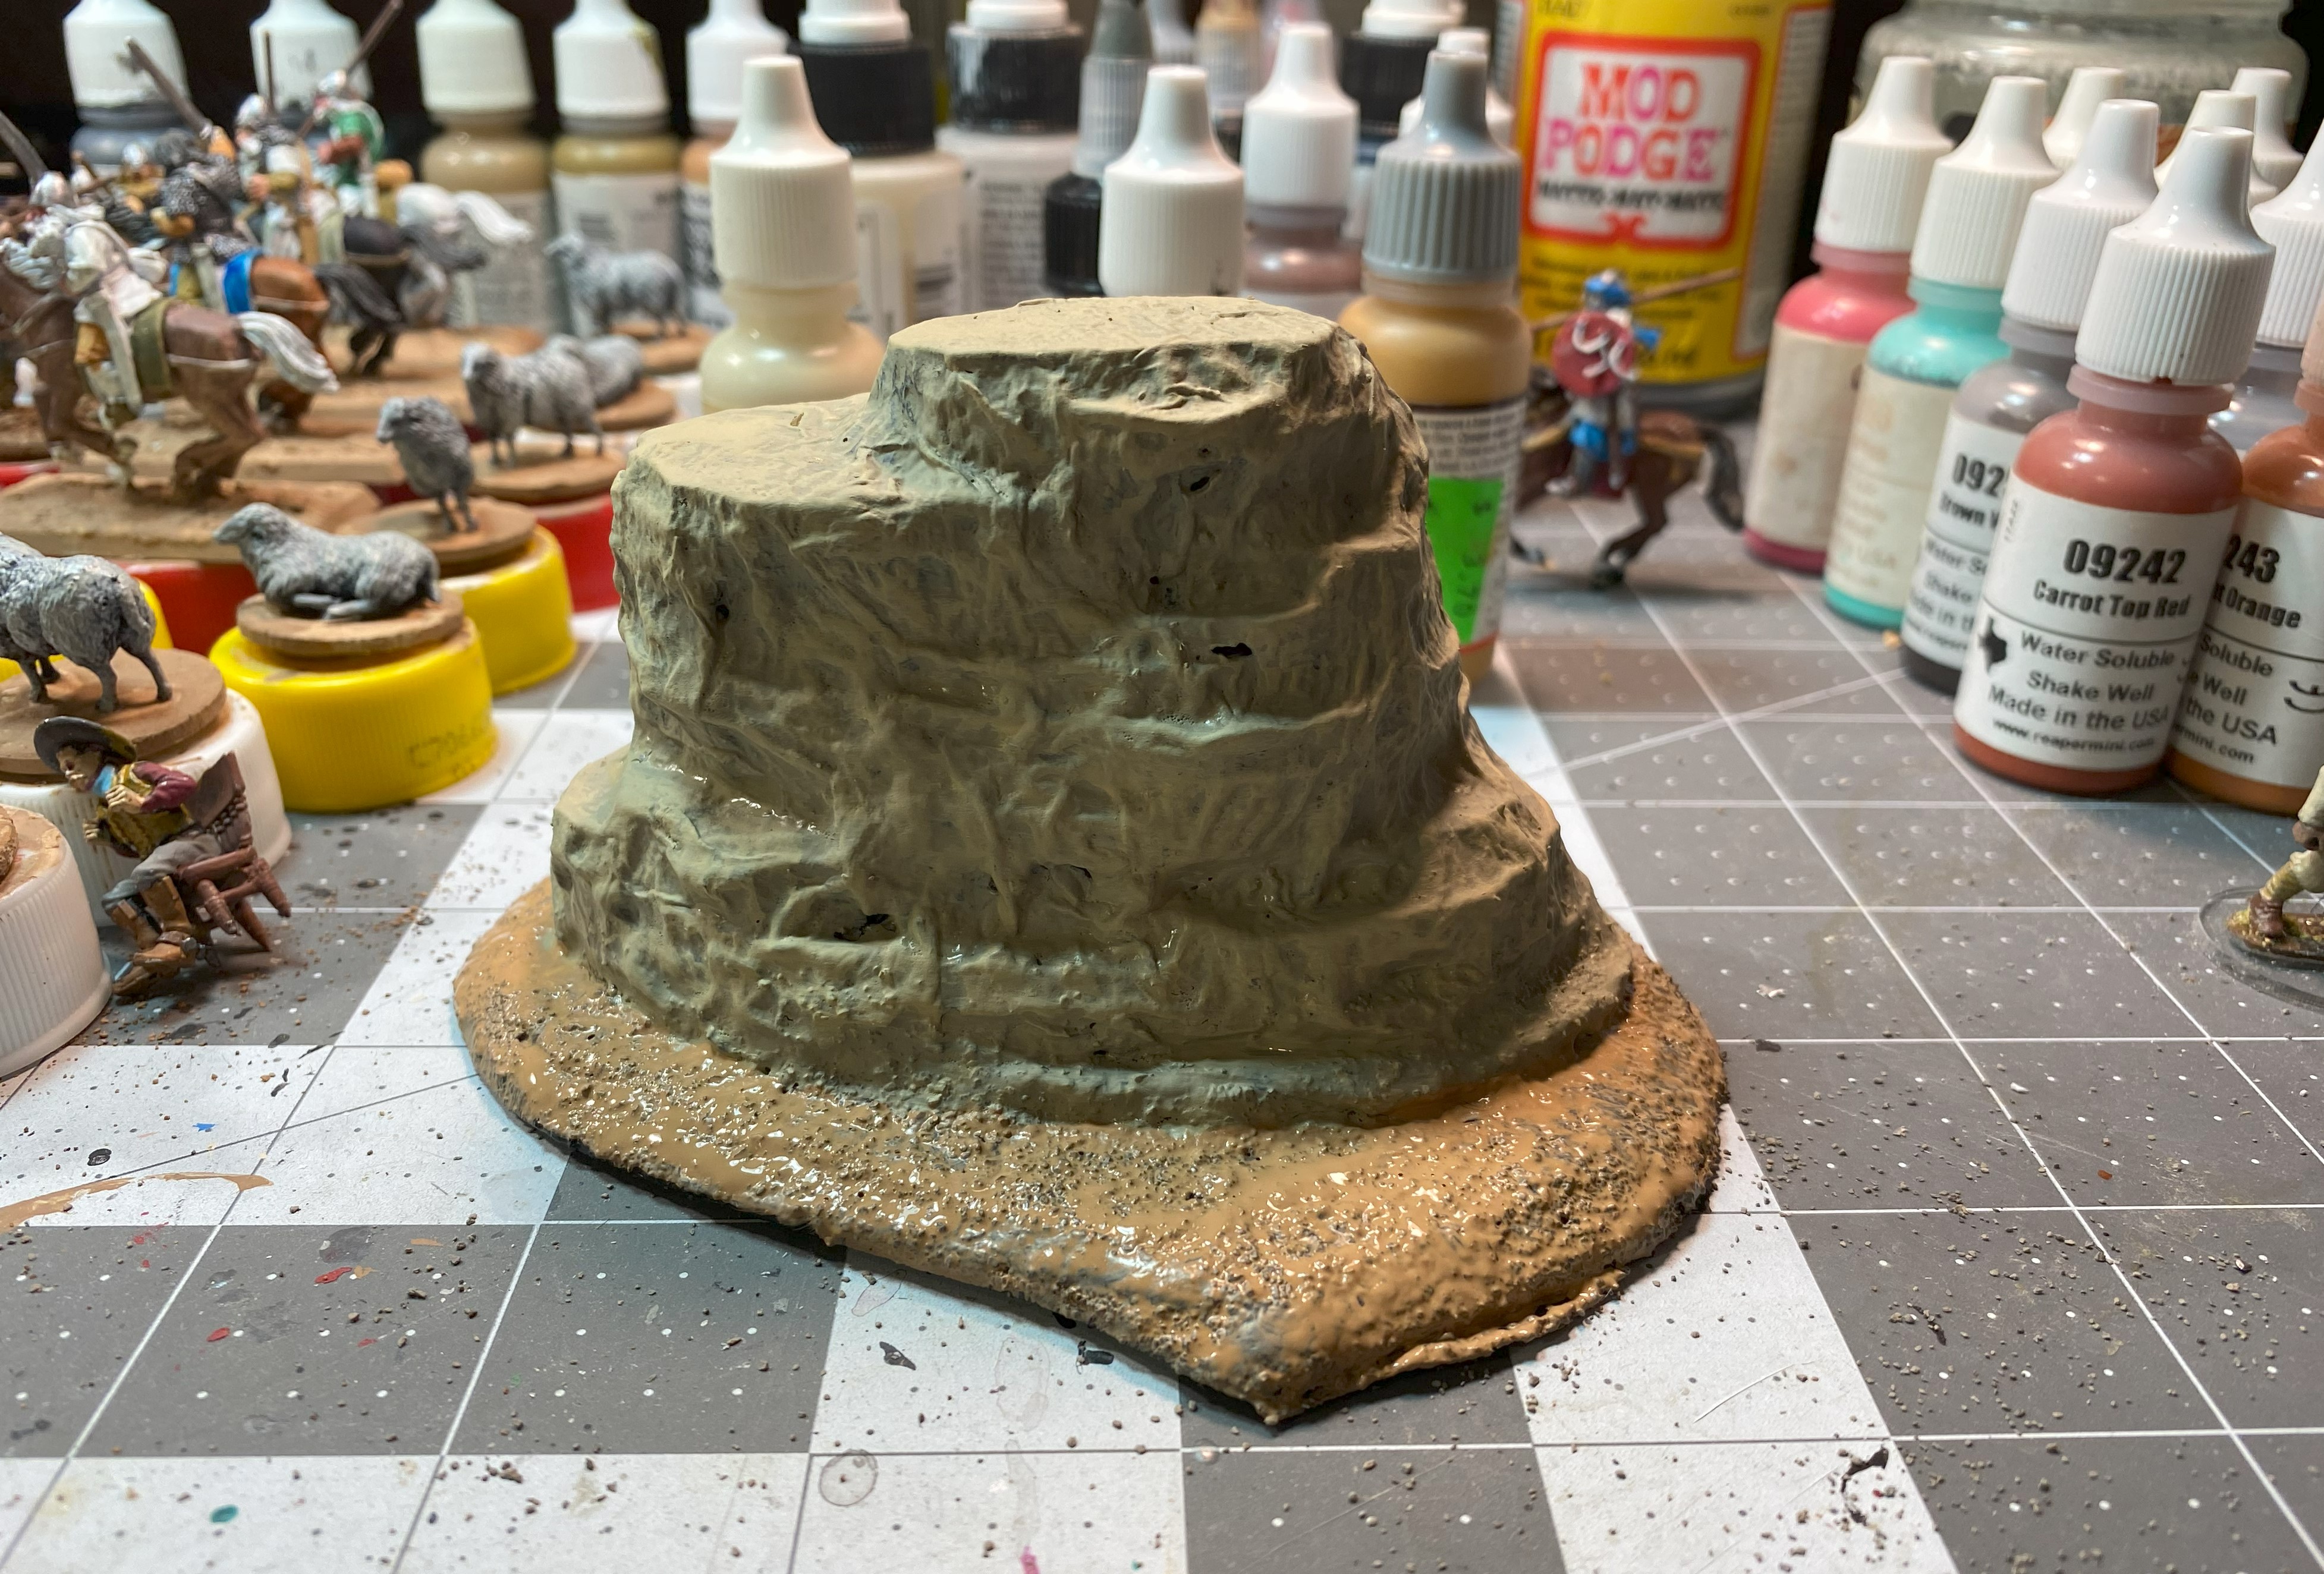
I know that commercially available terrain as well as many crafters paint stone and rocks in grays with tan highlights. But in the part of the world in which I live rocks are not gray except for the occasional pieces of flint the plow would bring up. In fact, I was in my mid-teens when on a high school band trip to Denver before I ever saw rocks that were gray. The part of the world I grew up in was once an ancient seabed. Lots of limestone, sandstone, red stone and in some places in the panhandle, pink stone.
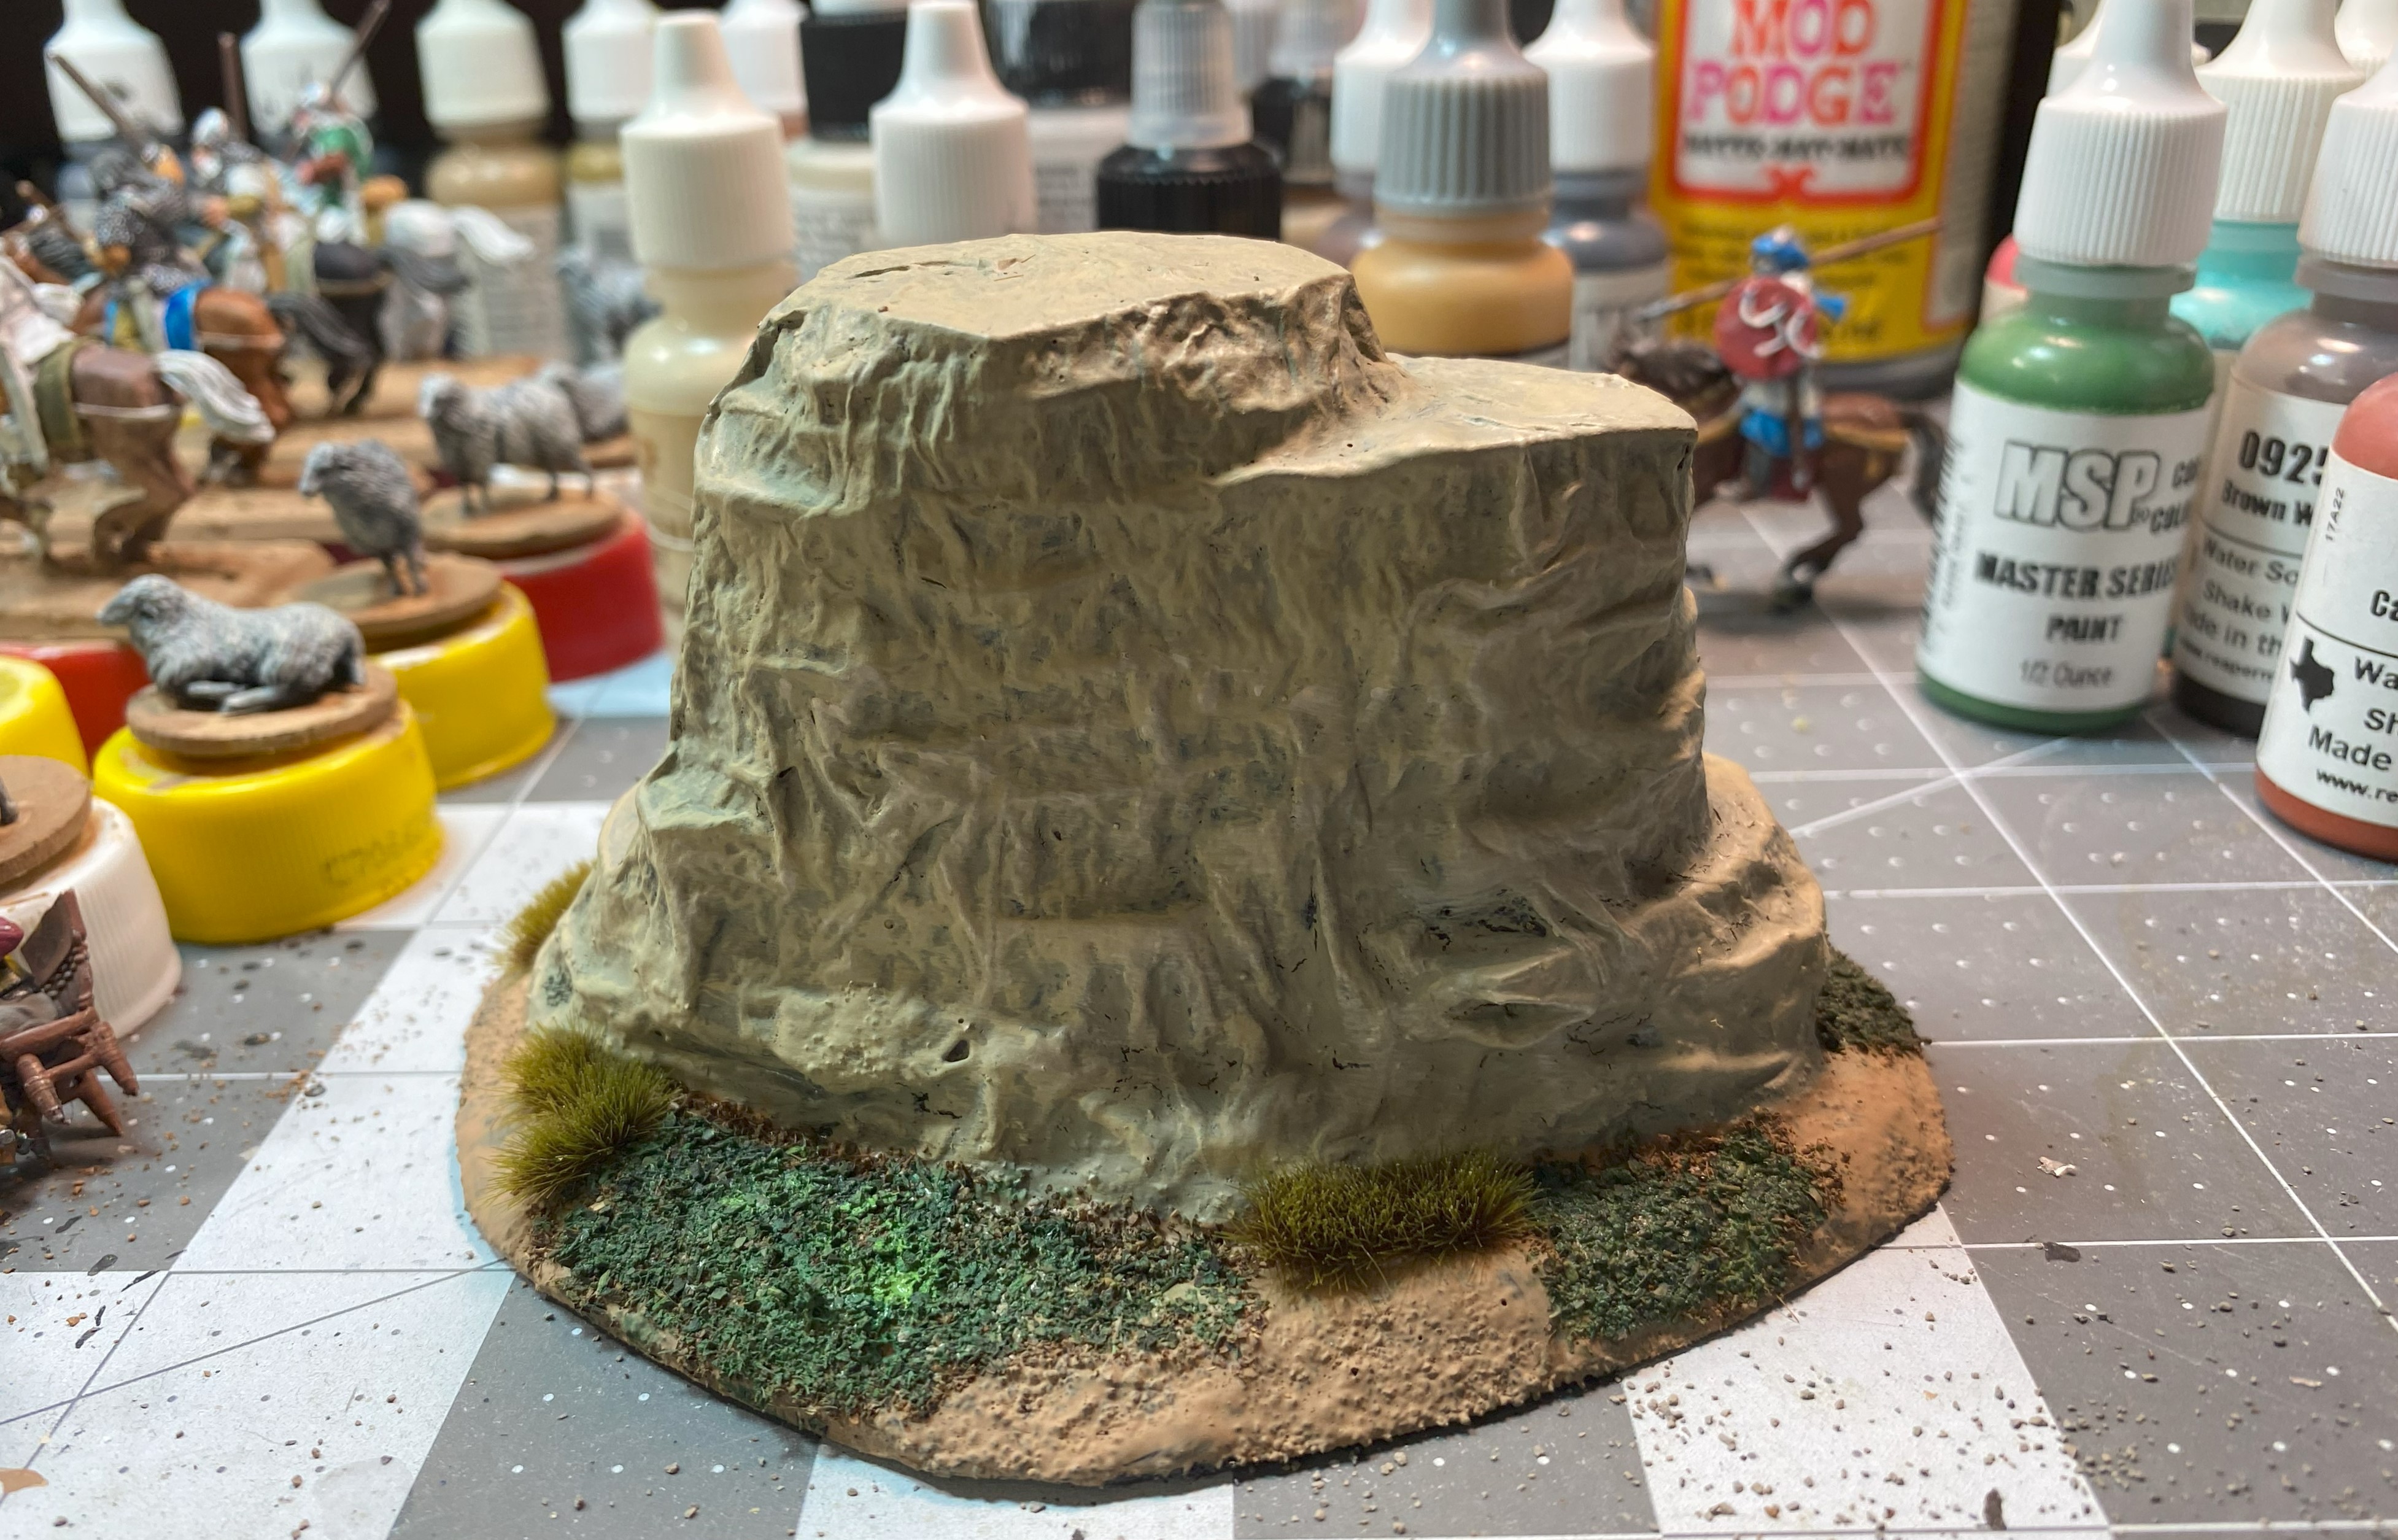
So instead of painting my giant boulders gray, I’m going to paint them the greyish sandy brown of most boulders I’ve seen in the southwest.
Getting close to the end! The next step is to add some ground cover. Since I’ve used cardboard, why not use another readily available material? Yep, got some dried tea leaves. Glue the leaves in place and add a little green paint.
Finally, I highlighted the boulder with a drybrush of Beachcomber Tan, because everything out here has a bit of sand on it. Gave it a coat of Matte Varnish and the boulder is done.
Surprise! I actually built two of them. I need at least two in an upcoming game.


I like how these turned out. I’ll admit they were quick and easy to build. BUT, I still hate making terrain.
I have to give a shout out to Selrahc Games for the tutorial on “texture paper” and Bill Making Stuff for the tutorial on making rocks. Without them, I would not have been able to make the boulders.

Let me know what you think. Did I do ok with the boulders? Your comments are certainly welcome.

Comments
3 responses to “DIY Terrain – Crafting Boulders”
Looks great! I think I might make some of these with my kids. If you ever want to do single large boulders — or asteroid fields for space games — you can take a big sponge and rip it up. Spraypaint black with cheap spraypaint (because the sponge will soak some ) and then drybrush grey and white. I pretended one was heavy and tossed it at a buddy of mine and he jumped thinking I was throwing a pumice stone at him!
Nice flat spots at the top of the rock where bad guys can stand shooting down at the Good Guy until he shoots back, hitting them in the stomach, then they clutch at the wound and fall off the rock. Very cinematic!
Nicely done 👍 And as a Brit, extra points for using tea leaves 🫖