

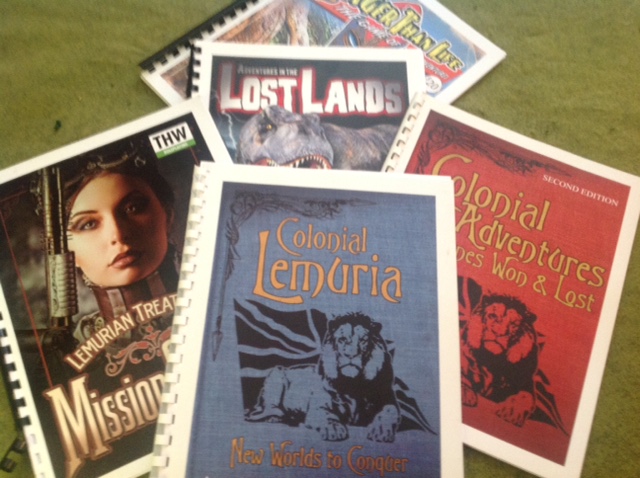
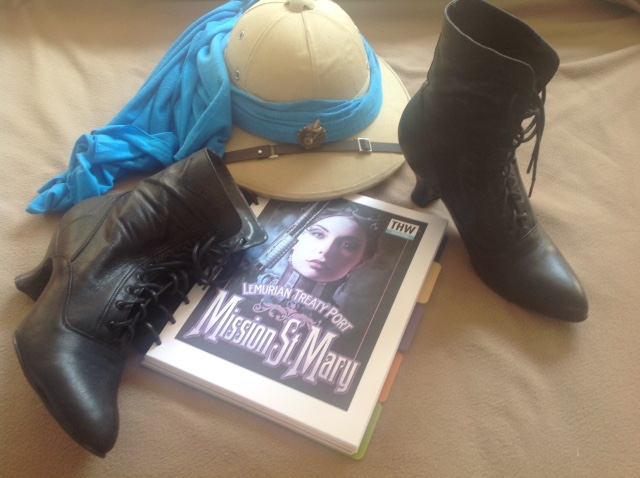
THW Classics
To celebrate the availability of THW Classics at Rebel Minis, I thought I’d play an encounter from one of the colonial era rule sets, Mission St. Mary. Mission St. Mary is a Victorian Era/Pulp set of rules set in the mythical kingdom of Nobelongga. You can purchase these rules directly from Rebel Minis or from the Rebel Minis listings on Drive-Thru-RPG and Wargames-Vault websites.
I’ll be playing a Raid Encounter with a twist – after the raid, the raiders must exit the side of the board where they entered while being pursued. Let me explain, the kingdom of Nobelongga is loosely based on Central Africa, the Congo River Basin in particular. In the 19th and early 20th centuries, there was a constant shortage of food. Villages raided one another for food and captives. The captives were either held for ransom or sold to Arab Slavers. While tribes on the Savannah raided one another for cattle, in the forests only the most prosperous villages would have goats or pigs, so the most often target of the raid was – chickens.
After the raiders left the village, the survivors would regroup and pursue. To lose their women and children and what little food they had would mean certain famine and possible extinction for the village. The raiders could not move as fast carrying their loot and herding their prisoners, so they could be overtaken by the villagers. However, savvy raiders would set up ambushes to slow the villagers down.
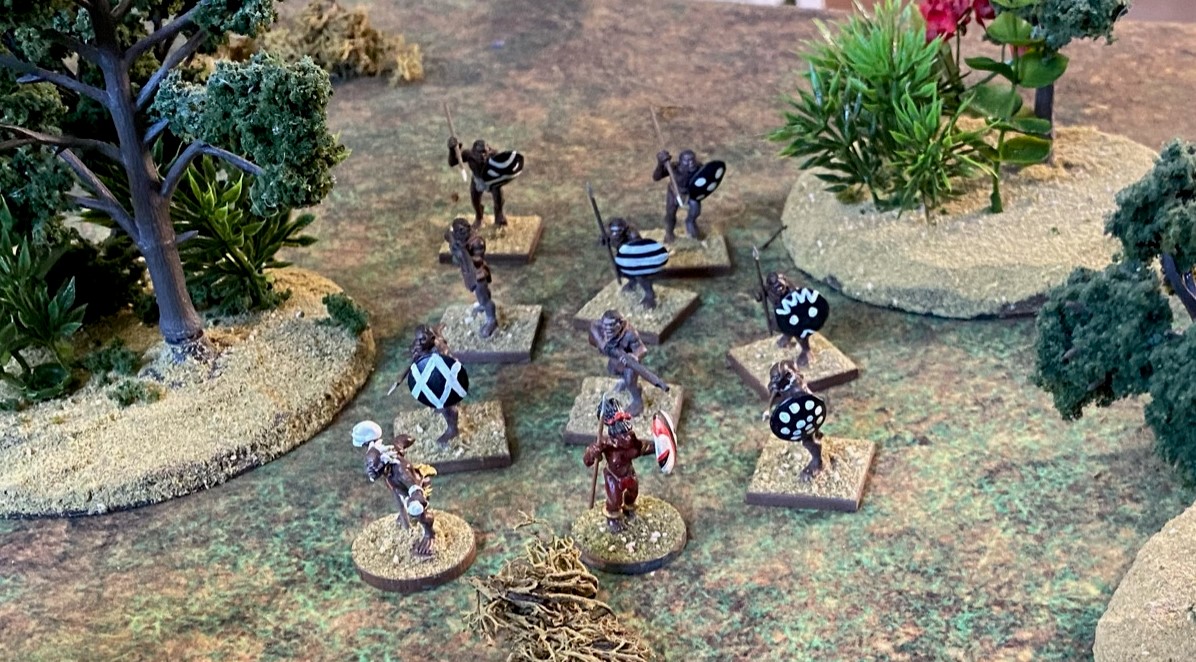
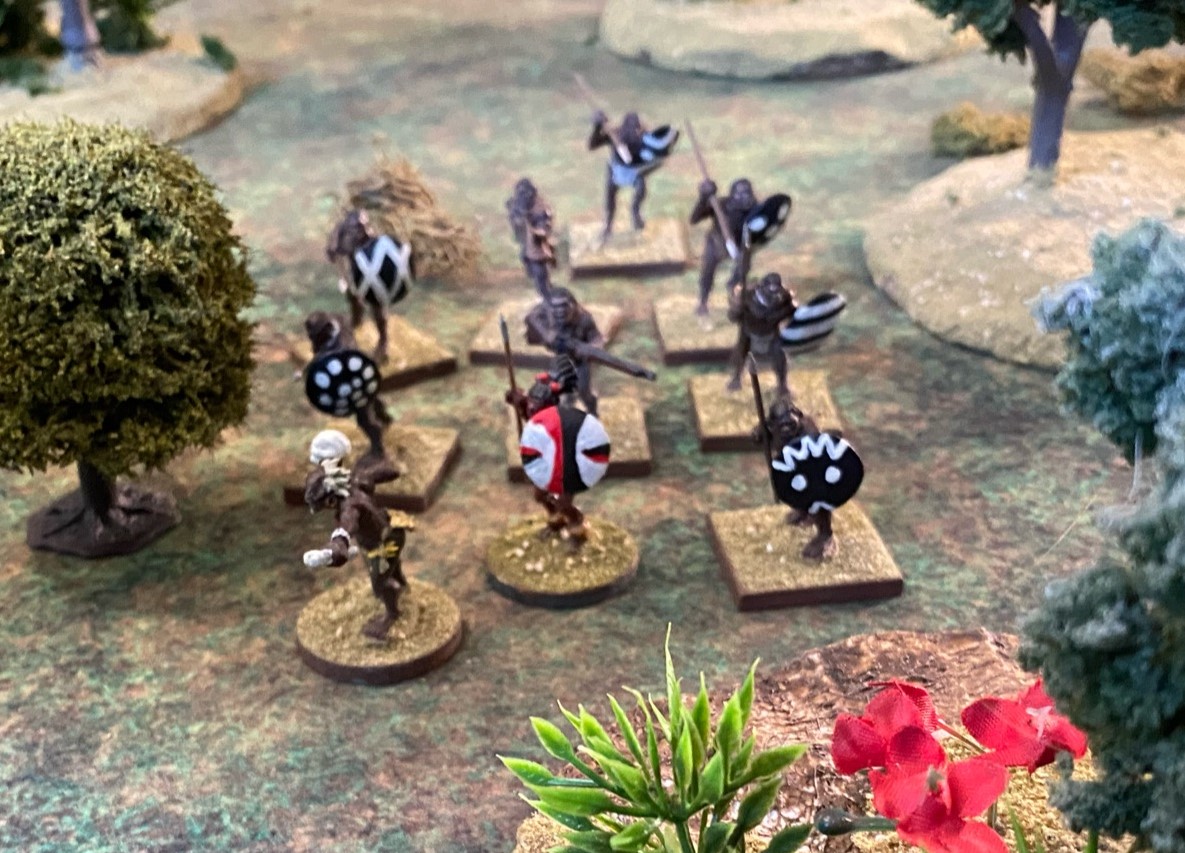
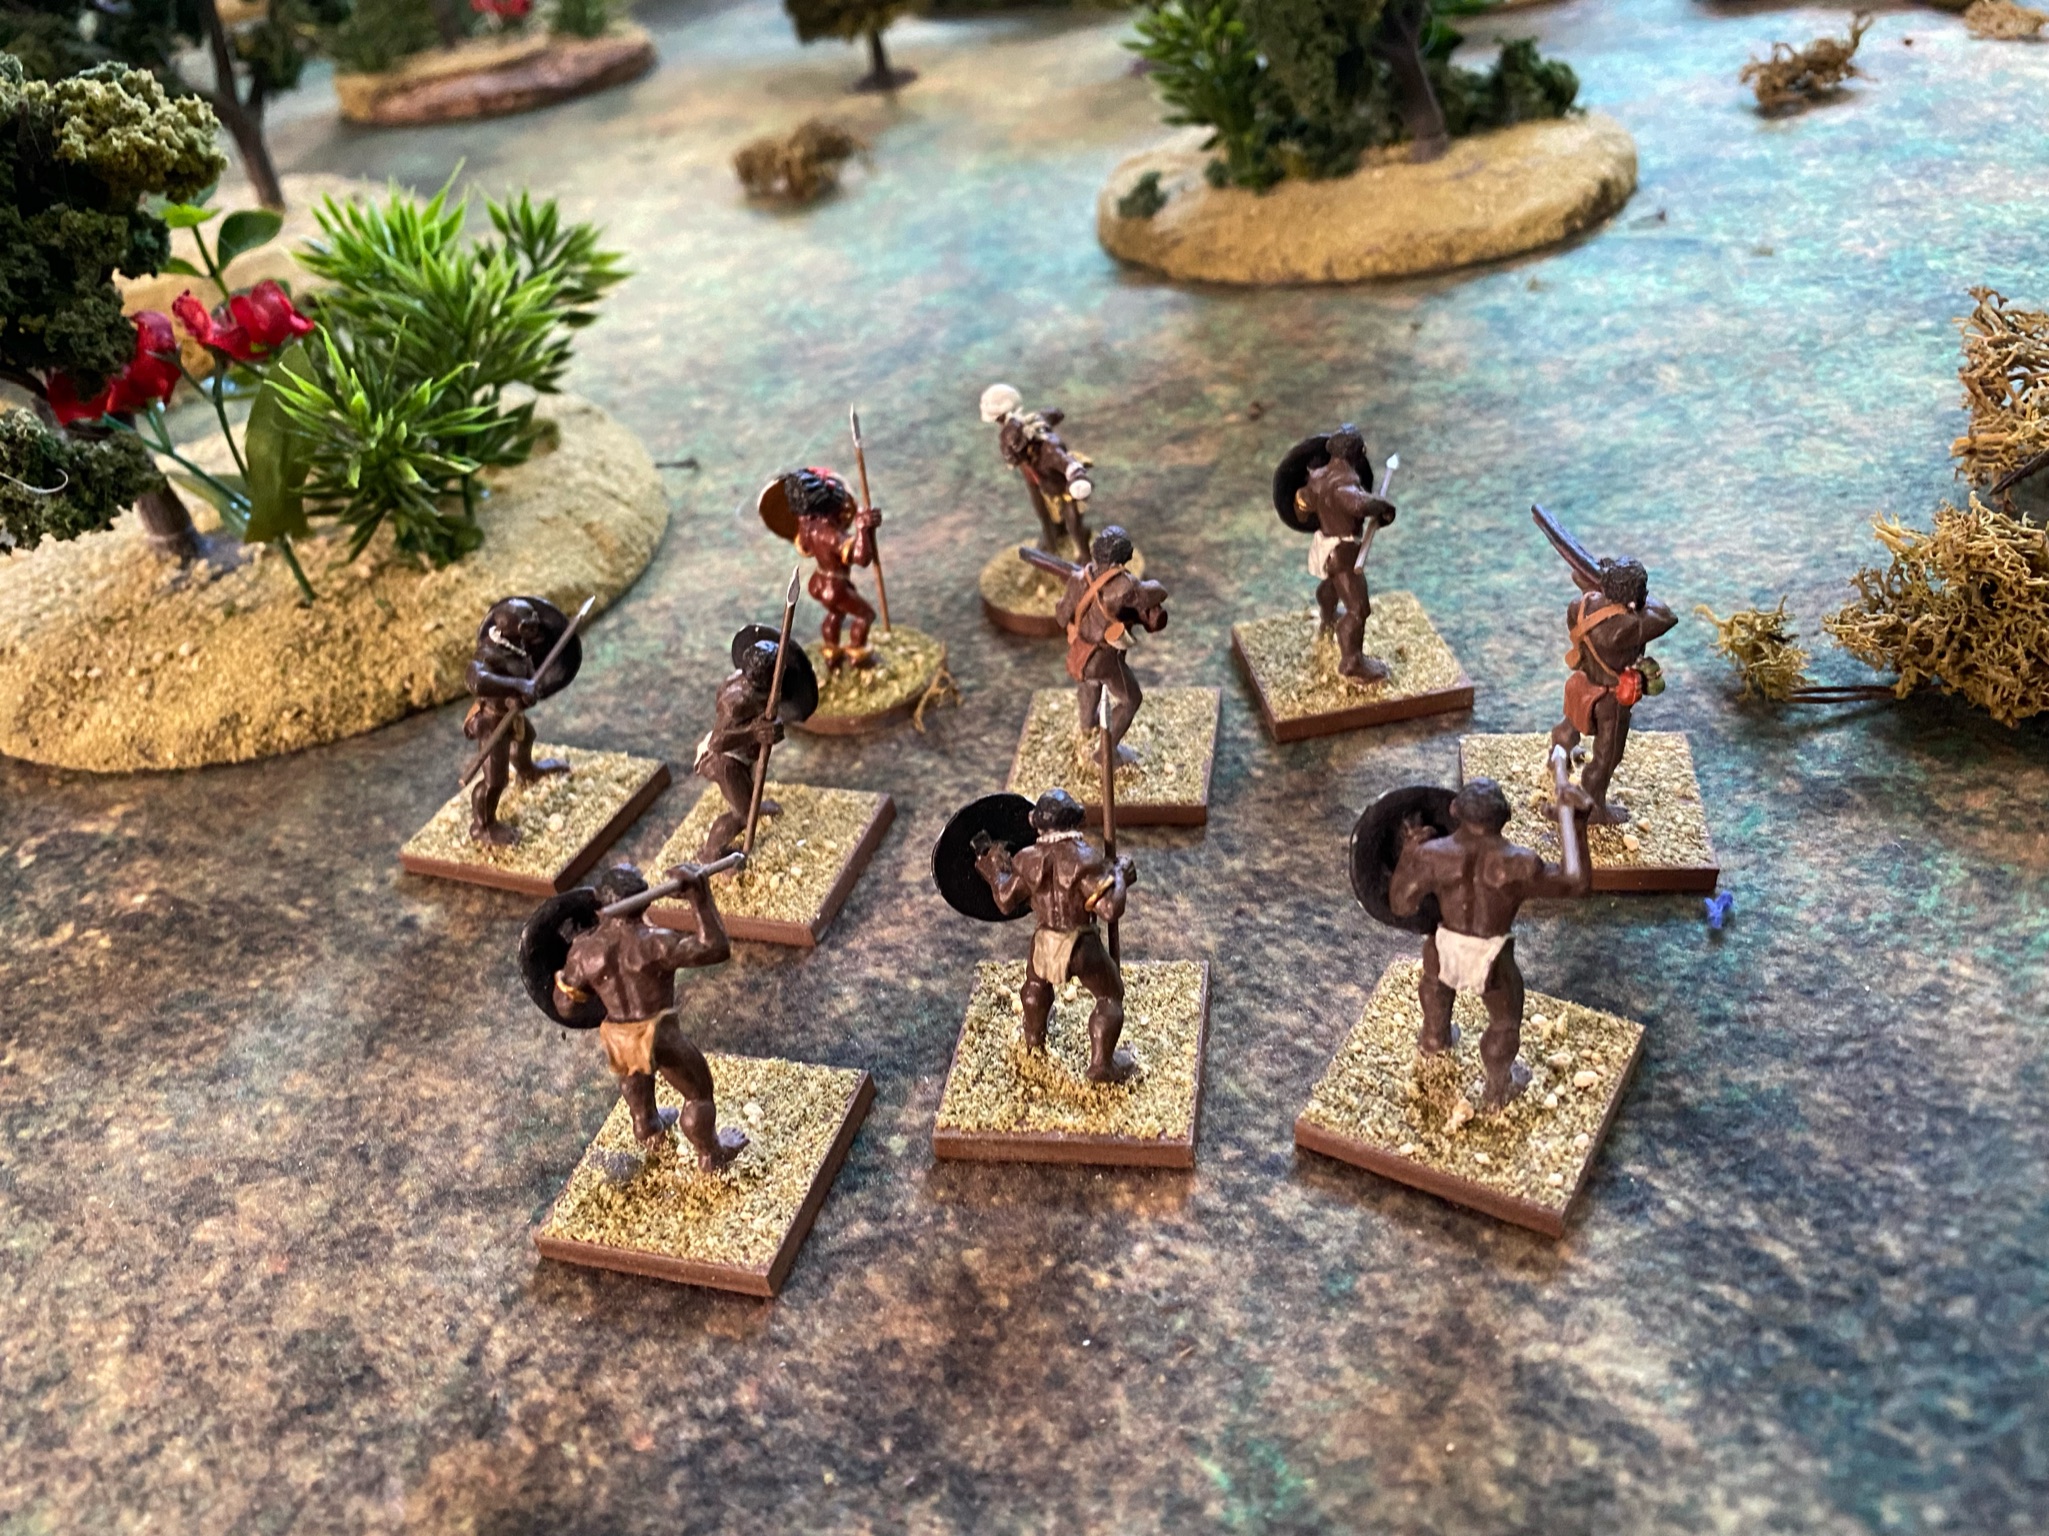
The Okbona (the Raiders)
Emissaries from Bosmio had arrived with a goat. The rules of hospitality required a feast where the chief of the Okbona and village elders listened to a proposal from the emissaries to submit to the rule of the king of Bosmio. It seemed the chief was inclined to reject the proposal, so the witch doctor, Busani, concocted a plan. He told the elders the feast had depleted the village food supply and that a raid was needed to restock food staples. A raid, he added, which the omens showed would only succeed if it were not led by an Okbona man. His plan was to build up Bosmio as natural leaders of the Okbona by forcing the chief to select one of the Bosmio emissaries to lead the raid.
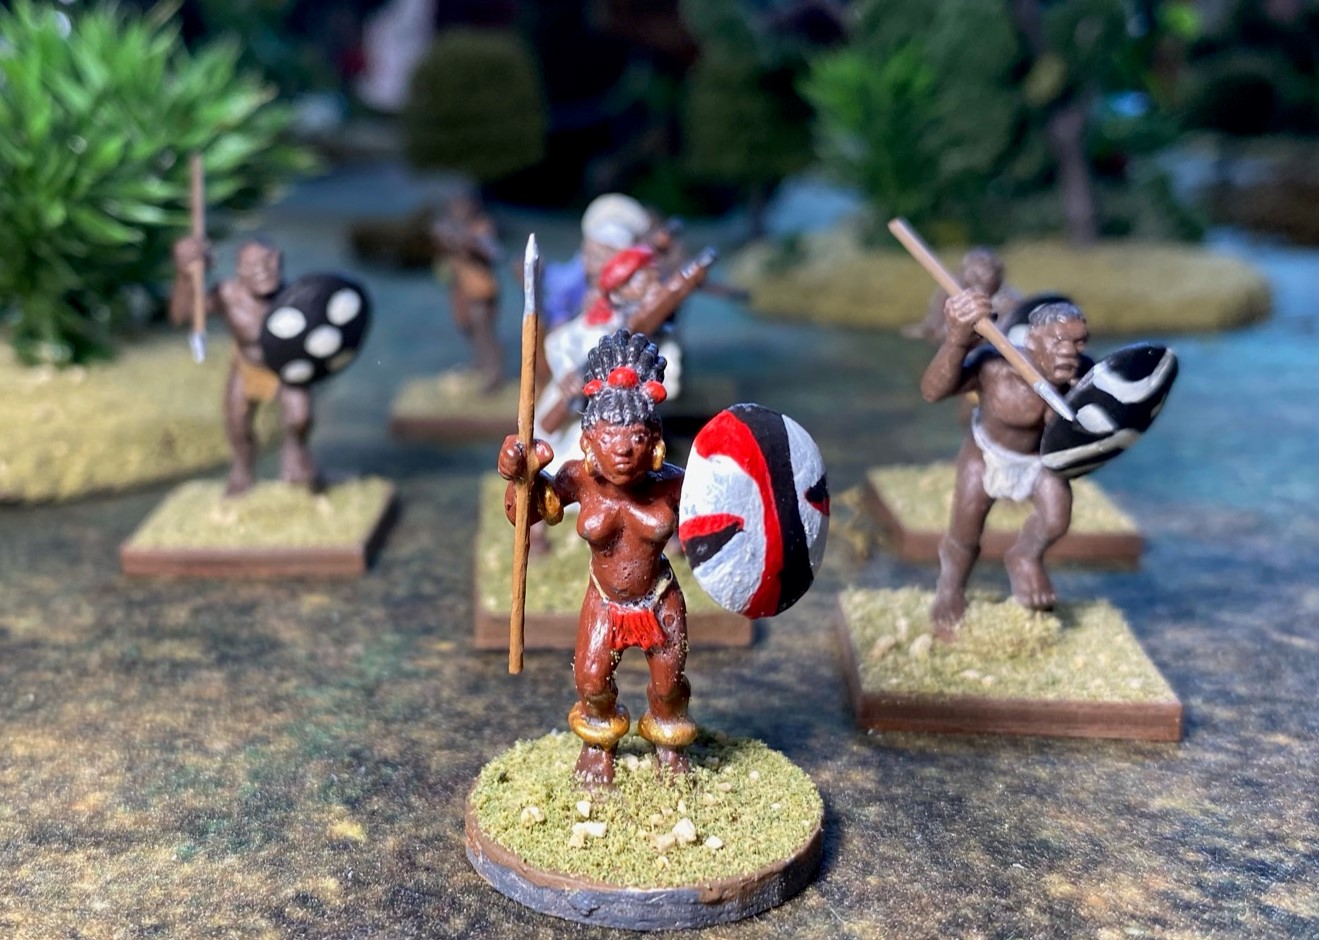
However, the chief understood what the witch doctor was attempting. He said that if an Okbona man couldn’t lead the raid, then his daughter, Nomusa, would be the leader. Busani howled in protest, but the chief held firm.
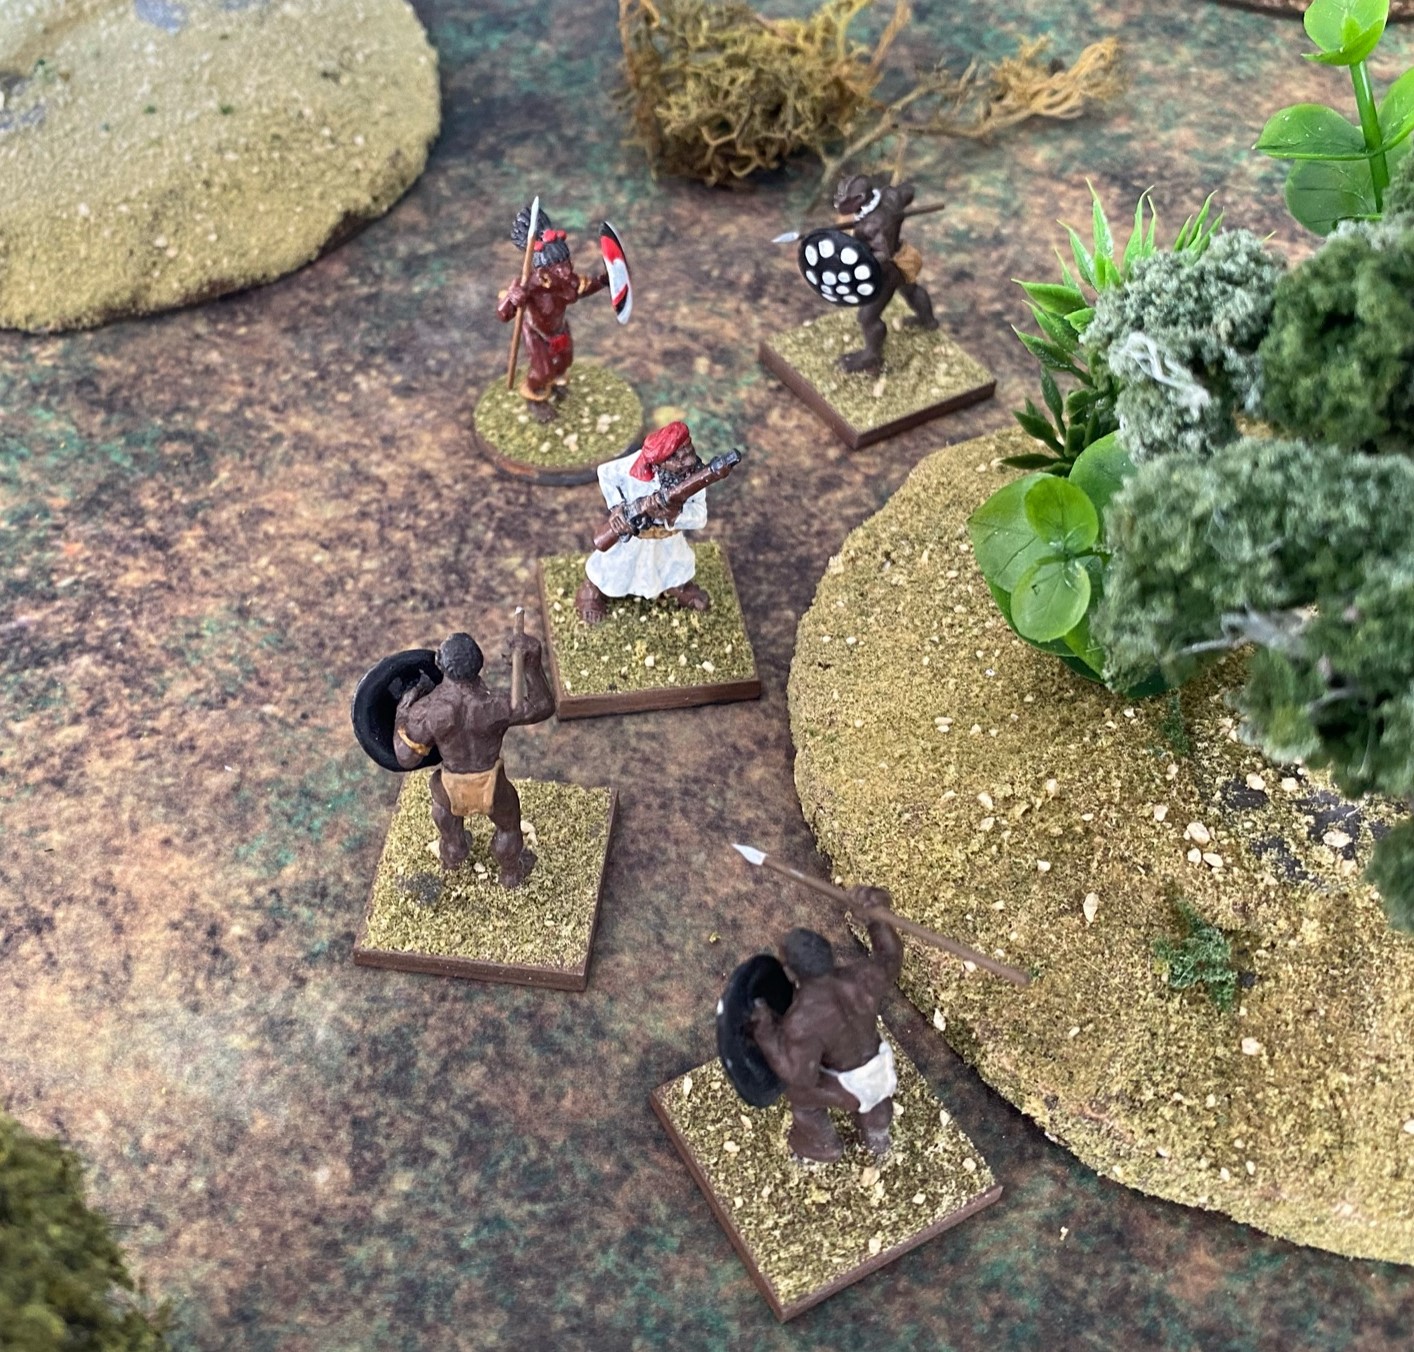
Okbona Raiding Party
| Name | Type | Rep | Weapon |
|---|---|---|---|
| Nomusa (Star) | Leader | 5 | Spear & Shield |
| Busani | Witch Doctor | 4 | na |
| Mongomeli | Warrior | 4 | Spear & Shield |
| Ziboniso | Warrior | 4 | Spear & Shield |
| Ndodona | Warrior | 4 | Spear & Shield |
| Butho | Warrior | 4 | Spear & Shield |
| Thabani | Warrior | 3 | Spear & Shield |
| Mehluli | Warrior | 3 | Spear & Shield |
| Sindiso | Warrior | 3 | Musket |
| Madla | Warrior | 3 | Musket |
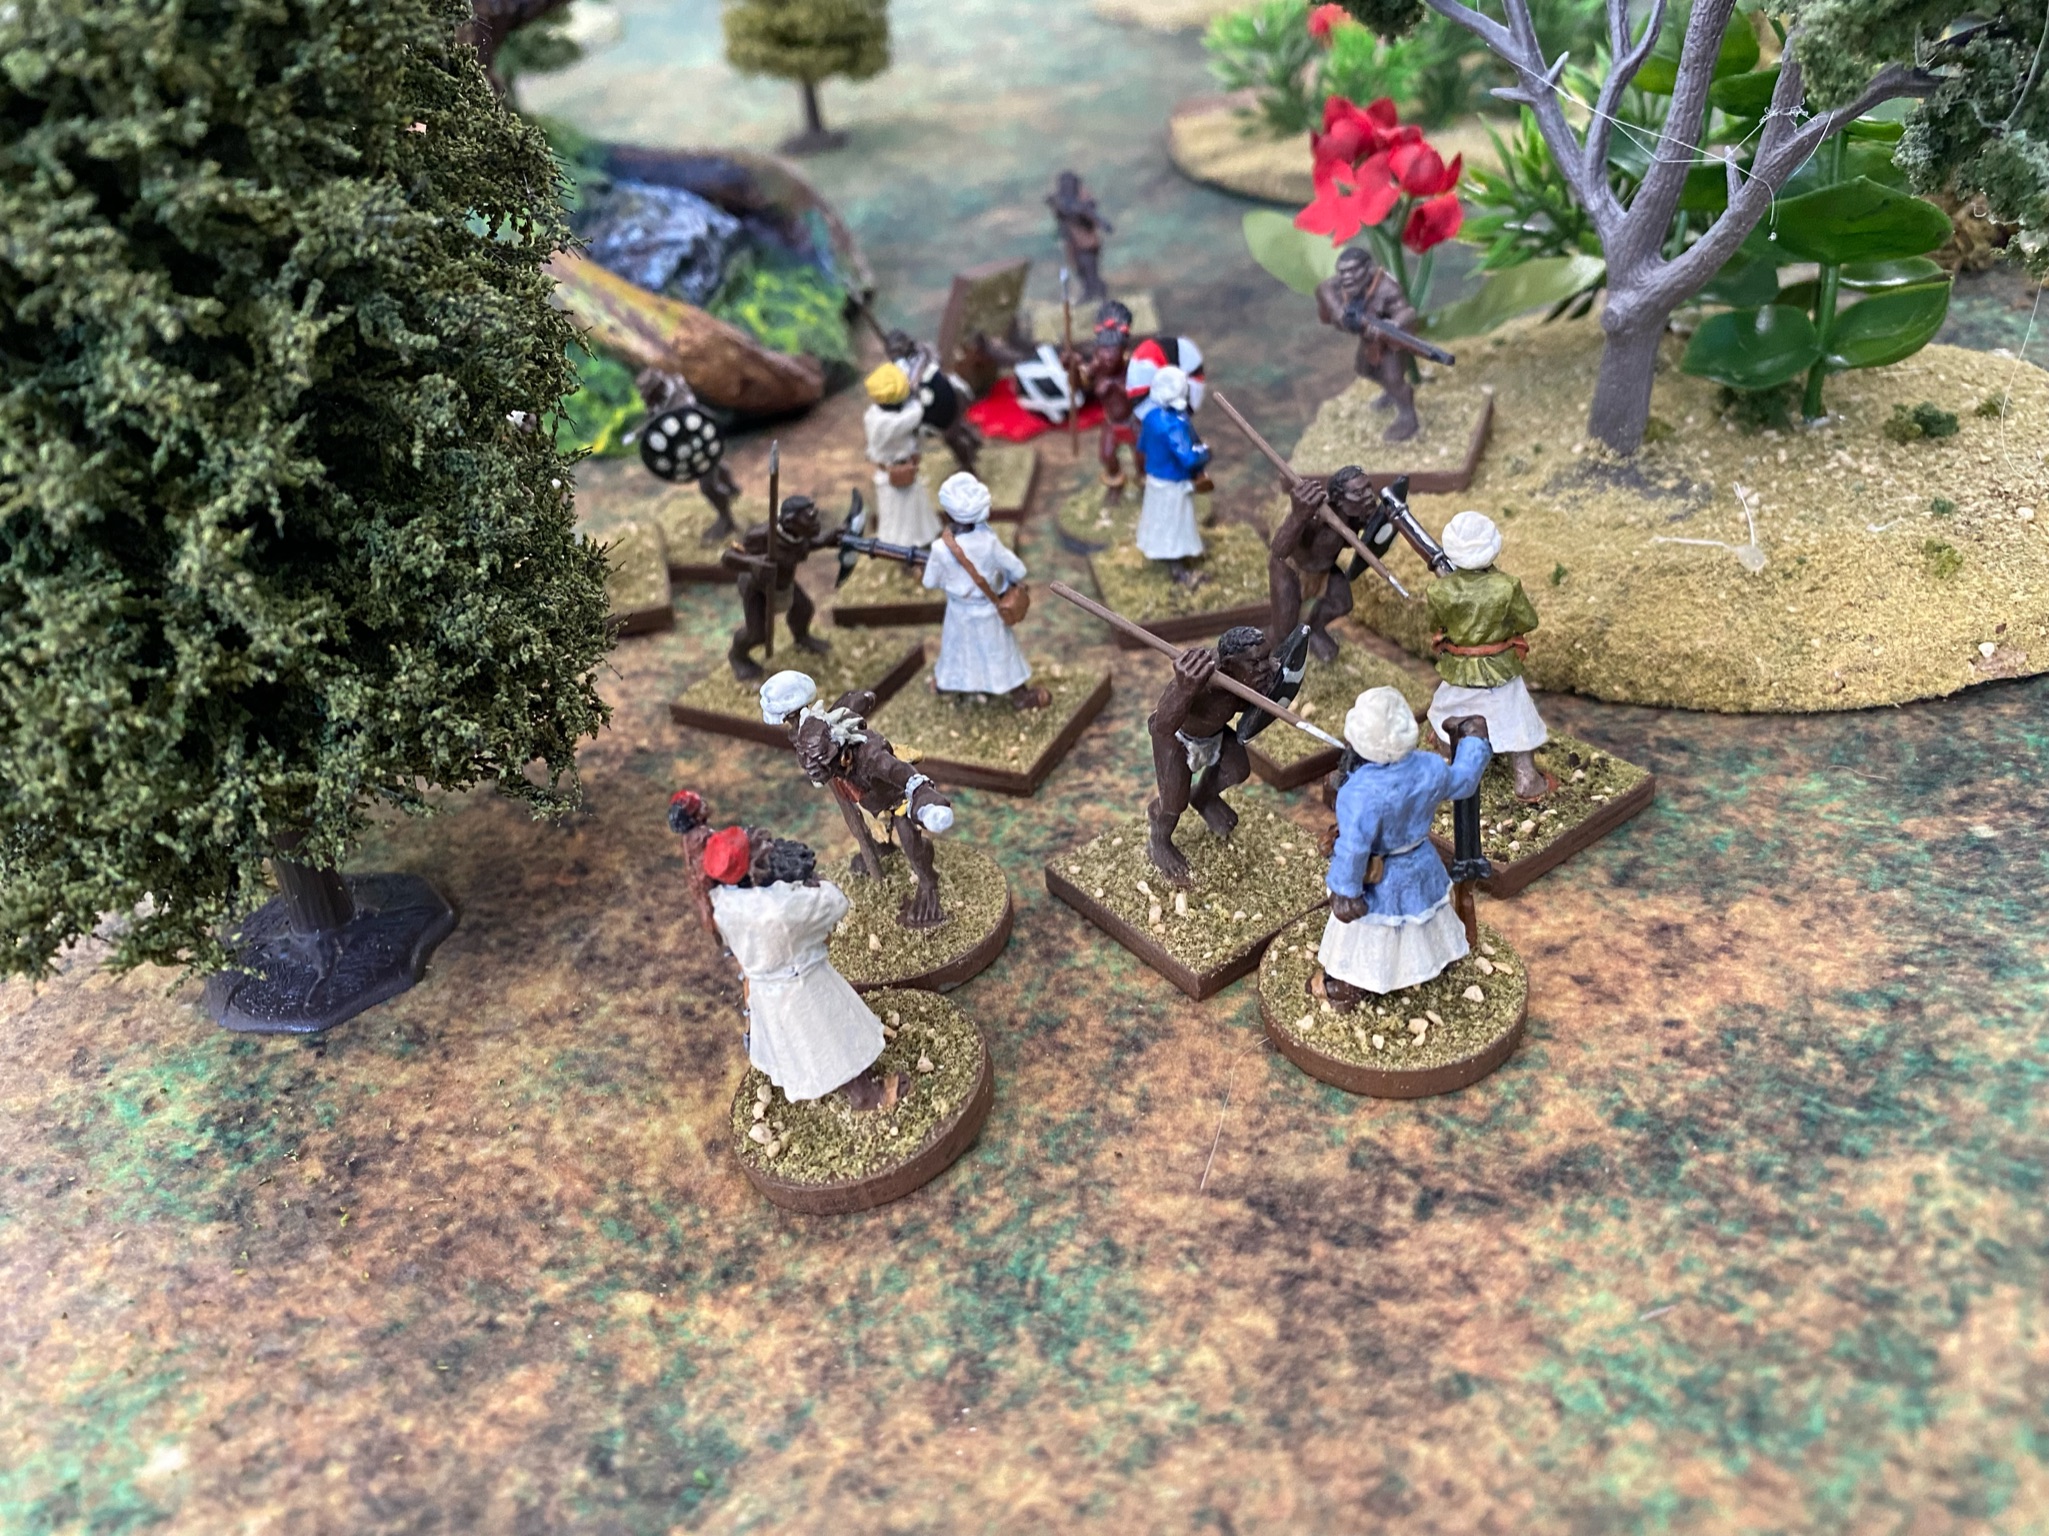
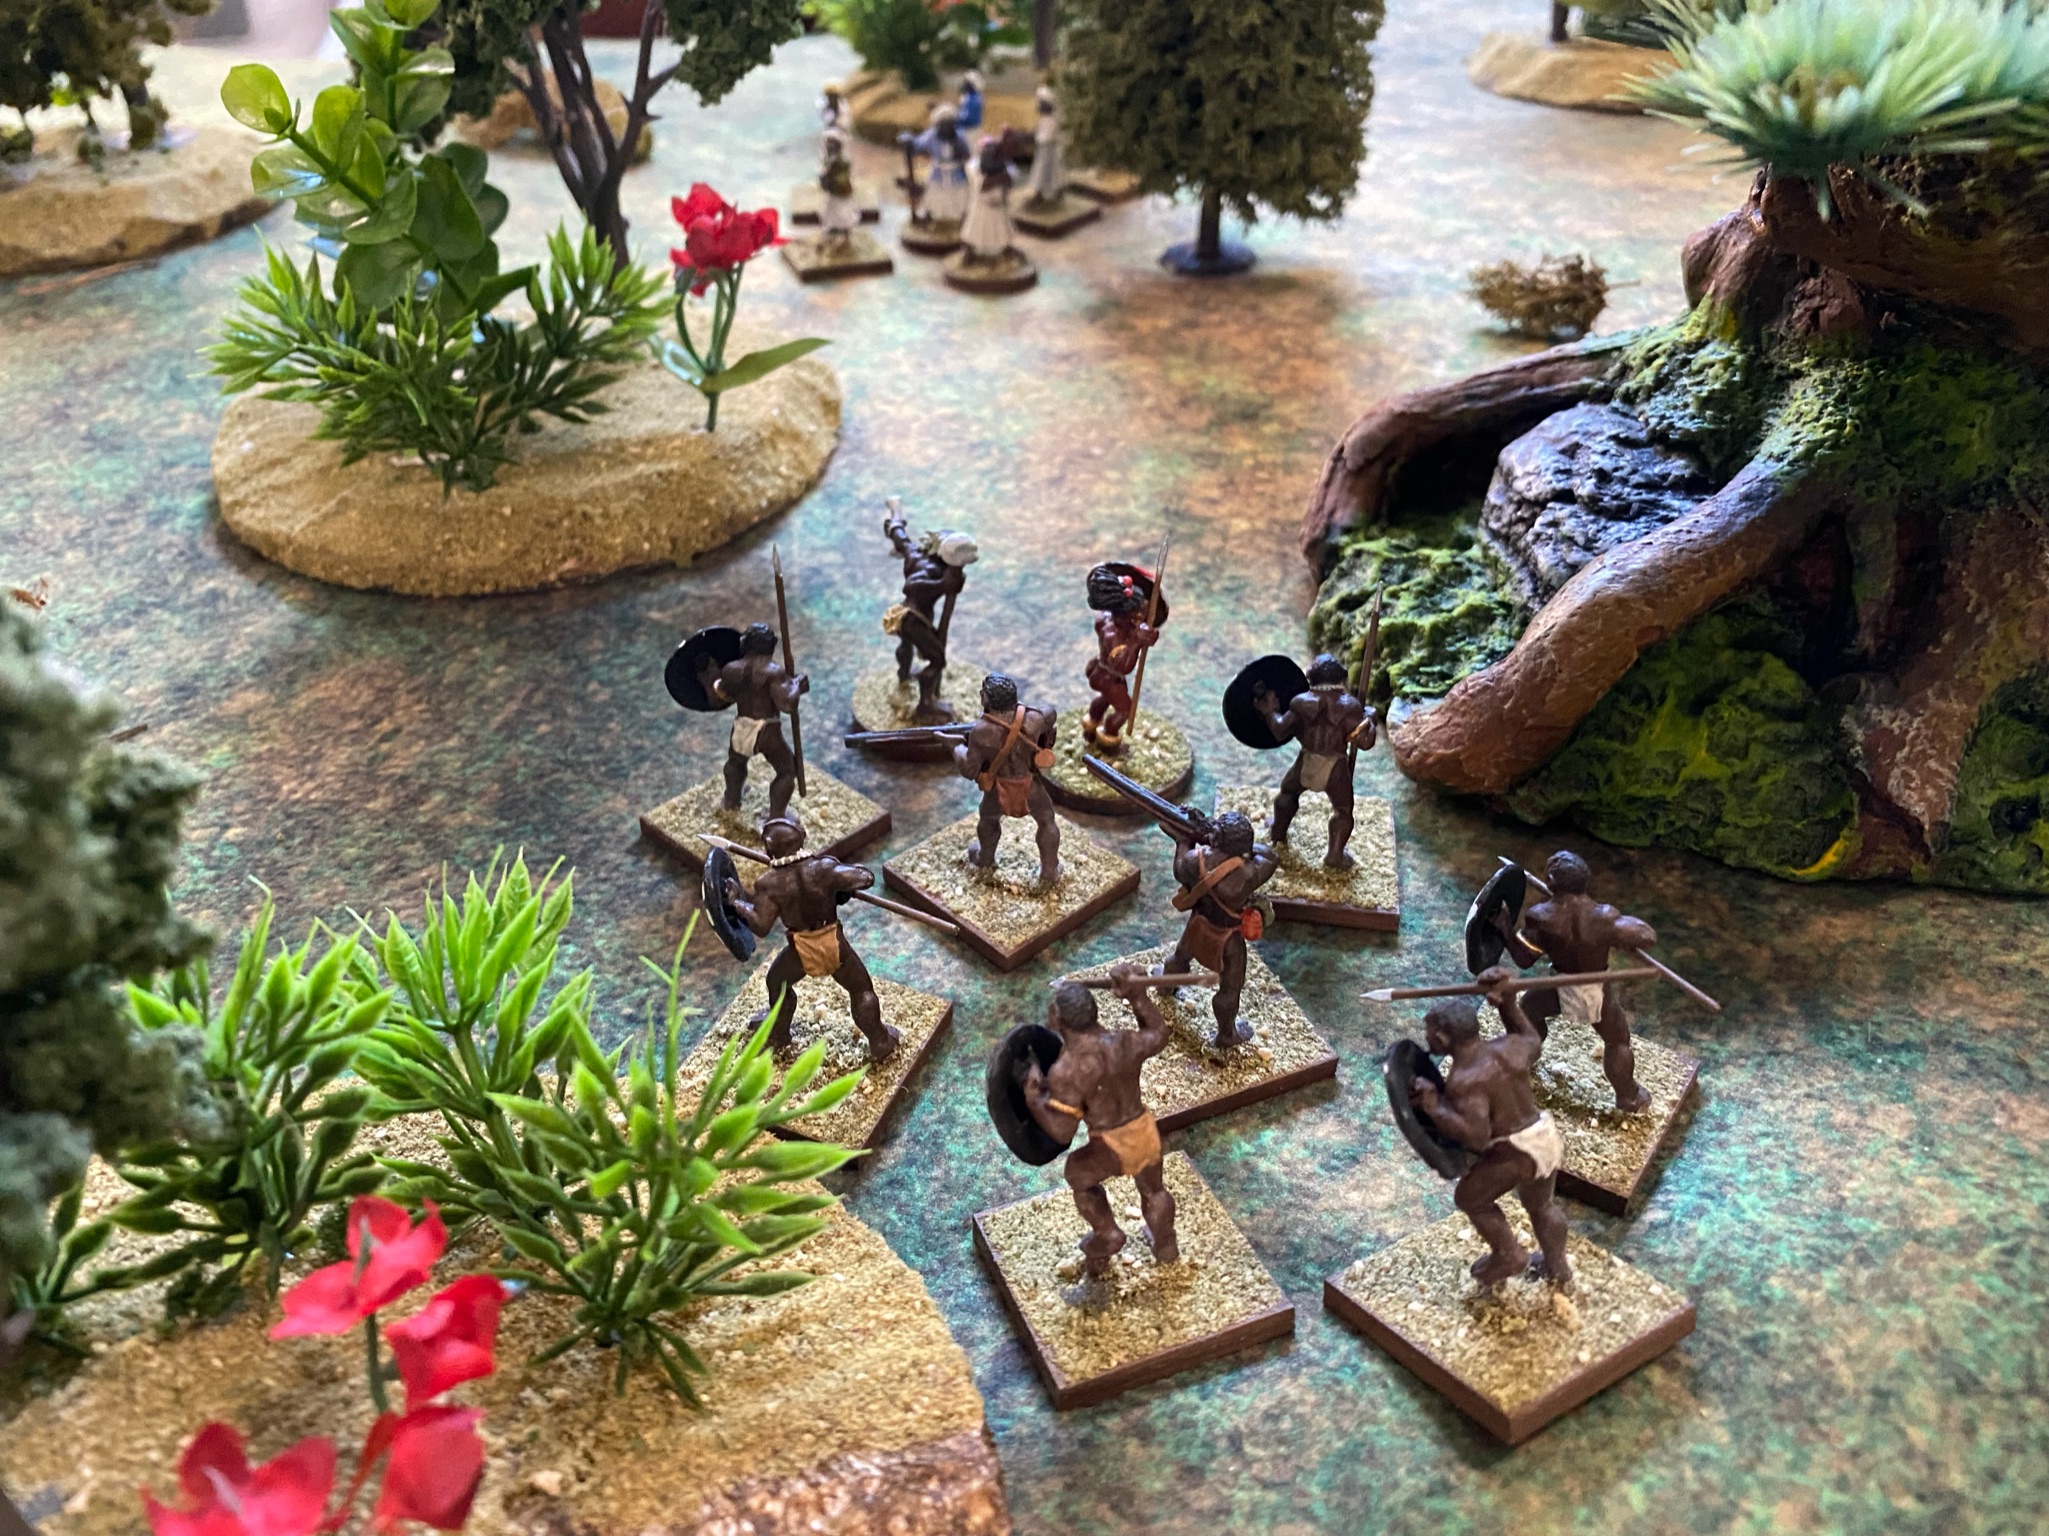
The Djouba (the Defenders)
The Raid Encounter in Mission St. Mary is slightly different from other games. The Djouba village can have 1 + 1/2D6 buildings – in this game there are three. There is a PEF for each building and when resolved you roll for each figure to determine if it is inside of the building or outside next to the building. The Djouba villagers are a mix of warriors and noncombatants.
Djouba First Building
| Name | Type | Rep | Weapon | Location |
|---|---|---|---|---|
| Hamidi | Chief | 5 | Musket | Outside |
| Muraty | Witch Doctor | 4 | na | Outside |
| Sofu | Warrior | 4 | Spear & Shield | Inside |
| Kobe | Warrior | 4 | Spear & Shield | Inside |
| Abasi | Warrior | 3 | Spear & Shield | Outside |
| Jafari | Warrior | 3 | Spear & Shield | Inside |
| Lindana | Warrior | 3 | Bow | Outside |
| Aluna | Villager | 4 | na | Outside |
| Tuliza | Villager | 4 | na | Outside |
| Madini | Villager | 3 | na | Inside |
| Kito | Villager | 3 | na | Inside |
| Zaida | Villager | 3 | na | Inside |
| Bahati | Villager | 3 | na | Inside |
Djouba Second Building
| Name | Type | Rep | Weapon | Location |
|---|---|---|---|---|
| Mshindi | Warrior | 4 | Spear & Shield | Outside |
| Kiama | Warrior | 4 | Musket | Outside |
| Maulidi | Villager | 4 | Spear | Inside |
| Hodari | Villager | 3 | na | Outside |
| Tama | Villager | 4 | na | Outside |
| Zuwena | Villager | 3 | na | Inside |
| Umija | Villager | 3 | na | Inside |
Djouba Third Building
| Name | Type | Rep | Weapon | Location |
|---|---|---|---|---|
| Rashid | Warrior | 4 | Spear & Shield | Outside |
| Mosi | Warrior | 4 | Spear & Shield | Inside |
| Umojo | Villager | 4 | Axe | Inside |
| Azizi | Villager | 3 | Spear | Outside |
| Jamba | Villager | 3 | na | Outside |
| Beno | Villager | 3 | na | Outside |
| Maji | Villager | 4 | na | Inside |
| Halima | Villager | 3 | na | Inside |
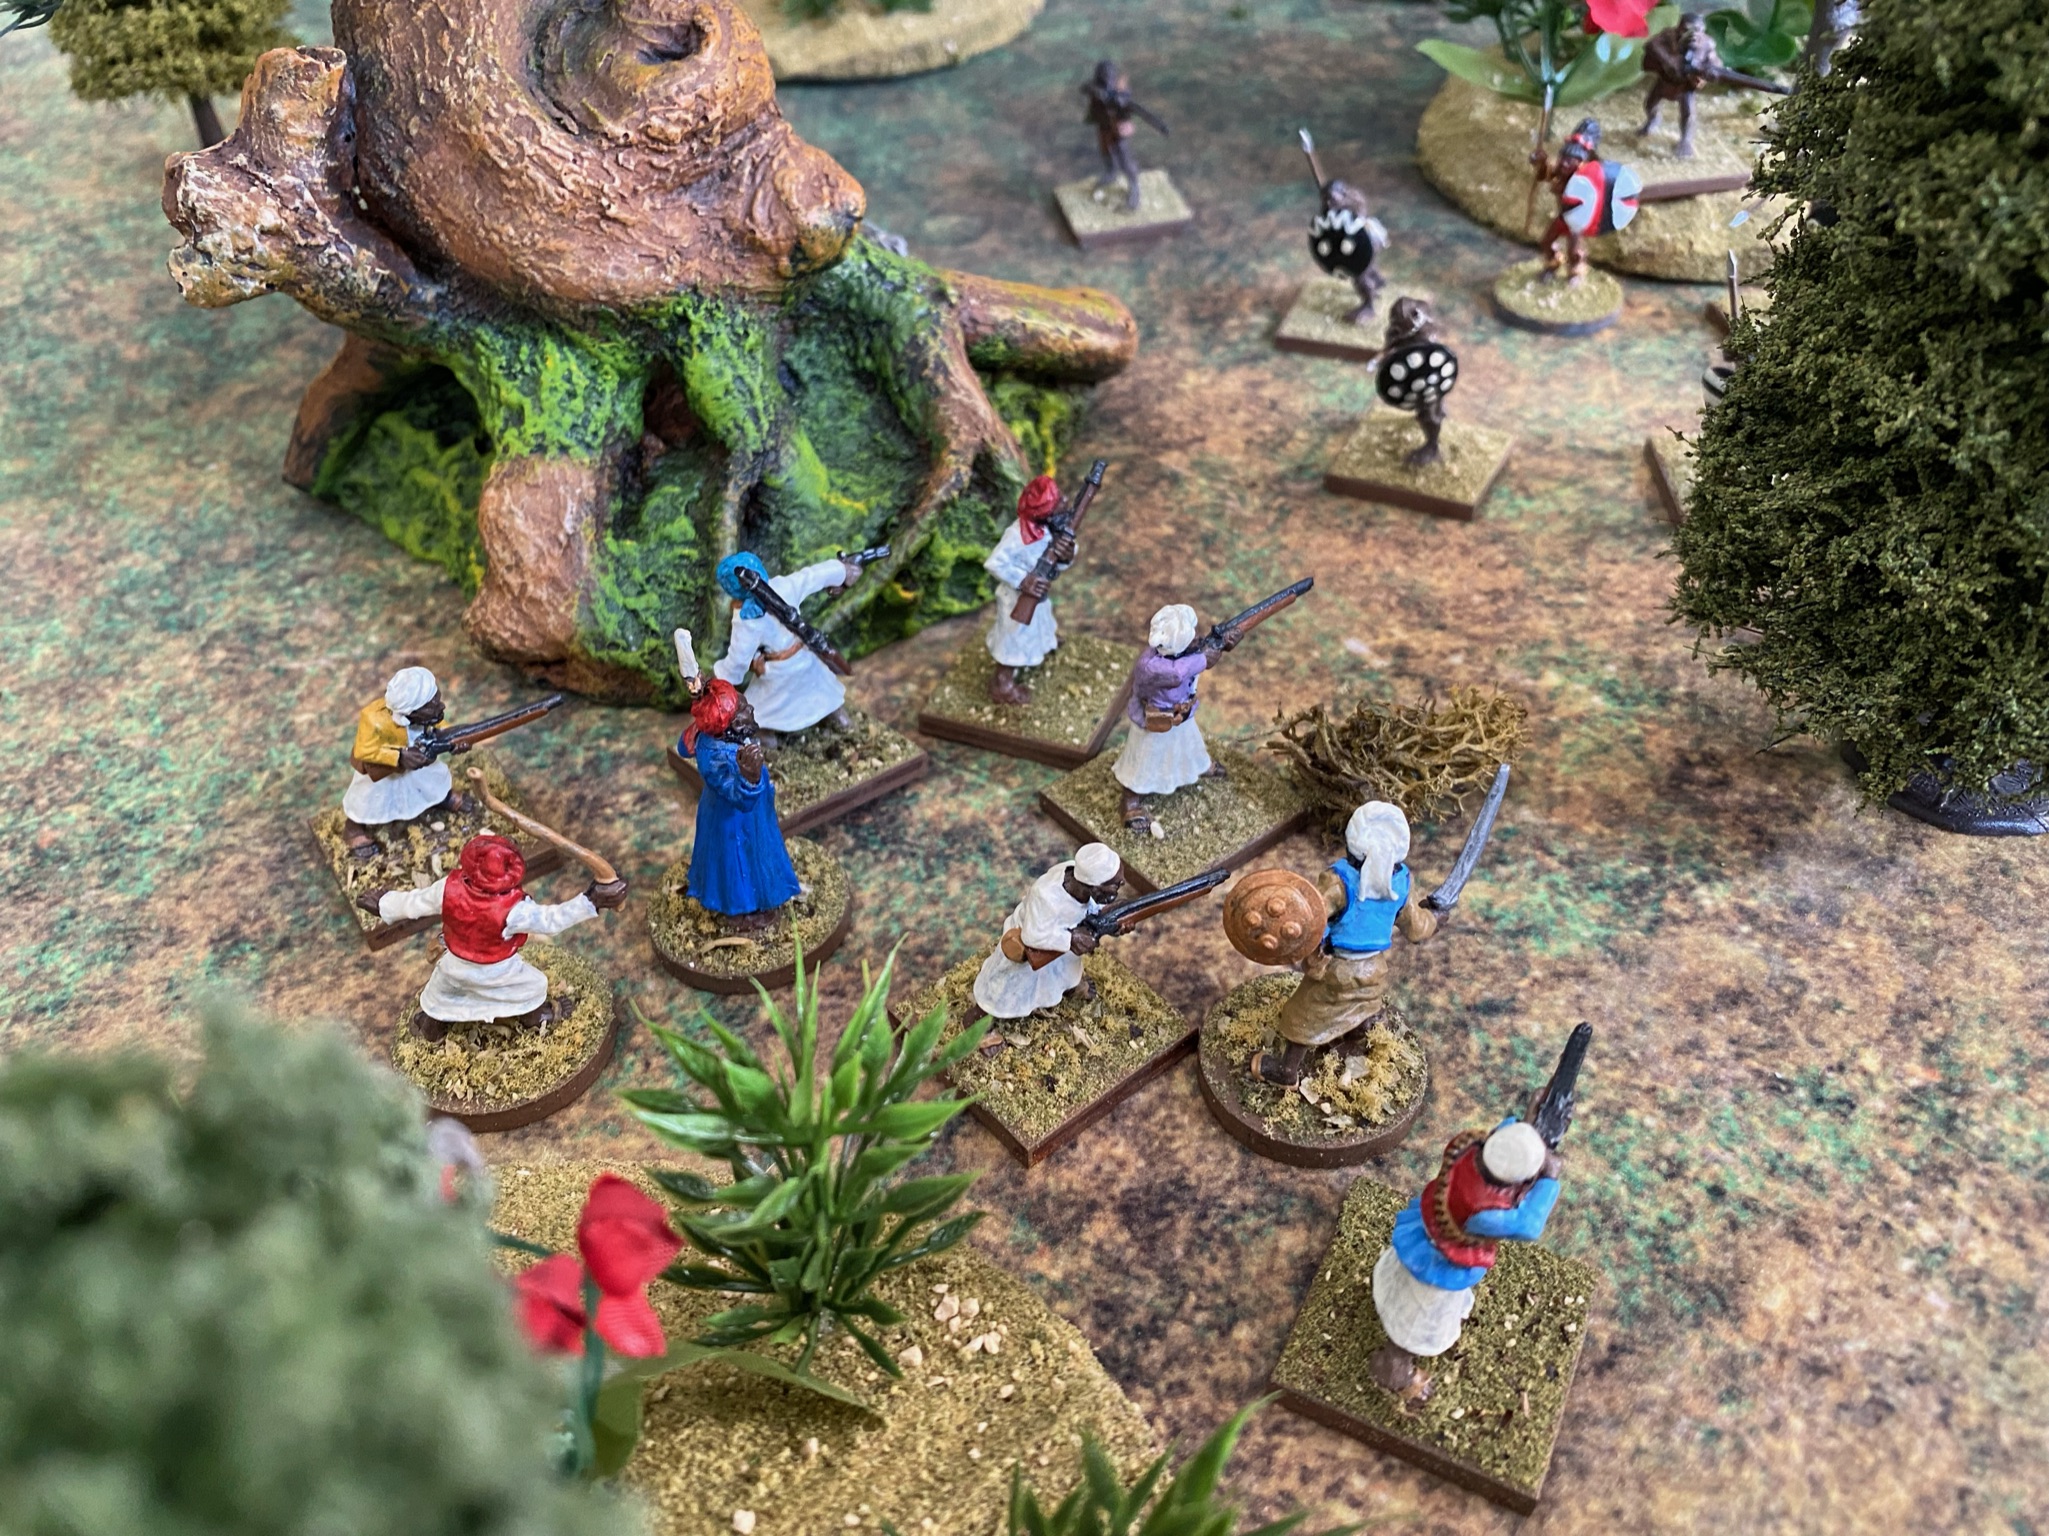
Arab Slavers (the Wildcard)
In addition to the village, there are three PEFs roaming the table top. As a wicked twist, the PEFs, if resolved will be Arab Slavers also looking for the Djouba village, but who will be just as happy to take the Okbona Raiders captive. Once the Okbona Raiders reach the Djouba village, any unresolved PEFs will be removed from the table.To save time, I’m going to pre-load the PEFs.
Arab Slaver PEF A
| Name | Type | Rep | Weapon |
|---|---|---|---|
| Shaqeeq al-Abbas | Leader | 5 | Sword |
| Raamiz el-Doud | Warrior | 4 | Musket |
| Hilmi el-Aazir | Warrior | 4 | Musket |
| Maneer el-Aba | Warrior | 4 | Musket |
| Waleed el-Hassen | Warrior | 3 | Musket |
| Unais al-Rahim | Warrior | 3 | Musket |
| Abdul Azeez al-Parsa | Warrior | 3 | Musket |
Arab Slaver PEF B
| Name | Type | Rep | Weapon |
|---|---|---|---|
| Jaabir al-Farid | Leader | 5 | Spear |
| Maisoon el-Hamady | Warrior | 4 | Sword & Shield |
| Jawaad el-Suleiman | Warrior | 4 | Musket |
| Numair al-Haque | Warrior | 4 | Musket |
| Siddeeqi al-Bilal | Warrior | 3 | Musket |
| Saqr el-Abbas | Warrior | 3 | Musket |
| Aiman el-Odeh | Warrior | 3 | Musket |
| Ziyaad el-Hallal | Warrior | 3 | Musket |
Arab Slaver PEF C
| Name | Type | Rep | Weapon |
|---|---|---|---|
| Hazm el-Hashmi | Leader | 5 | Sword |
| Aslam el-Bashara | Warrior | 4 | Sword & Shield |
| Neeshaan al-Ghazal | Warrior | 4 | Whip |
| Abdul Ghafoor al-Alam | Warrior | 4 | Musket & Pistol |
| Mus’ab el-Sahli | Warrior | 3 | Musket |
| Nizaar al-Salloum | Warrior | 3 | Musket |
| Rabi al-Bey | Warrior | 3 | Musket |
| Ziyaad al-Semaan | Warrior | 3 | Musket |
| Saami al-Hana | Warrior | 3 | Musket |
Attributes
There are too many characters to assign the full number of attributes to each character. However, the Mission St. Mary rules does assign the first attribute based on what group a character belongs to. So what I’ve done is to choose an attribute for all of the Okbona warriors, one for all of the Djouba warriors, one for the villagers, and finally one for the Arab Slavers. Here they are:
| Group | Attribute | Action |
|---|---|---|
| Okbona Raiding Party | Rage | Counts a +1D6 when in melee. Roll +1D6 when taking the Charge into Melee Test. |
| Djouba Warrior | Brawler | Counts a +1D6 when in melee. |
| Djouba Villager | Poser | Can never score higher than pass 1D6 when taking a Reaction Test. |
| Arab Slaver | Crack Shot | Will roll 3D6 instead of 2D6 when shooting, counting the best 2 scores. |
Witch Doctor Spells
For a bit of fun, I’ve allowed the Witch Doctor to cast a spell on any group within 18 inches of the Witch Doctor. A spell can only be cast when the group with the Witch Doctor is active and the Witch Doctor can only cast one spell per activation. Casting a spell is a Challenge – spells cast on the Witch Doctor’s own group are Easy; spells cast on a friendly group are a normal Challenge; spells cast on an enemy group are Difficult. The spells are attributes and the effects of a successful spell last for only one activation. If the Witch Doctor fails casting a spell, he or she will suffer a -1 to Rep for the rest of the encounter. If the Witch Doctor fails casting a second spell, he or she loses the ability to cast spells for the rest of the encounter.
| # | Spell | Effect |
|---|---|---|
| 1 | Slow | Normal movement is 6″ and can only use 1D6 when attempting to fast move. |
| 2 | Coward | Treats a result of Duck Back as Run Away. |
| 3 | Poser | Can never score higher than Pass 1D6 when taking a Reaction Test. |
| 4 | Stone Cold | Will roll 3D6 when taking a Reaction Test, counting the best 2D6. |
| 5 | Nerves of Steel | Treat Duck Back as if Carry On. Counts a +1D6 when taking the Charge into Melee Test. |
| 6 | Quick Reflexes | Counts a +1D6 bonus when taking the In Sight Test. |
Setting Up Terrain
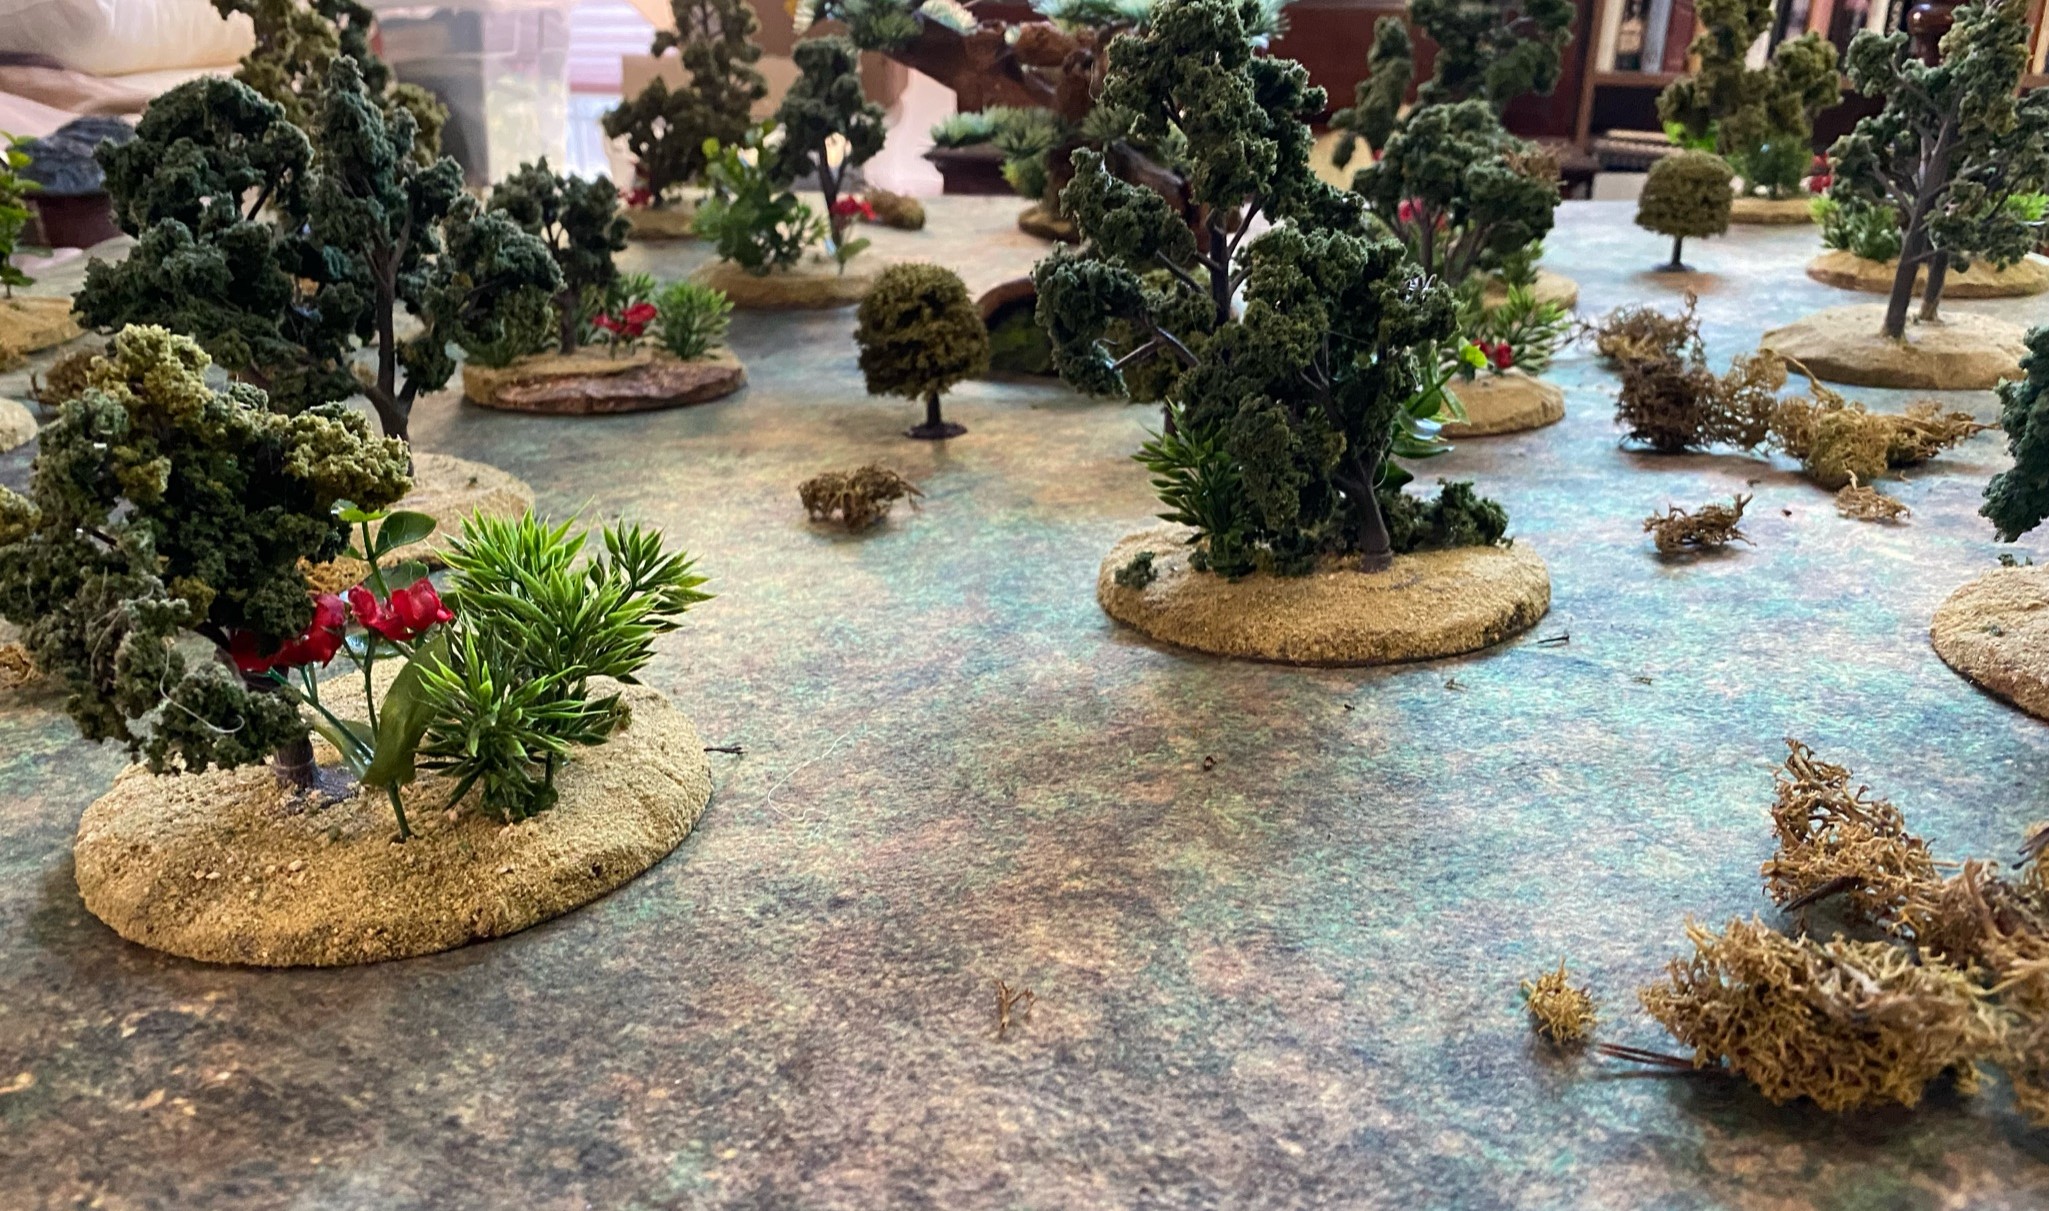
The last thing to do before beginning to play is to set up the terrain on the table. This is another place where Mission St. Mary is different from other THW rules. The table is still divided into nine sections, but rather than rolling for terrain in each table section, the players just choose the setting or locale. For this game, I’m using the Jungle setting.
- The table must be 75% woods, ideally with line of sight restricted as much as possible.
- The Djouba Village will be in either Section 1, Section 2 or Section 3 depending on a dice roll.
- The Okbona Raiders will start in either Section 7, Section 8 or Section 9.
- The Okbona Raiders must exit the board in the Section they started.
- Arab Slaver PEF A starts in Section 4.
- Arab Slaver PEF B starts in Section 2.
- Arab Slaver PEF C starts in Section 6.

The Pursuit
If the Okbona were successful in their raid, they must exit the board in the same section in which they entered. Laden with loot and captives, The Okbona now adds the Slow Attribute to their profile. This means their normal movement is six inches and the can only use 1D6 when attempting to fast move.
On the next Djouba activation after the Okbona have left the village, go to the After the Encounter section of the rules and perform the Recovery Test. The Djouba Warriors who pass the Recovery Test make up the pursuit force. Performing the Recovery Test will take an entire activation.
The pursuit force chases after the Okbona in an attempt to win back captured loot and captives. In the ensuing running combat, any Okbona who runs away or goes out of the fight loses the loot he was carrying. If the guards of the captives run away or go out of the fight, the captives are freed once a Djouba warrior comes into base contact with the captive.
All of the preparations are done, it is time to start the game!
Turn 1
The PEFs win the activation roll with a 5, but since their Rep is 4, they can’t move.
The Okbona start in Section 8 and move forward 8 inches.
Turn 2
The PEFs win the activation roll and advance 8 inches towards the Okbona, ending their move in cover.
The Okbona move forward 8 inches – nothing is in sight.
Turn 3

The Okbona win the activation roll and move forward 8 inches.
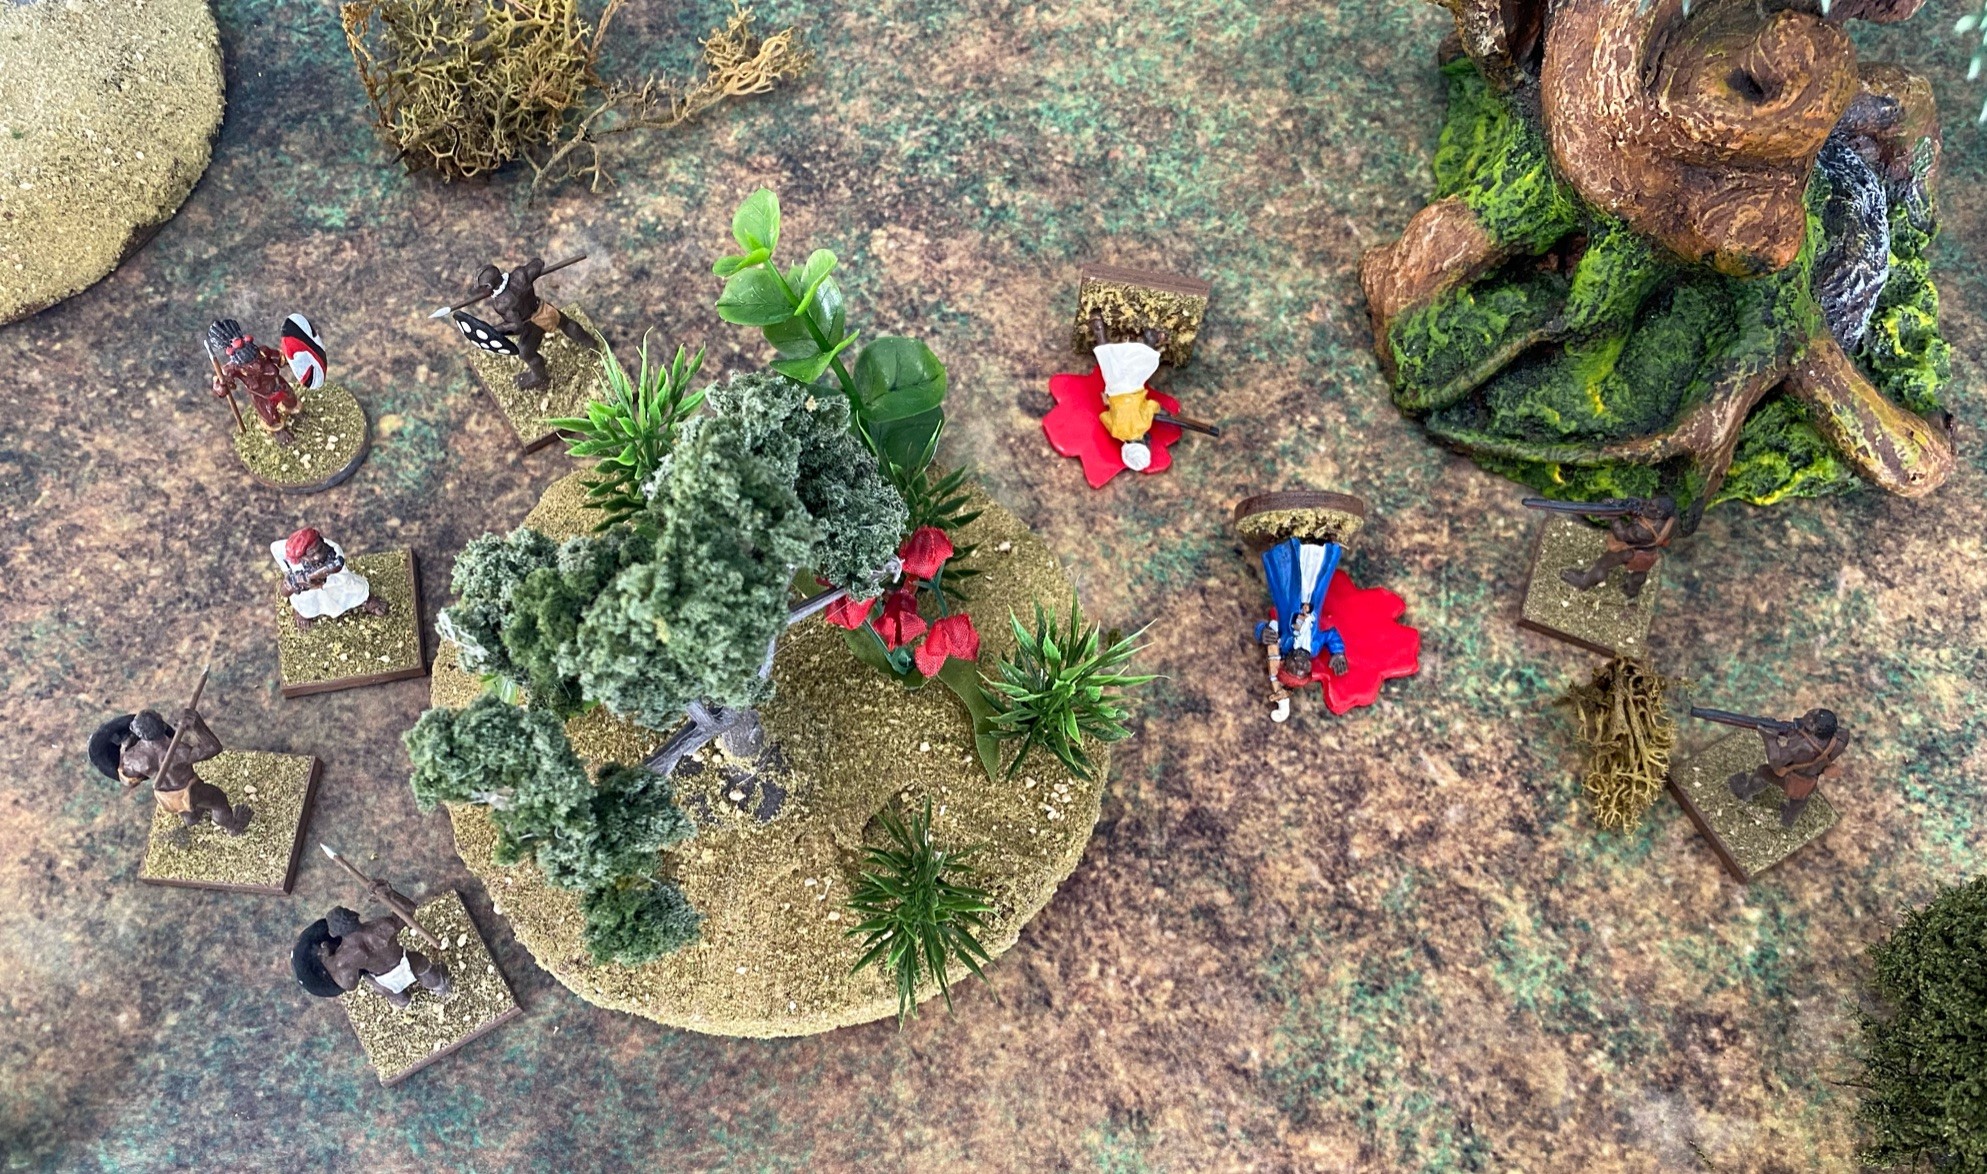
The PEFs activate. PEF A moves into sight and resolves into a group of Arab Slavers triggering the In-Sight Test.

The Okbona win the In-Sight and the Witch Doctor immediately tries to cast “Coward” onto the Arab Slavers. He passes only one D6, so he decides to try casting later rather than risking a failure. Sindiso is the only Okbona musket man with line of sight, he fires at Abdul Azeez al-Parsa and misses.
Abdul passes the Received Fire Test and returns fire, missing Sindiso. Sindiso passes the Received Fire test, but with an empty musket, he doesn’t return fire.
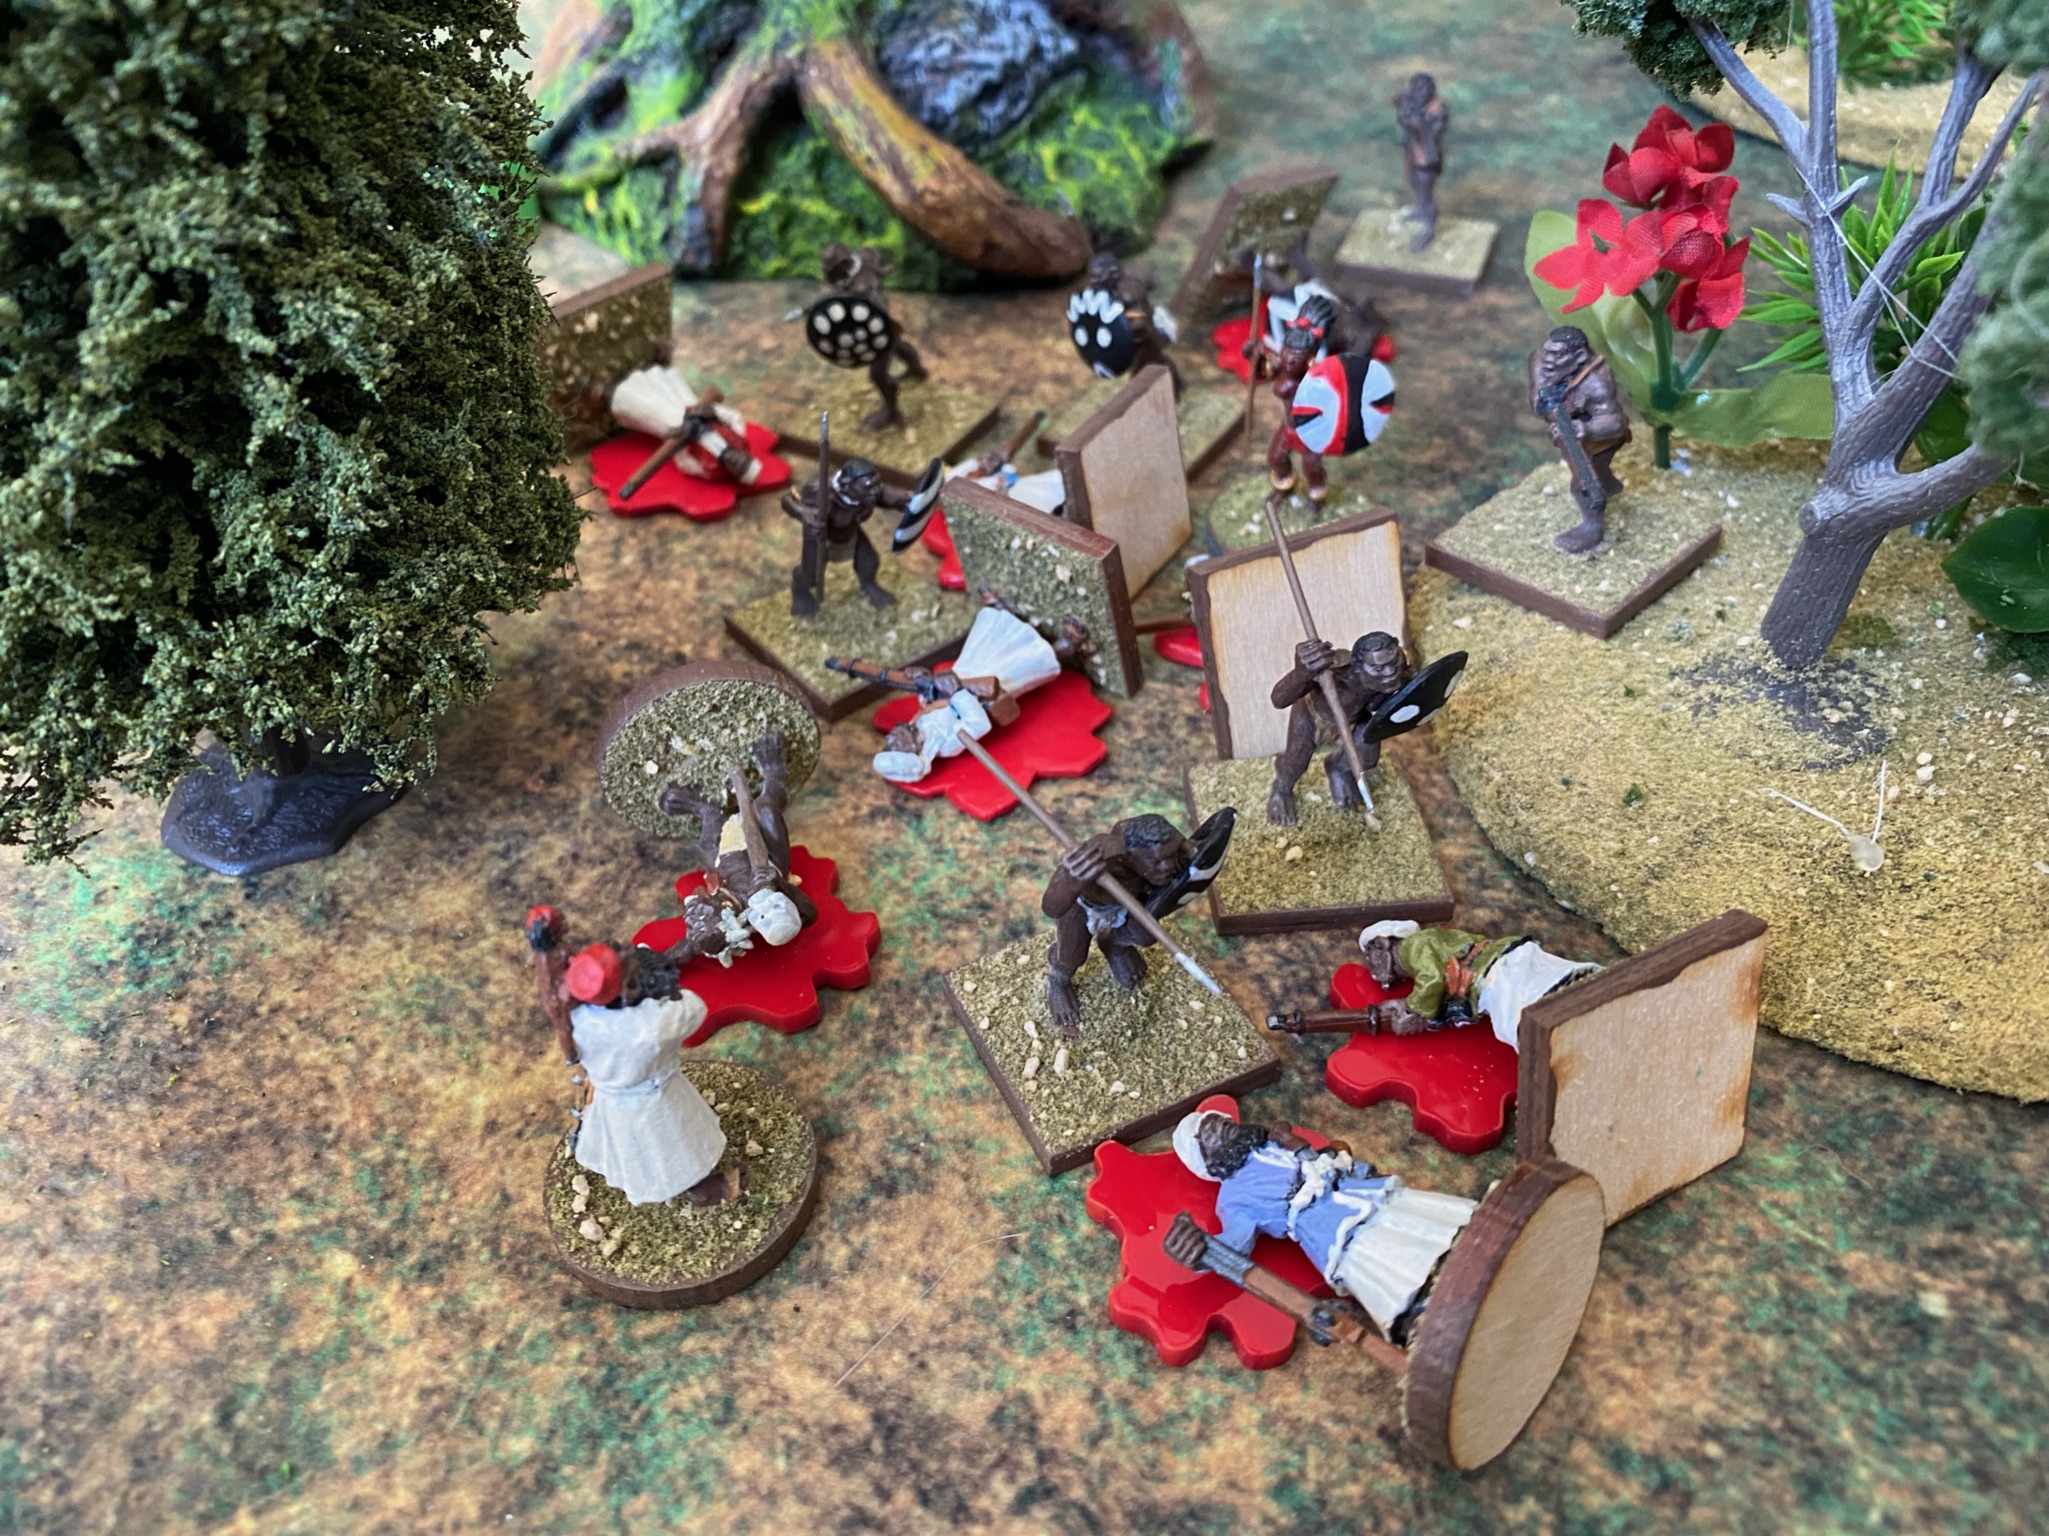
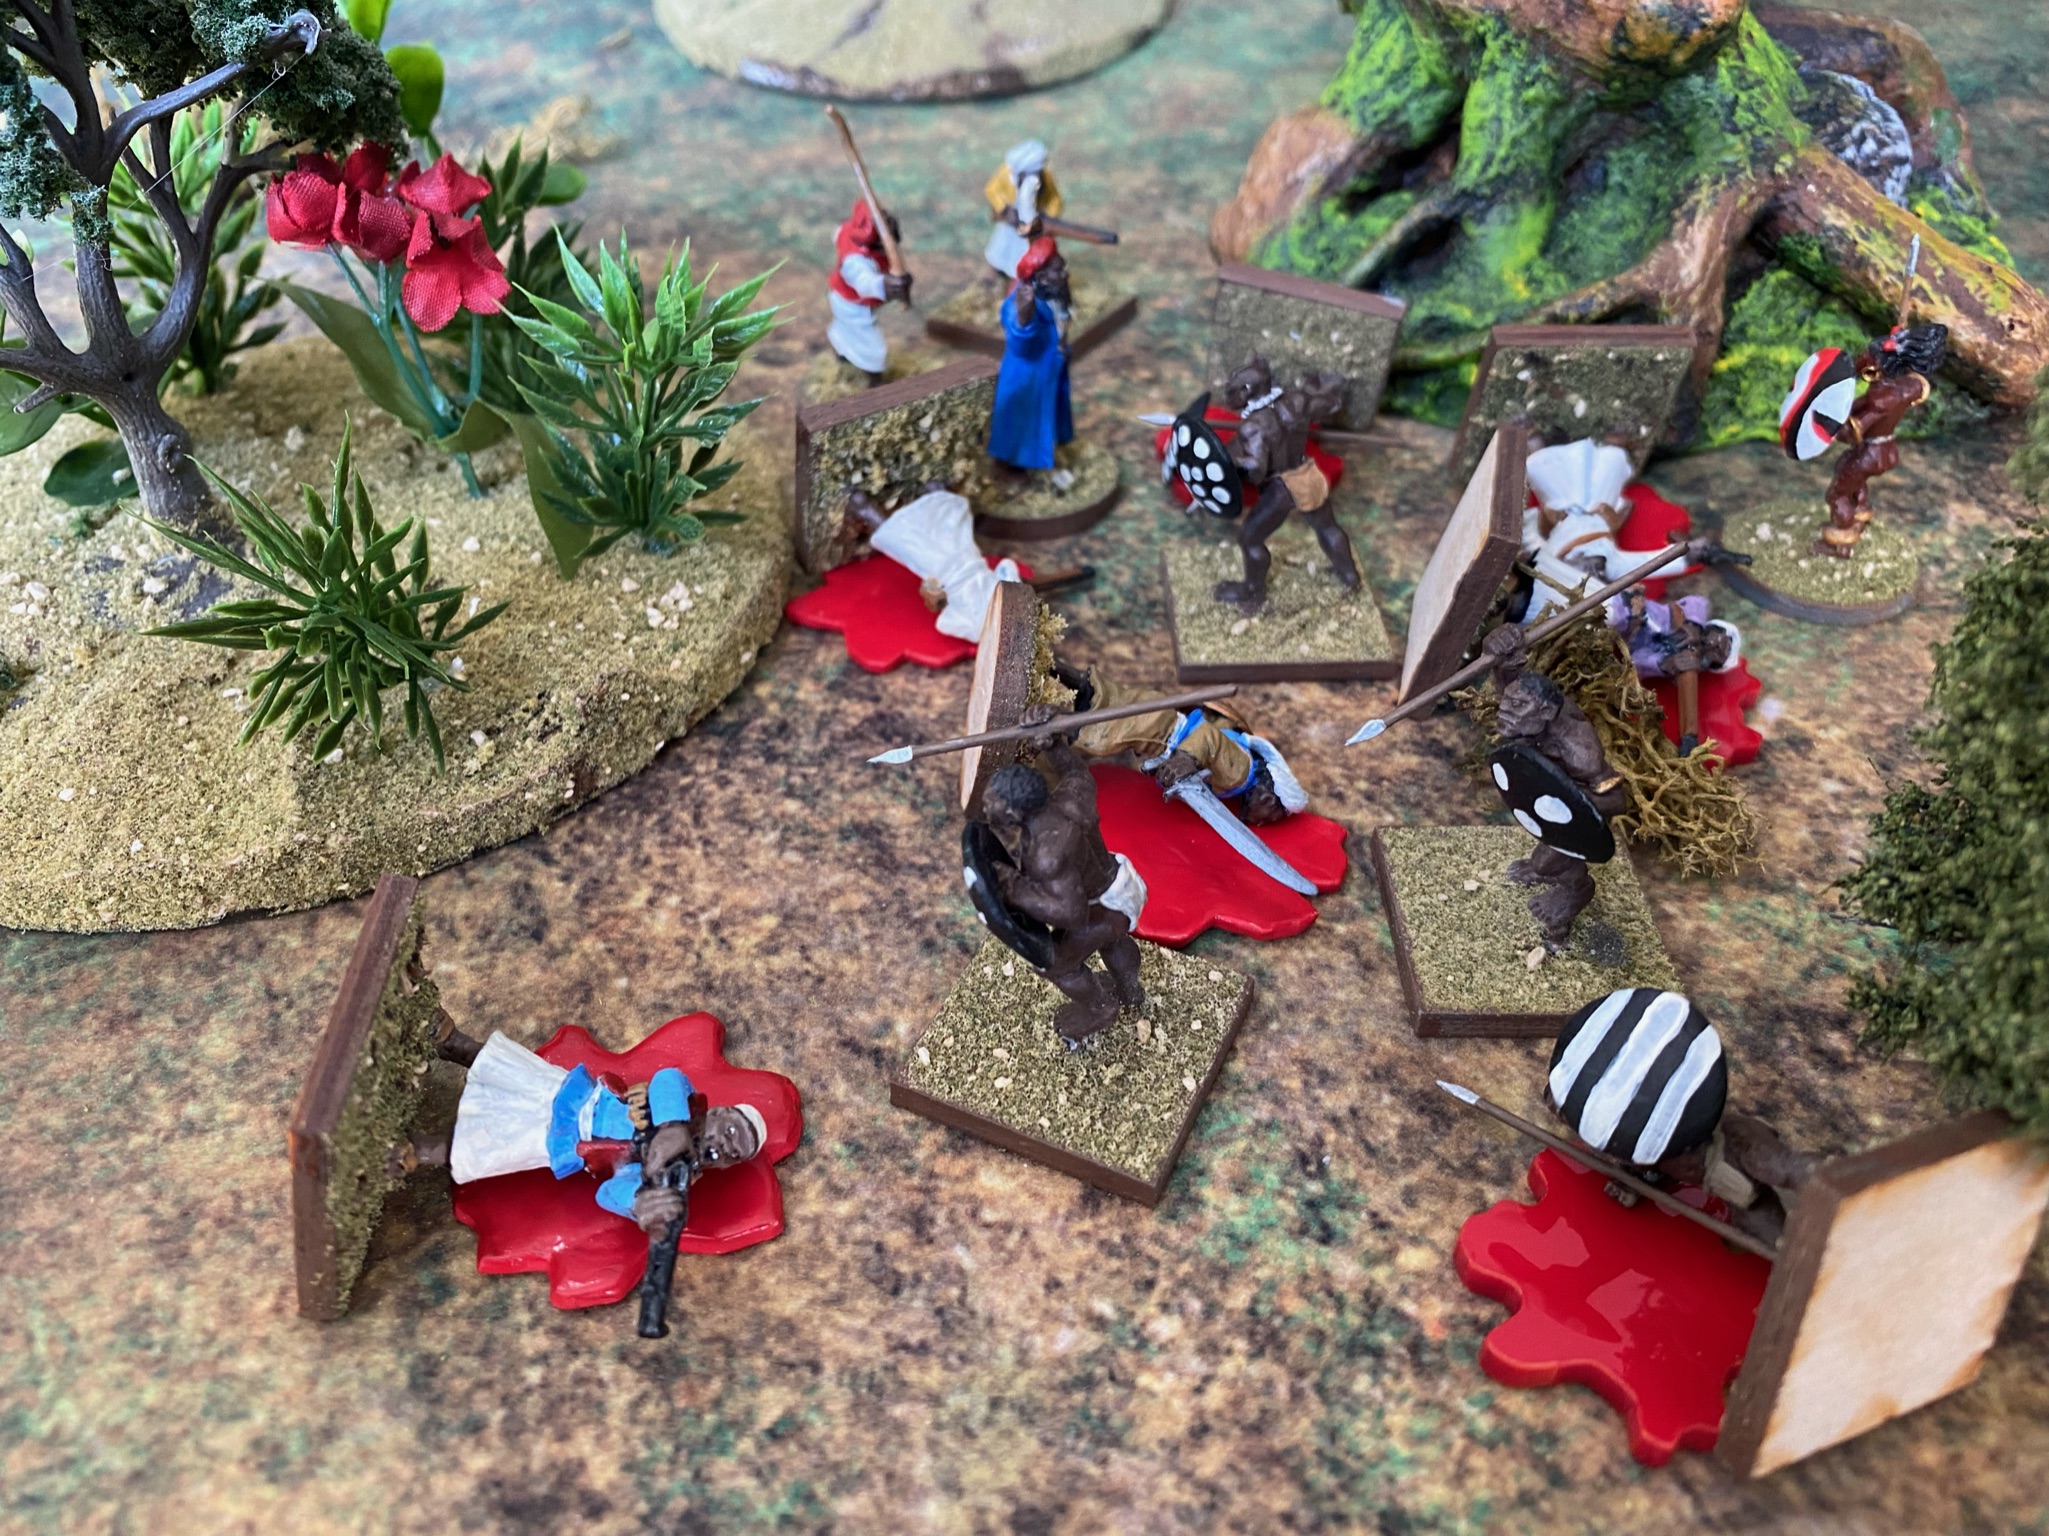
The dense jungle worked in the Okbona’s favor, by moving into sight, the Arab Slavers had also moved within charge range. The Okbona charge was so furious, only Unais was able to fire at the chargers sending Butho Out of the Fight. Those around Butho passed the Man Down Test and continued to charge.
The melee was a slaughter. Himli. Maneer, Waleed, Unais, and Raamiz all went Out of the Fight. Abdul was obviously dead. Shaqeeq al Abbas did manage to make Busani, the Witch Doctor, Obviously Dead. But when he was alone facing the Okbona, he ran away.
PEF B moved into sight, but resolved into “Something is Out There.”
PEF C moved and resolved into a group of Arab Slavers which now outnumbered the Okbana by one.
The Okbona won the In-Sight Test. Madla fired sending Mus’ab el-Sahli Out of the Fight. Sindiso fired at Nizaar forcing him to Duck Back. Again, the PEF was so close to the Okbona, that they charged the Arab Slavers. and again, only one of the Arab Slavers was able to fire. Ziyaad al-Semaan’s shot sent Thabani Out of the Fight.
Again, the Okbona, full of rage, slaughter the Arab Slavers. Nomusa sent Abdul Ghafoor al-Alam on a journey to meet his gods (Obviously Dead). Rabi, Aslam, and Ziyaad all go Out of the Fight. As with the last group of Arab Slavers, the leader, Hazm el-Hashmi proved to be a great swordsman sending Mongomeli Out of the Fight.
Everyone passes the Man Down Tests.
Turn 4
The Arab Slavers roll a six and can’t activate. Sindiso and Madla move to almost point blank range and fire. Sindiso hits Hazm and kills him (Obviously Dead). Madla’s shot his Saami sending him Out of the Fight. Neeshan al-Ghazal fails the Man Down Test and Runs Away.
Turn 5
The Okbona wait until Nizaar recovers from Duck Back and capture him without a fight.
Nomusa decides not to attack the Djouba village. She has three wounded warrior and the Witch Doctor is dead. She doubts anyone will miss him, he wasn’t liked by anyone. She decides to leave his body for the animals. She picked two other Arab Slavers who were not serious wounded to take back with the one they found hiding as prisoners. They made bags out of the Arab’s clothing and looted the bodies. The capture of so many muskets would make her father proud. They made a large bag out of Hazm el-Hashmi’s robes and then took the heads of wounded and dead alike.
Marching back to their village, Nomusa wondered if the Arab Slavers would ransom their men. She hoped not, she was looking forward to Arab stew.
After the Game
When designing the scenario, I had no idea the PEFs would be so close to one another and the Okbona raiding party when they resolved. After two fights with Arab Slavers, Nomusa had lost 40% of her force and was standing among plunder more valuable than chickens – muskets, powder, daggers, swords, coins, pouches, and cloth garments. Plus captives to ransom or for the stew pot. I think it was a good decision to call off the raid. If she had not taken the casualties she had, she probably would have gone on with the raid and try to please her father with two victories.
It may seem a waste to have put in so much preparation on the village, not to have raided it, but I have it generated for a future encounter.
I hope you enjoyed reading this battle report and are interested in checking out Mission St. Mary or other THW Classic rule sets at Rebel Minis. If you have any comments, questions, suggestions, or lavish gifts – they are always welcome.
If you enjoy the content on Atomic Floozy Adventures, please consider a small donation to keep the blog going.
Choose an amount
Or enter a custom amount
Your contribution is appreciated.
Or if you prefer using PayPal, use this button:
Mission St. Mary Chicken Raid Scenario
If you liked the Chicken Raid Scenario for Mission St. Mary, please consider making a small donation.
$1.00

Comments
2 responses to “MSM – Chicken Raid”
Setting two tribes against each other (or as it worked out, one of them against some Arab slave traders) is a nice twist on the usual Colonial scenario.
Smart Female Native leader Make the leader turn the Arab Slavers into Arab Slaver Stew Yum yum STEW? Elaine.. Richard.