


Continuing with a celebration of THW Classics available from Rebel Minis, it is time to take a look at Colonial Adventures. “Colonial Adventures is a set of unit-based battle rules that can be played with any figures you may already have.” – Colonial Adventures, page 1.
Before you think the Colonial Era of the latter half of the 19th Century is nothing but little forgotten wars fought in forgotten places, over 1,300 Victoria Crosses and 685 Medals of Honor were awarded in this period – if you consider the American Civil War to be a part of the period, then you are looking at over 2,000 medals of honor.
I have a personal history with Colonial Adventures. Way back at the start of 2012, when the blog was very young, a kind gentleman reached out to me and asked if I would like to join a Colonial gaming group. He had seen that I played games from Two Hour Wargames and I had been a regular gamer at Reaper. The group would start out playing Colonial Adventures. I hesitated for a moment, the Colonial Period was not a period I was typically interested in. But, getting into gaming, forcing myself to get out and meet people had been something a therapist had strongly encouraged, so I accepted the offer after he had told me I could play African Amazons, the Dahomey.

The group had a couple of guys I knew from Reaper, a couple of other guys and a couple of guys who were members of the Dallas Irregulars game club. There were usually six to eight of us. I can’t remember if we payed twice a month or only once a month. We played at a comic book/game store in Grapevine called Area 51. When we started playing, we would call Ed whenever a question arose. Evidently, we pestered Ed enough that he released a second edition of Colonial Adventures. We’re even mentioned in the “Special Thanks” box.
It did not take long for Colonial Adventures to become one of my all-time favorite games. So much so that when I ran games of Colonial Adventures and/or Mission St. Mary at Texicon, I would wear replica dresses from the late Victorian and Edwardian period (including the twenty pounds of underwear!) complete with sun helmet.
Colonial Adventures is the game you play when you’ve been inspired by movies like Zulu, Khartoum, Beau Geste, 55 Days at Peking, Via Rides, The Four Feathers, The Khyber Rifles, and so many more.
Colonial Adventures – the Game
As stated earlier, this is a mass battle game played with units of infantry, cavalry, artillery and machine guns. Though you can use these rules for any conflict after the Napoleonic Wars up into the Russian Civil War, the rules work best for conflicts from 1870 to 1910. Our group played games set in India, Africa, the Spanish American War and the Mexican Revolution.
You can play with a single platoon, or a company, or an entire column, just remember as a rule of thumb, the natives will outnumber you three to one.
There is an oddity which occurs in all THW mass combat rules. Units always have two leaders, an officer and a NCO. If the officer is killed, the NCO takes over. This is okay for a very small detachment – kind of silly in rules like Muskets & Shakos where the officer commands a battalion and his second in command is a Sergeant? Methinks Ed has a soft spot for Sergeants!
So why do you need so many natives for a game? The answer lies in three technological advances – the metal cartridge, repeating rifles and the Maxim machine gun. The natives, for the most part, didn’t have them.
There’s no Star Power dice, because there are no Star characters. There are no Attributes to give you an edge. You have no extra dice rolls for Extraordinary Effort, Free Will, or Cheating Death. Your leader is on his own to make his own luck. And if there is a miracle – “it’s a short chamber Boxer-Martini .45 calibre miracle.”
The Situation
For this game I’m returning to the fictional kingdom of Nobelongga. The king has a problem, a distant relative of his, a daughter of one of his nephews has started a rebellion in the North. She has gathered quite a following as she has promised to drive all of the Europeans out of Nobelongga. Naturally, the European powers have sent troops to “aid” the king in quashing the rebellion.
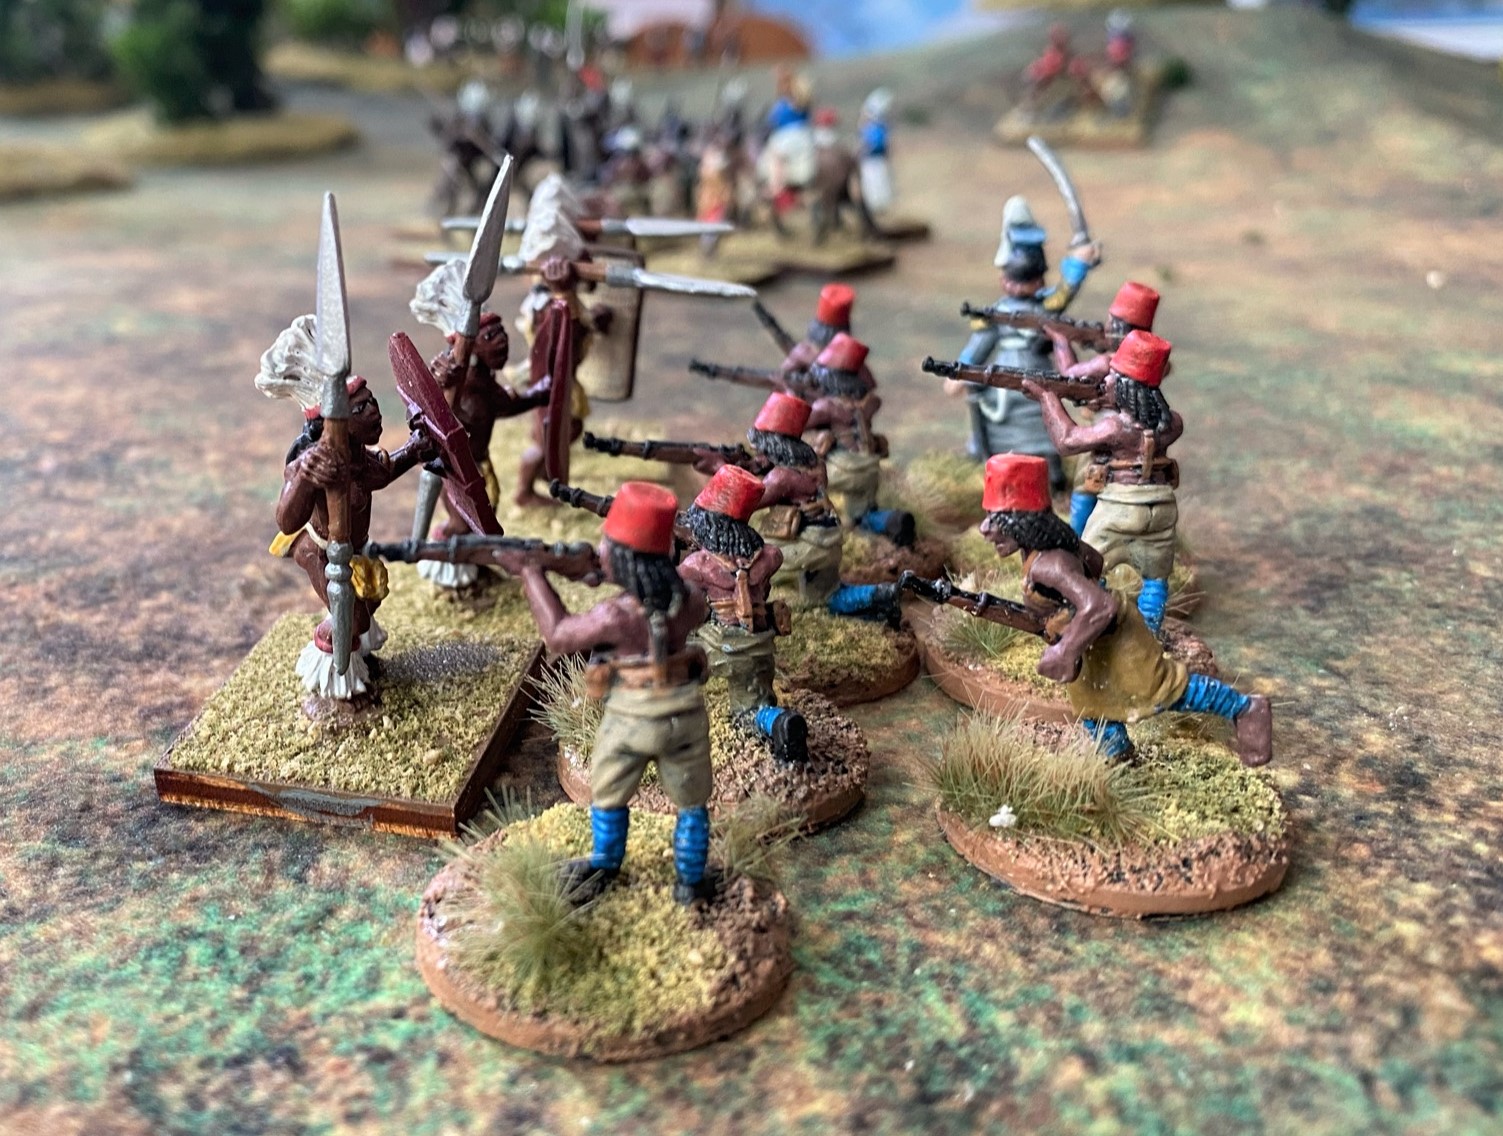
The rebel armies are typically made up of warriors armed with spears or muskets, about 25% – 30% of the warriors are female. To counter the large number of female warriors, the king formed a unit of his own women auxiliaries as Askaris with European weapons and officers.
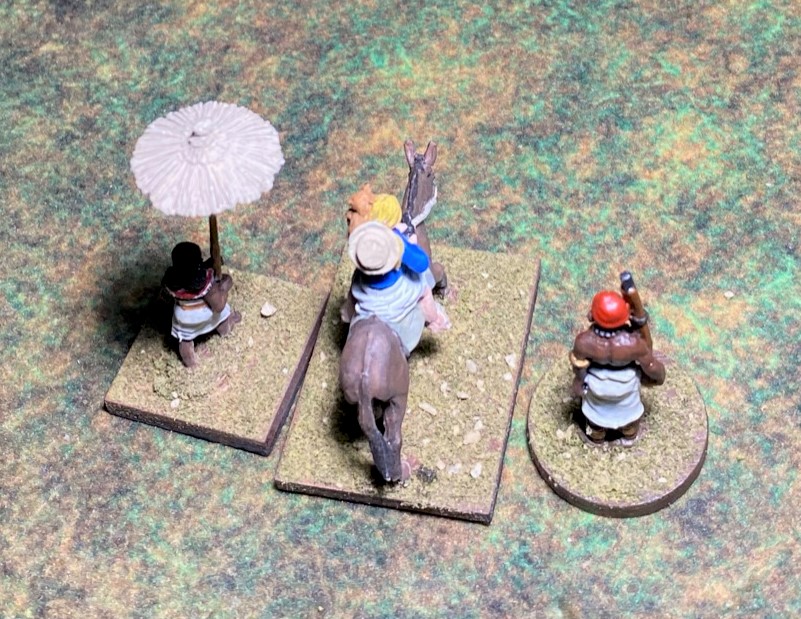
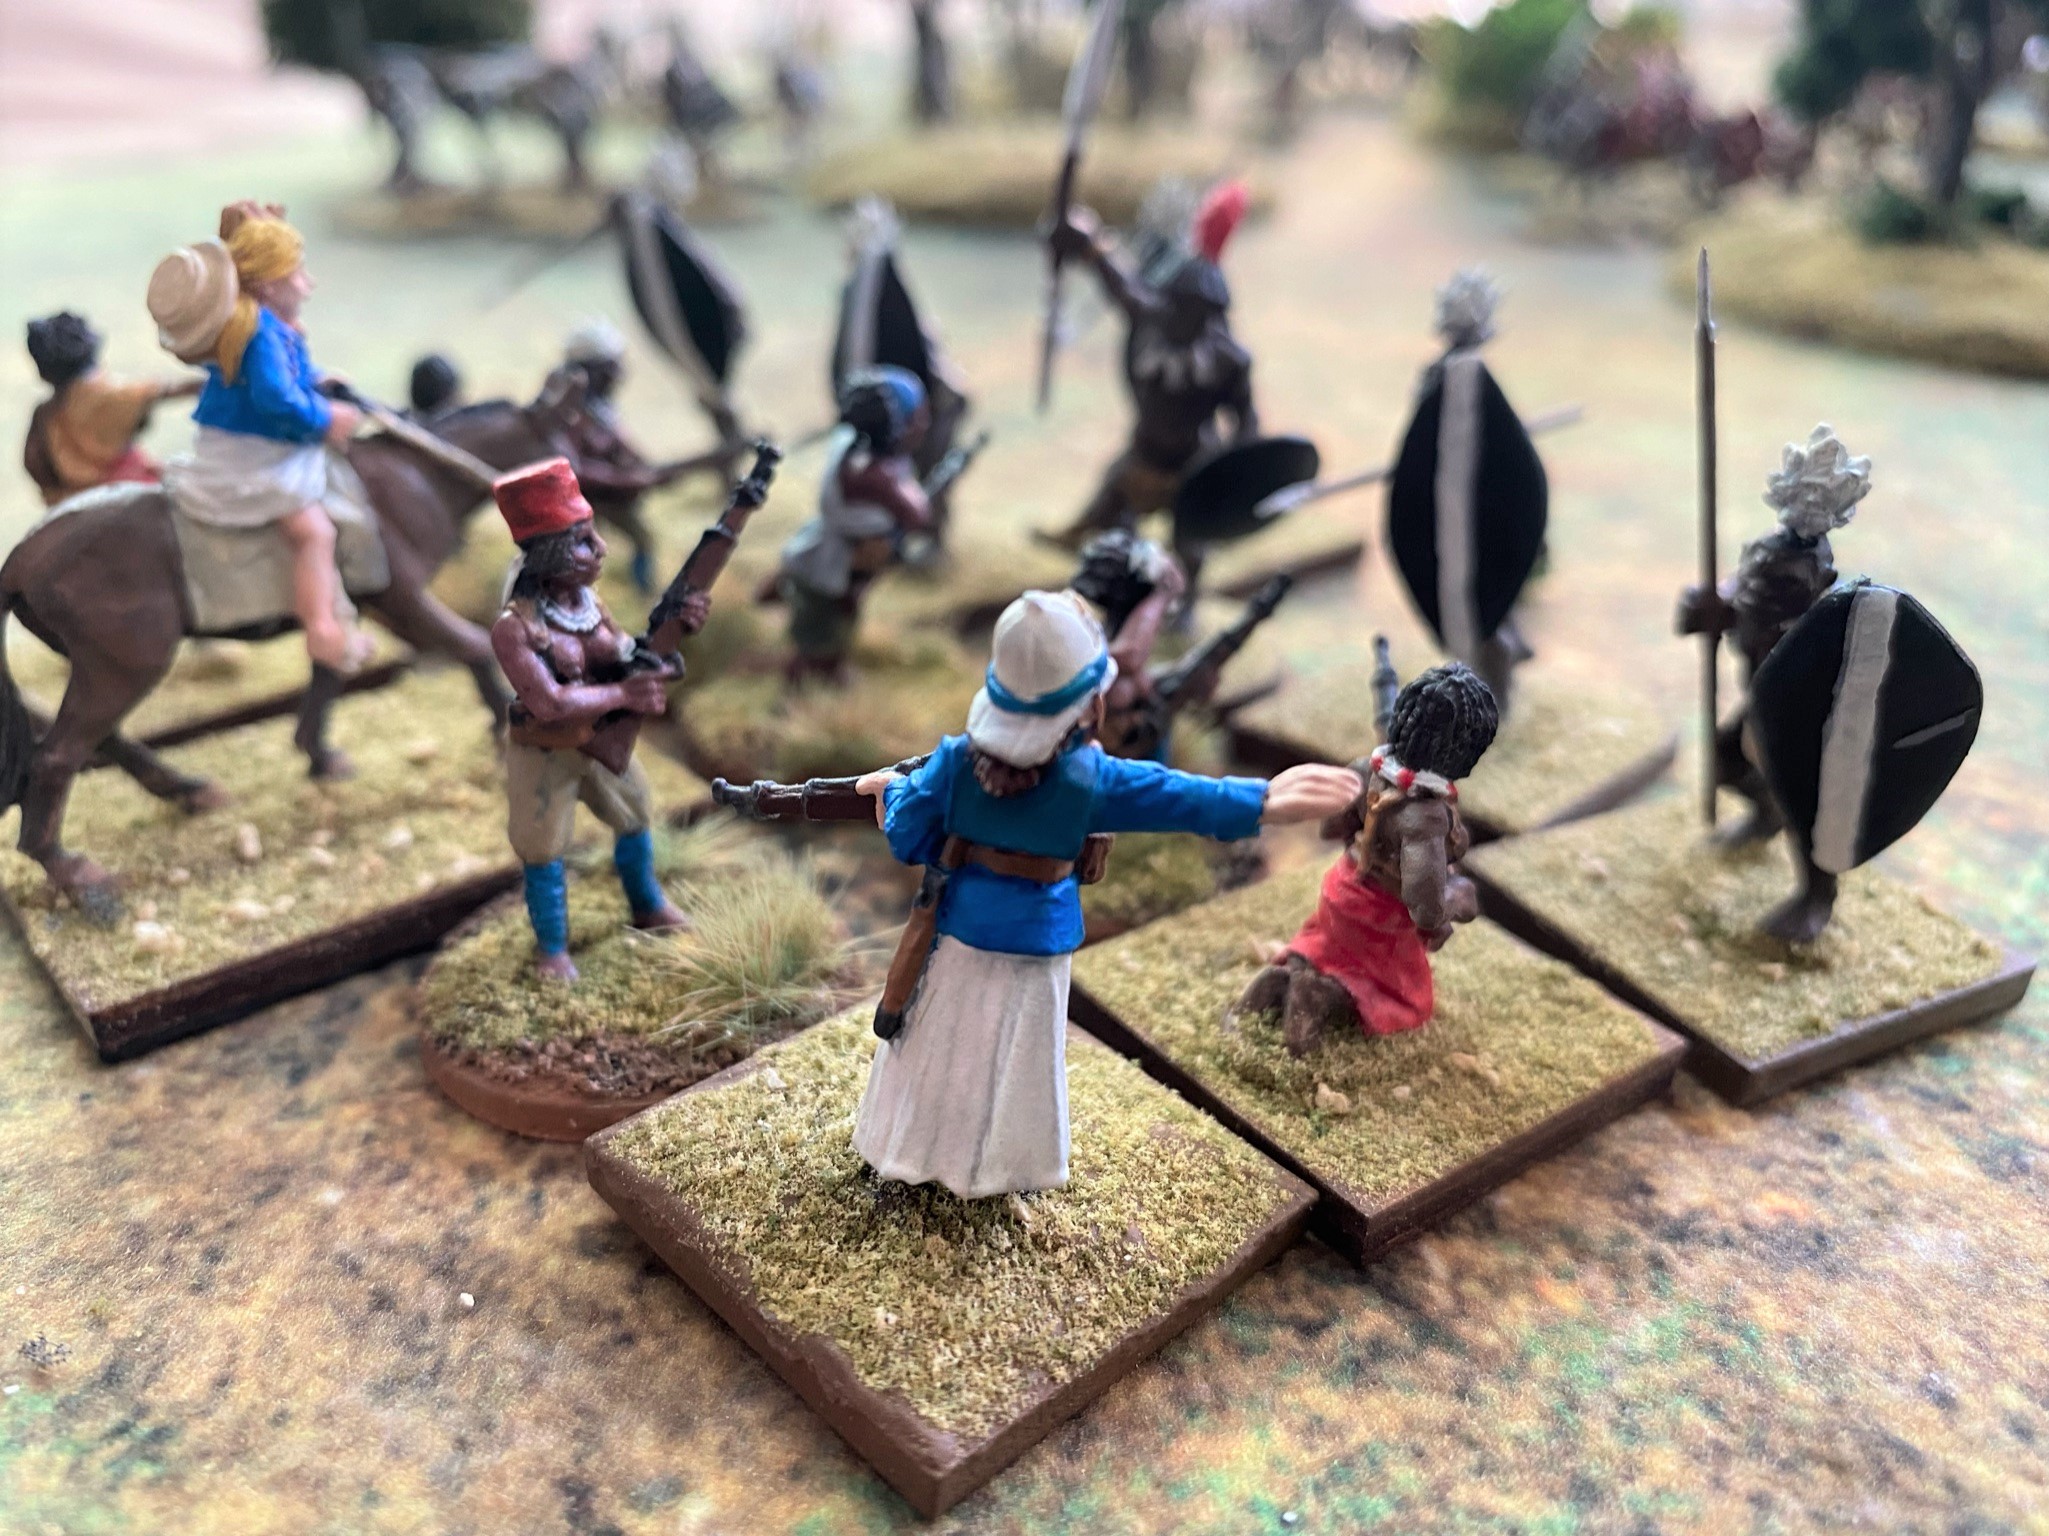
This small inexperienced company was patrolling above the headwaters of the Longga River near the Juju, “enchanted”, Falls. Female warriors have always been an oddity, so the company was accompanied by journalists, a painter and a cartographer. Unknown to them, the area was also the assembly point of a rebel army.

The Royal Maiden Auxiliary Company
The Royal Maiden Axiliary Company is commanded by a mix of British and German female officers. The French wanted nothing to do with the king’s female warriors. The British officers were from a recent experiment to allow women into the Royal Navy. The experiment was quickly abandoned and the female sailors returned to civilian life, except for a few recruited by the foreign service to “advise” armies with female troops. The German officers were ambitious women from minor German states that no longer had a role in a Prussian dominated military.
Royal Maiden Auxiliary Company – Table of Organization
| Headquarters Section | Lieutenant Winifred “Winnie” Strutton, Commanding (Rep 5) Nomusa, Bodyguard (Rep 3) Buhle, Attendant (Rep 3) |
| 1st Platoon | Lieutenant Joanna Nisbet, Commanding (Rep 5) Sgt. Nontando (Rep 4) 8 Askari (Rep 4) |
| 2nd Platoon | Lieutenant Vivianna Grunebaum, Commanding (Rep 4) Sgt. Thandiwe (Rep 4) 8 Askari (Rep 3) |
| 3rd Platoon | Lieutenant Edwina Chapman, Commanding (Rep 4) Sgt. Qalani (Rep 4) 8 Askari (Rep 3) |
| 4th Platoon | Lieutenant Katarina Pfeffer, Commanding (Rep 5) Sgt. Nomalanga (Rep 4) 8 Askari (Rep 4) |
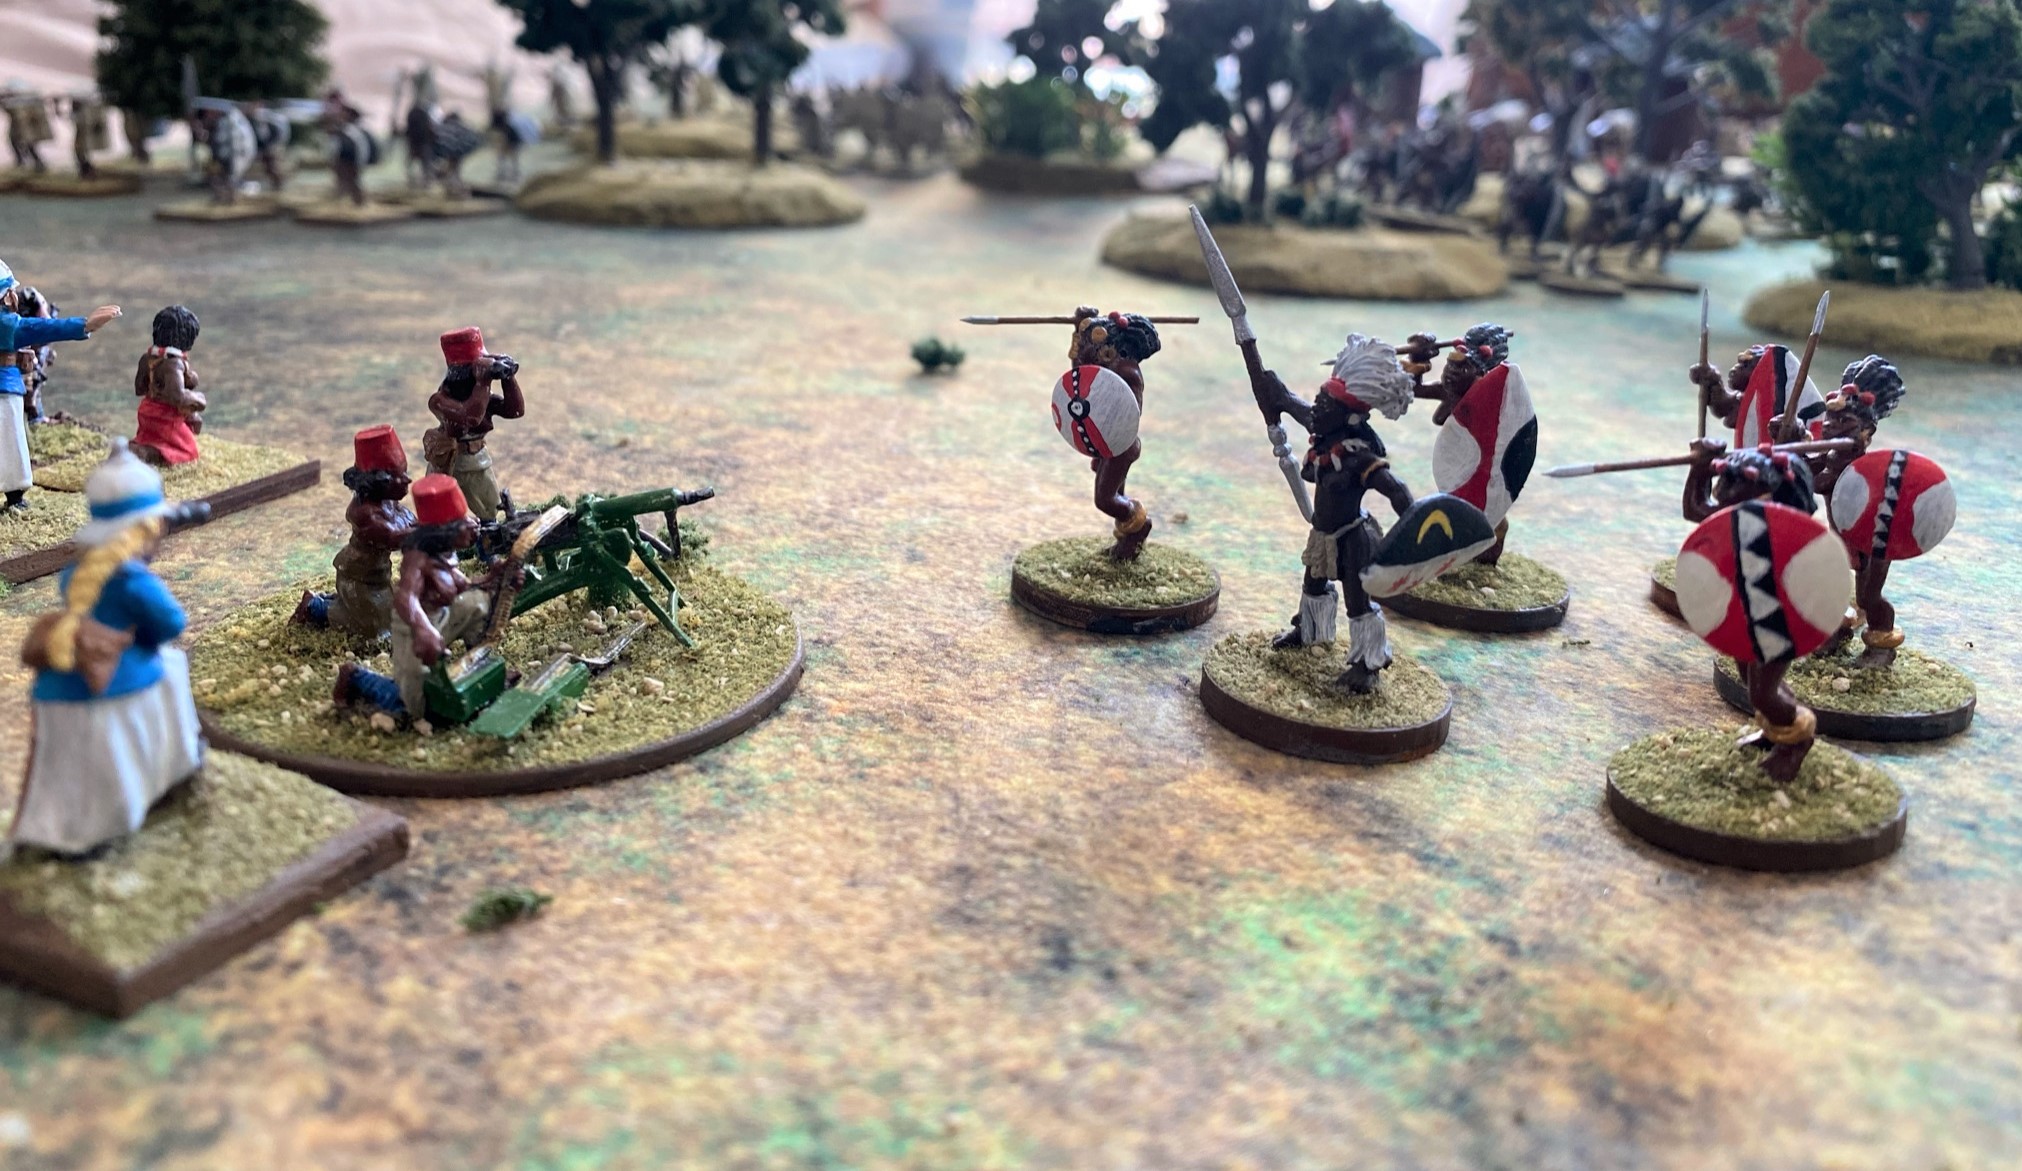
| Machine Gun Section | Lieutenant Ramona Withers, Commanding (Rep 4) 3 Askari Gun Crew (Rep 5) Maxim Machine Gun |
| Pack Train | Pattie Armstrong, Wrangler (Rep 4) Lingadani, Assistant Wrangler (Rep 3) 3 Askari (Rep 3) 3 Pack Mules (Rep 3) 4 Civilian Journalists and Artists (Rep 3) |
As mentioned earlier there were a few civilians who accompanied the company on its patrol.
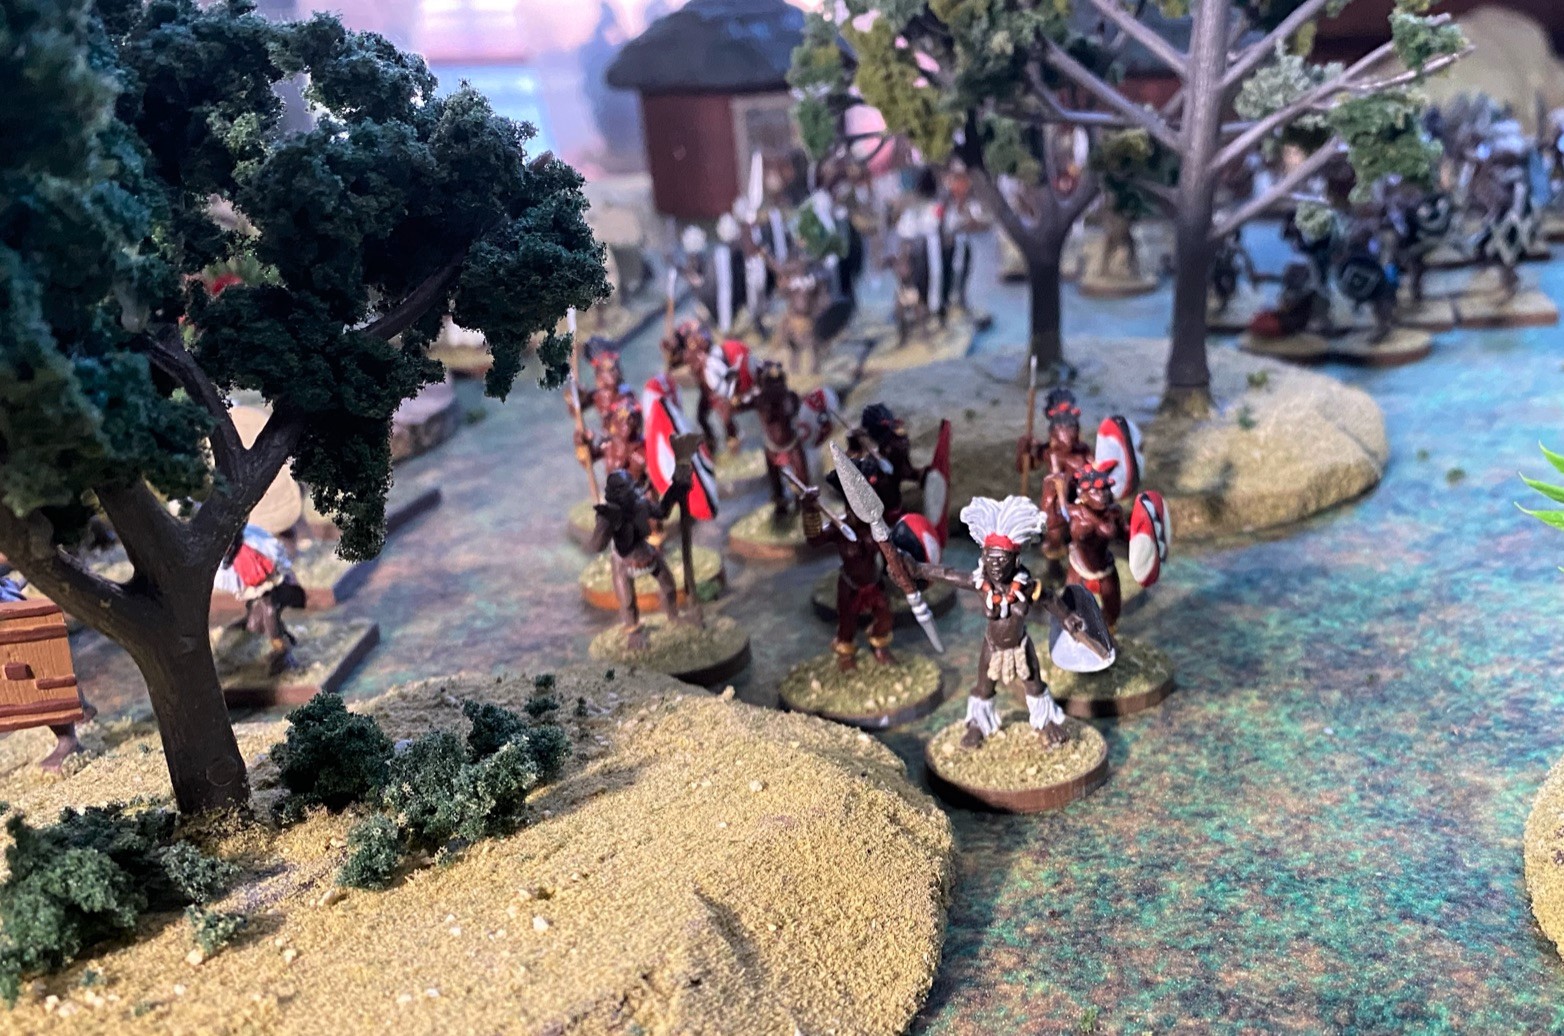
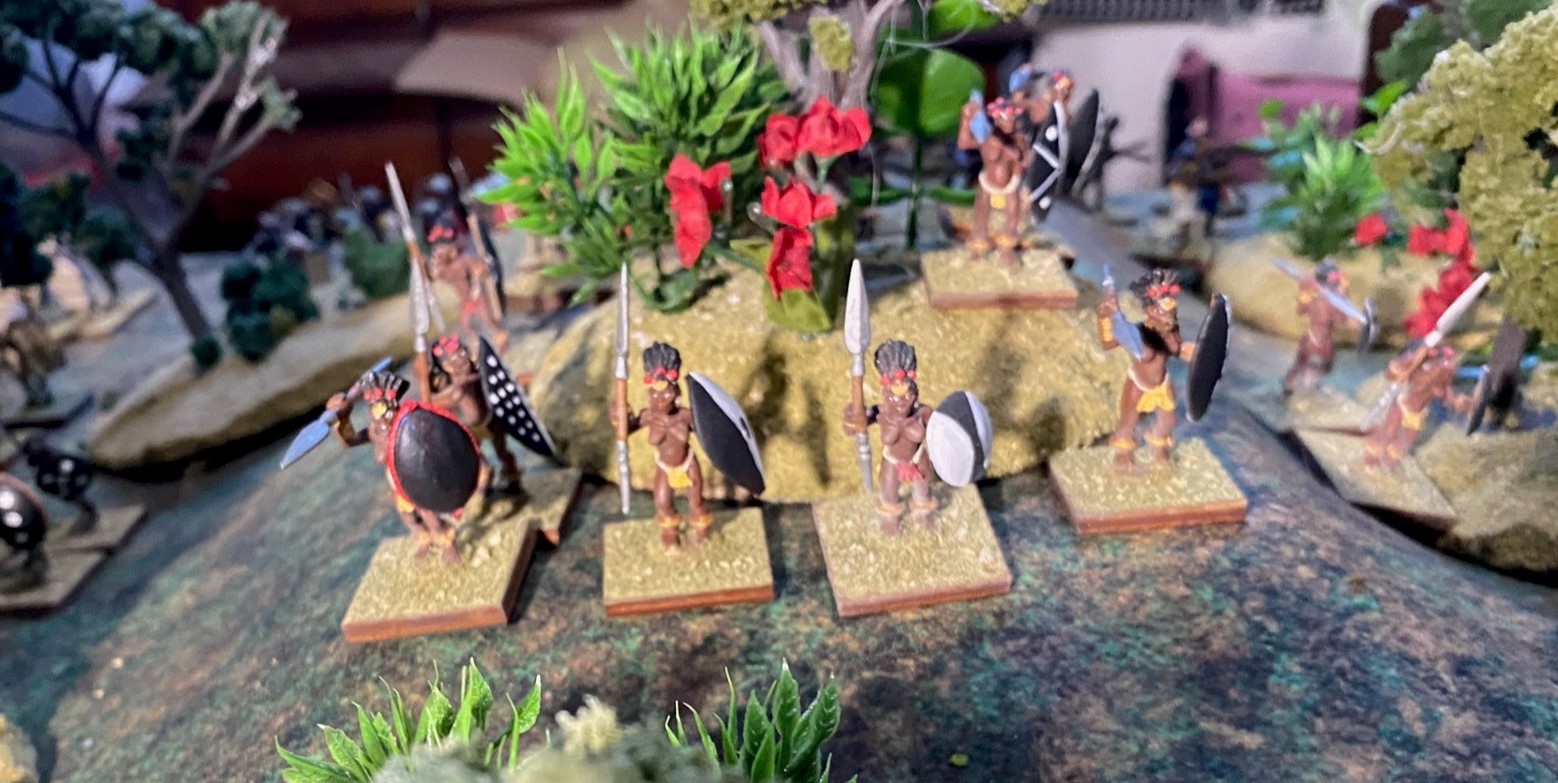
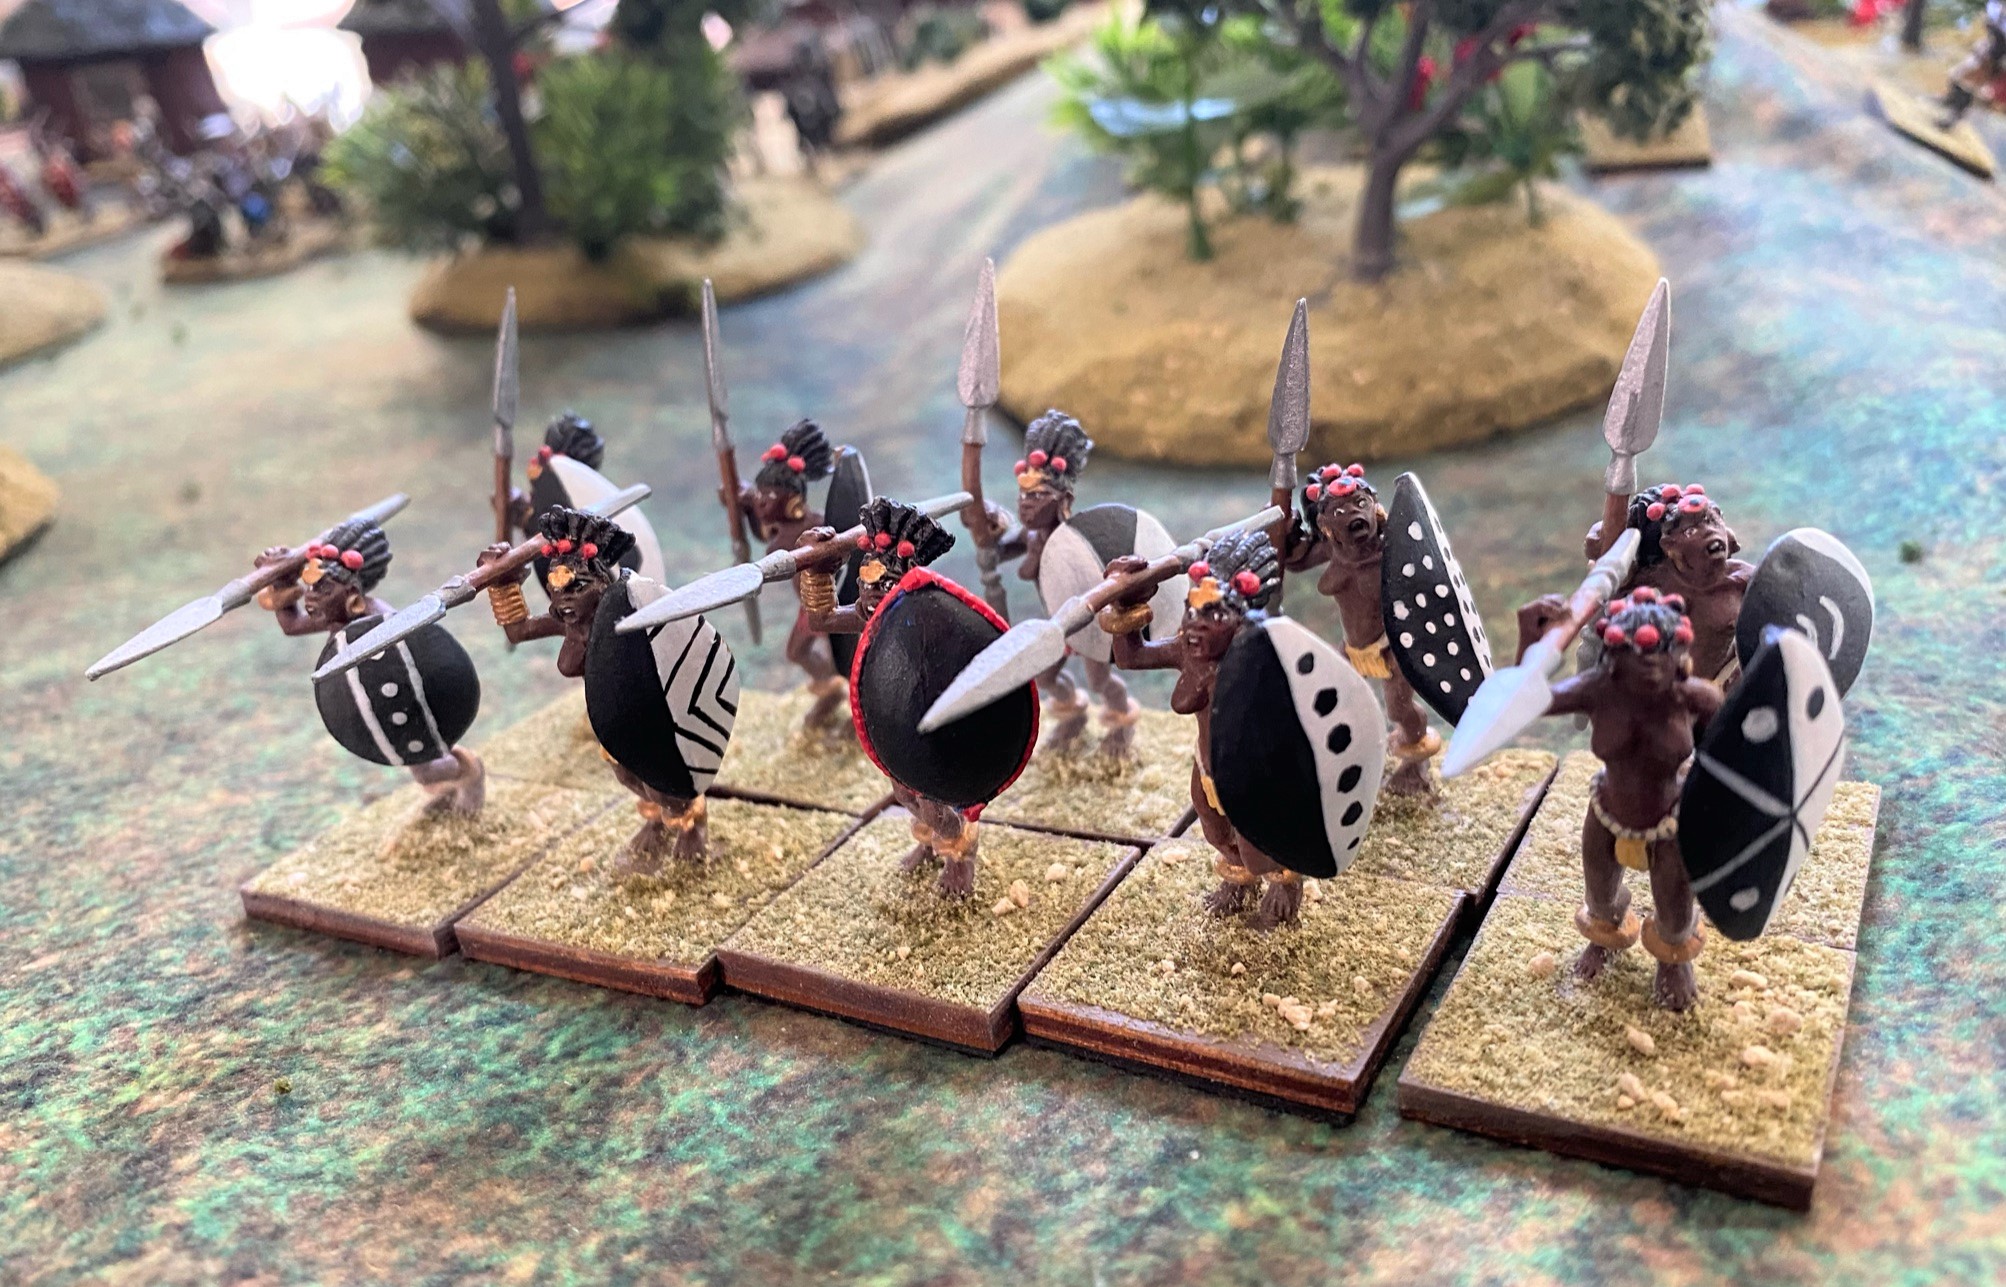
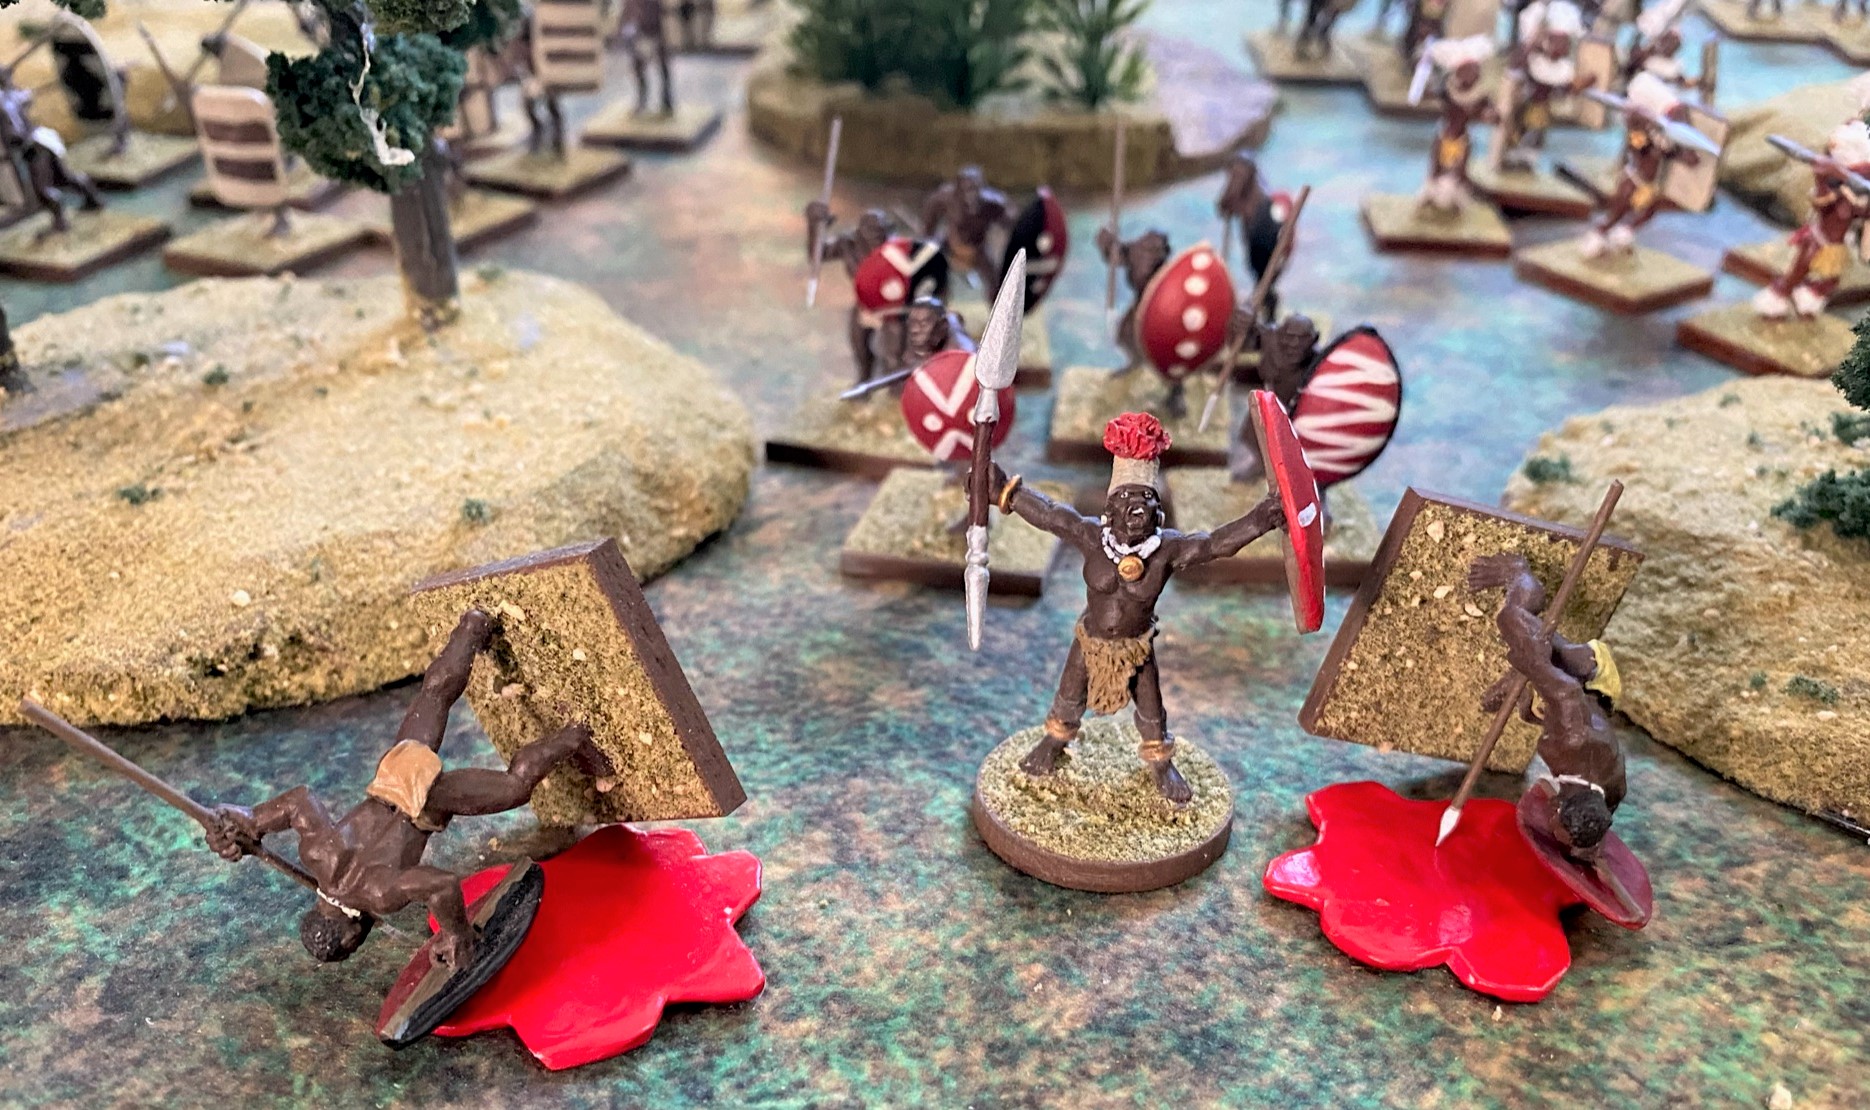
The Rebel Army
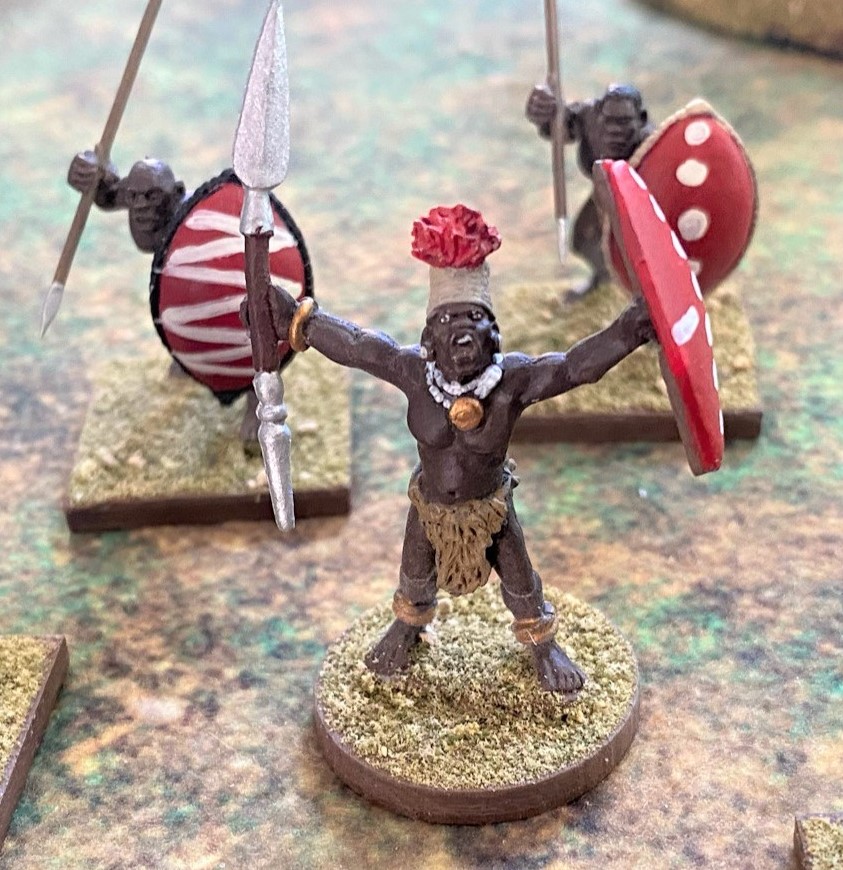
The rebels were led by Jafaru. king of Agongo. It was a difficult concept for some Europeans to grasp that King Langa Nzima of all Nobelongga was a king of other kings. Jafaru had long been at odds with the King of Nobelongga, he felt too little was done to help his land from incursions by the Zulu and Arabs.
Organization of the Rebel Army
| Position | 1st Wave Units | 2nd Wave Units | 3rd Wave Units |
|---|---|---|---|
| Right Wing | Rushing Wind (Rep 3), Ldr – Kaka (Rep 4) (F) Forest Song (Rep 5), Ldr – Muna (Rep 4) (F) | Honey Bees (Rep 3), Ldr – Hazika (Rep 3) (F) (Bw) Earth Song (Rep 3), Ldr – Sauda (Rep 4) (F) | Wasps (Rep 4), Ldr – Audu (Rep 4) (Mskt) |
| Center | Swift Snake (Rep 5), Ldr – Oringo (Rep 4) Roaring Lion (Rep 3), Ldr – Nabil (Rep 3) Black Buffalo (Rep 3), Ldr – Hajari (Rep 3) | Charging Bull (Rep 3), Ldr – Mariata (Rep 4) Thunder Roar (Rep 3), Ldr – Rasheed (Rep 4) Red Shield (Rep 4) Ldr – Kamil (Rep 5) | Red Sun (Rep 4), Ldr – Umaru (Rep 4) Black Moon (Rep 4), Ldr – Koda (Rep 4) Dream Eaters (Rep 4), Ldr – Jamal (Rep 4) |
| Left Wing | Mountain Song (Rep 3), Ldr – Nyeki (Rep 4) (F) Sleek Lioness (Rep 5), Ldr – Danuwa (Rep 5) (F) | White Heron (Rep 4), Ldr – Kianga (Rep 3) (F) Hornets (Rep 3), Ldr – Oto (Rep 4) (Mskt) | Scorpions (Rep 3), Ldr – Hafiz (Rep 4) (Mskt) |
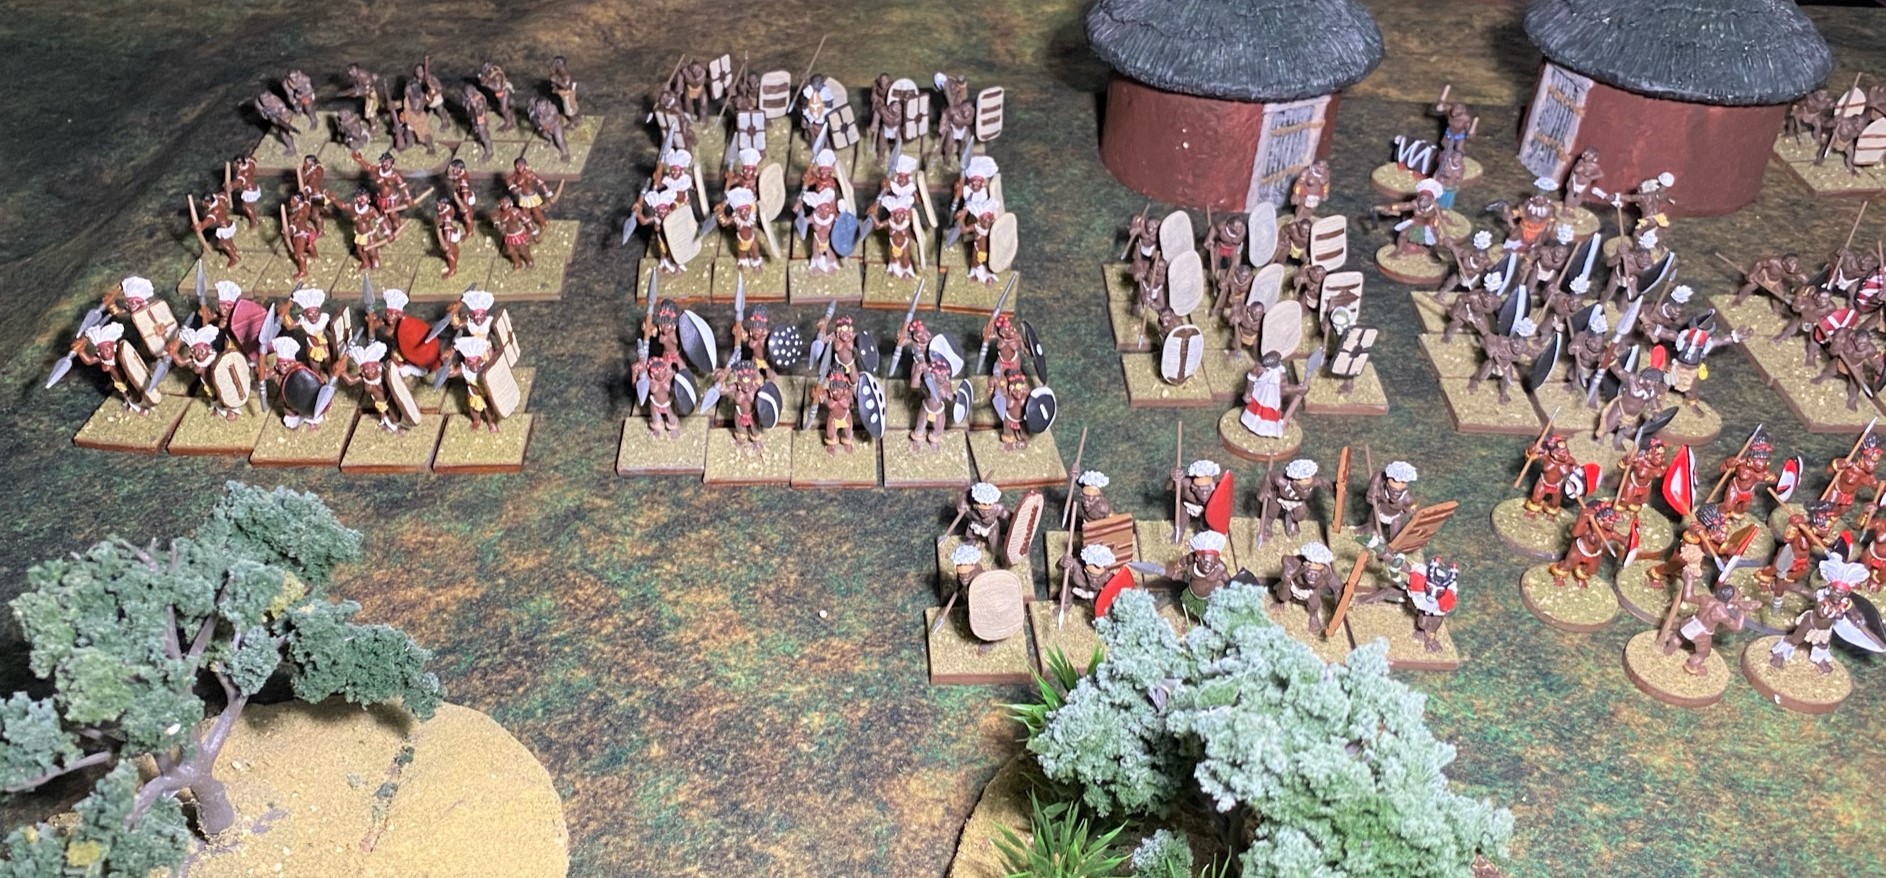
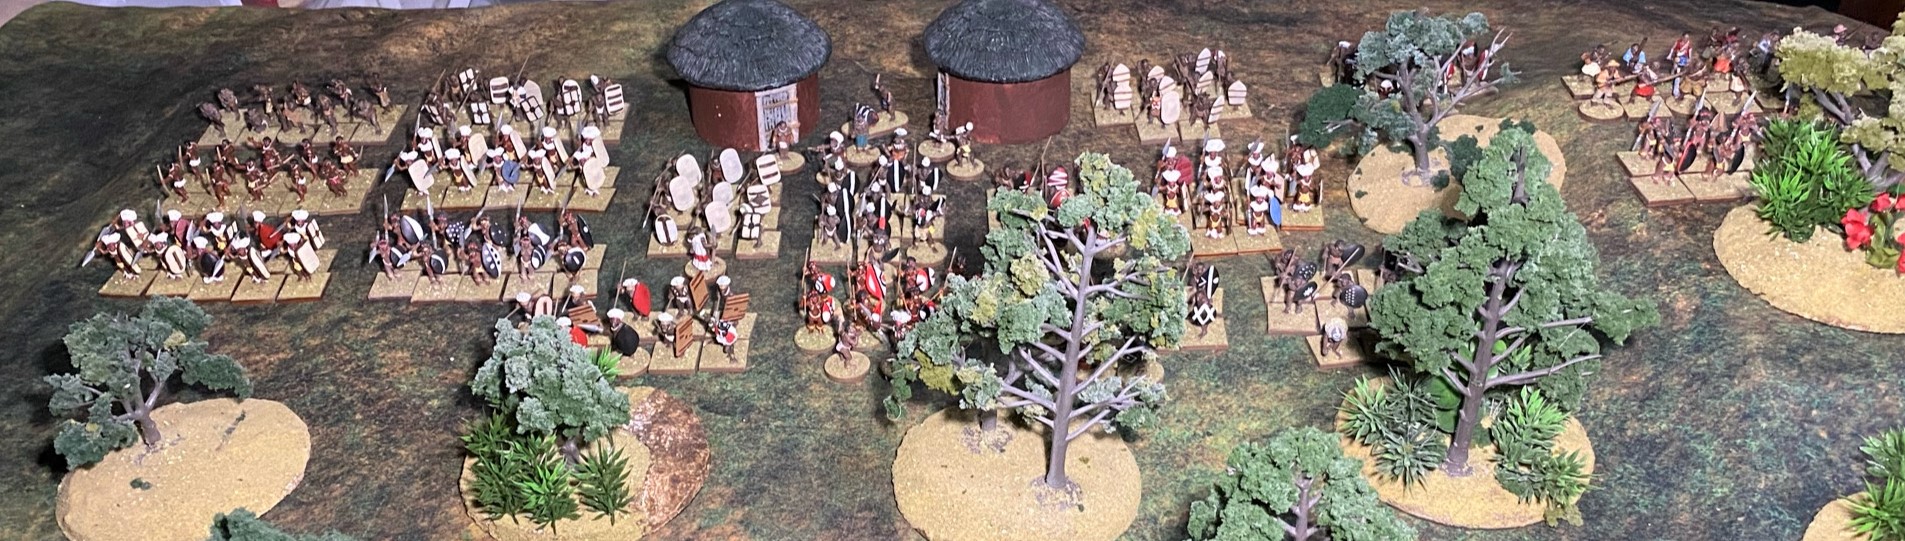
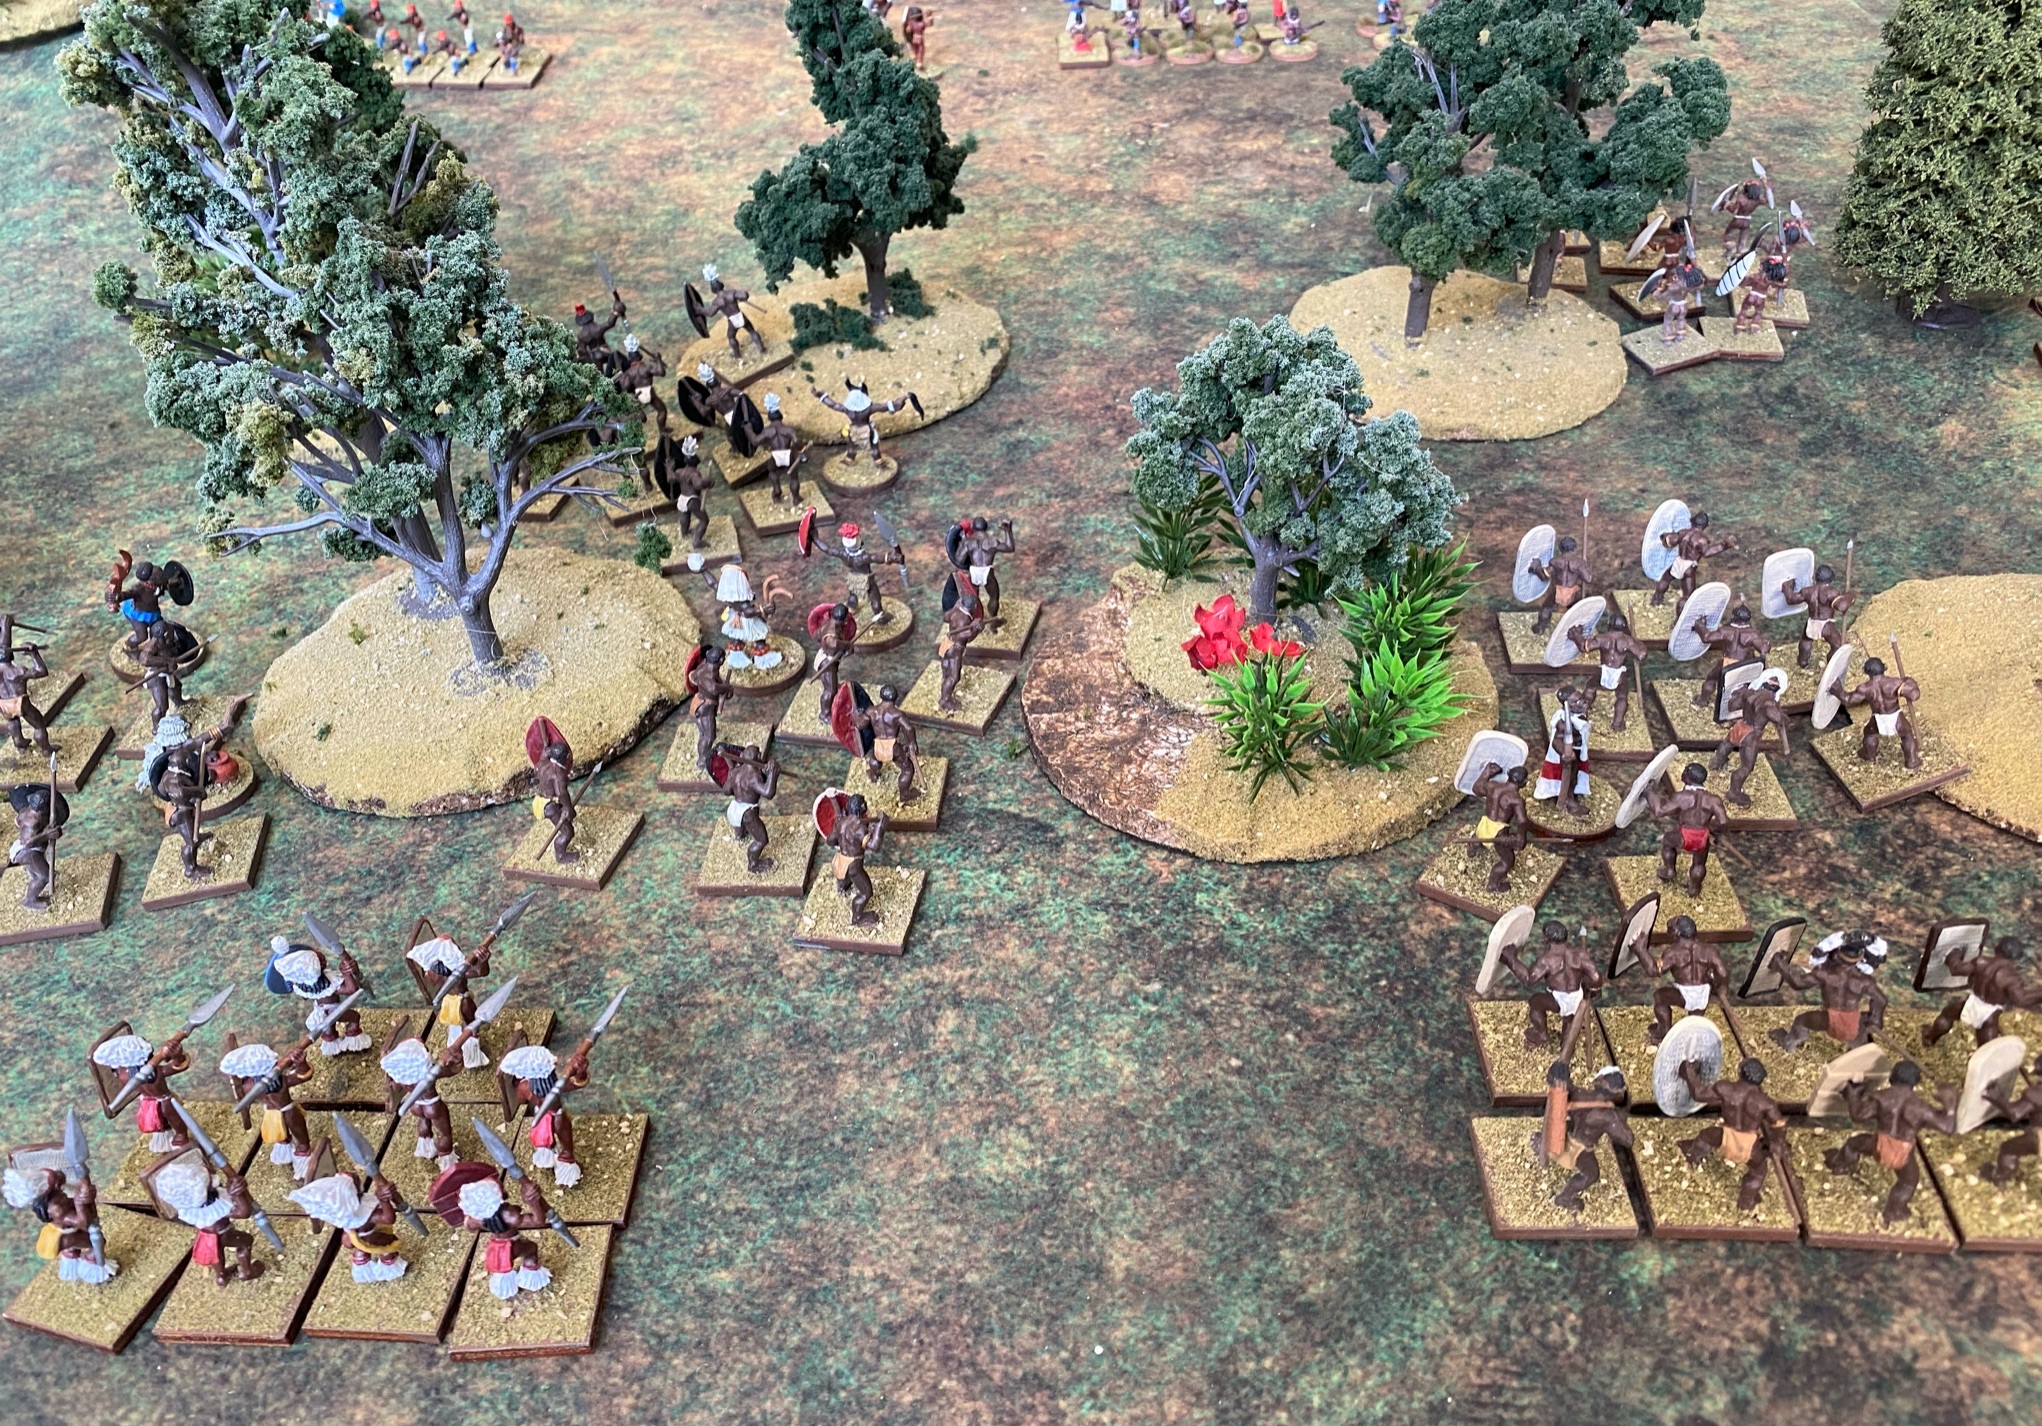
As you can plainly see, the rebels outnumber the Maiden Auxiliary Company, 190 figures to 50 (the machine gun counts as a unit of 10), that’s almost a 4 to 1 odds.
Terrain
The table is divided into nine sections like most other THW rules. The terrain table has three columns of general terrain circumstances – Clear/Hilly; Mountainous; Woods. I envision the terrain in this part of Nobelongga to still be primarily forest, so I rolled using the Woods Column.
The results are that Section 1 is clear; Section 2 is clear with a settlement; Section 3 is a wooded hill; Section 4 is woods; Section 5 is woods; Section 6 is clear; Section 7 is clear; Section 8 is clear and Section 9 contains a wooded hill.
PEFs
While PEFs in most THW games have a Reputation of four (Rep 4), the PEF markers in Colonial Adventures can vary in Reputation. The movement of PEFs has an interesting feature. In other games, PEFs move toward or away from your characters, Colonial Adventures adds a result in the PEF Movement table where a PEF will move toward another PEF.
Resolving PEFs is also slightly different. Since Colonial Adventures is based on groups rather than individual characters, the resolution table contain options such as meeting one more group than the number of your groups and meeting two more groups than the number of your group, but also meeting twice the number of groups to your groups and the option of meeting a force three times larger than yours.

Stand Up Fight Encounter
In the posts covering Mission St. Mary and Fortunes Won and Lost from Rebel Minis, I played the Patrol Encounter which is the starting encounter for any campaign. The Patrol Encounter is also recommended as the first encounter to play when learning Colonial Adventures.
For this game, I don’t want to play with the randomness of PEFs. I want a big battle to see if my European Trained force can hold its own against overwhelming odds. The encounter for a set engagement, a big battle, a rumble in the jungle, is the Stand Up Fight Encounter. The Maiden Auxiliary deploys in Sections 7, 8, and 9, with half of the force in Section 8. The Rebel Army deploys on the opposite side in Sections 1, 2, and 3, with half of its force in Section 2.
For the sheer number of figures, I’ll use a 4′ x 4′ table surface.
Turn 1
The drum talk started slightly before noon. Lieutenant Winnie Strutton, who commanded the Royal Maiden Auxiliary Company, was told the drums spoke of a large rebel force assembling nearby. Winnie decided to begin their trek back to Mission Saint Mary. As the drum talk increased, she found a small savannah and decided to make a stand there where the machine gun and her inexperienced Askari would have a better chance with the open ground. She had been told the rebels almost always attacked late in the afternoon. When the first wave came charging out of the forest, she looked at her watch – 2:00 PM, they were early.
Old school war games have lots of charts and tests, so bear with me. The first thing to do is an activation roll to see which side goes first. The Rebels rolled a 6 and the Royal Maiden Auxiliary rolled a 4. Though the Rebels won the activation roll, they have no Rep 6 or higher units or units led by Rep 6 leaders. This means only the RMA gets to activate Rep 4 or higher units or units led by Rep 4 or higher leaders.
The commander-in-chief, Lt. Winnie Strutton attaches herself to the Third Platoon to bolster its leadership. The rest of the RMA holds its position, setting up a Rorke’s Drift kind of defense.

Turn 2
The Rebels win the activation with a 4. This means I can move all of the units except for three Rep 3 units which have Rep 3 leaders. The first wave fast moves and the rest move their normal distance.
The RMA holds still.
Turn 3
Turn three is an exact copy of turn two. In large miniature games, it is typical for the first turn or two to be pretty much nothing but movement. One of the reasons for skirmish or skirmish-like games’ popularity is that the players get stuck into conflict early in the game.
What turns of movement provide for a player is the chance to watch the story begin to unfold. And as it unfolds, the player has to make the decision to stick to his or her plan, or change the plan, or is it too late. It reminds me of the lines from the movie “Heaven and Earth”, about the battle of 4th Kawanakajima, where Takeda Shingen is informed that Uesugi Kenshin’s army has begun the battle with the winding wheel formation and Takeda replies “Then we’ve lost the battle.”

Turn 4
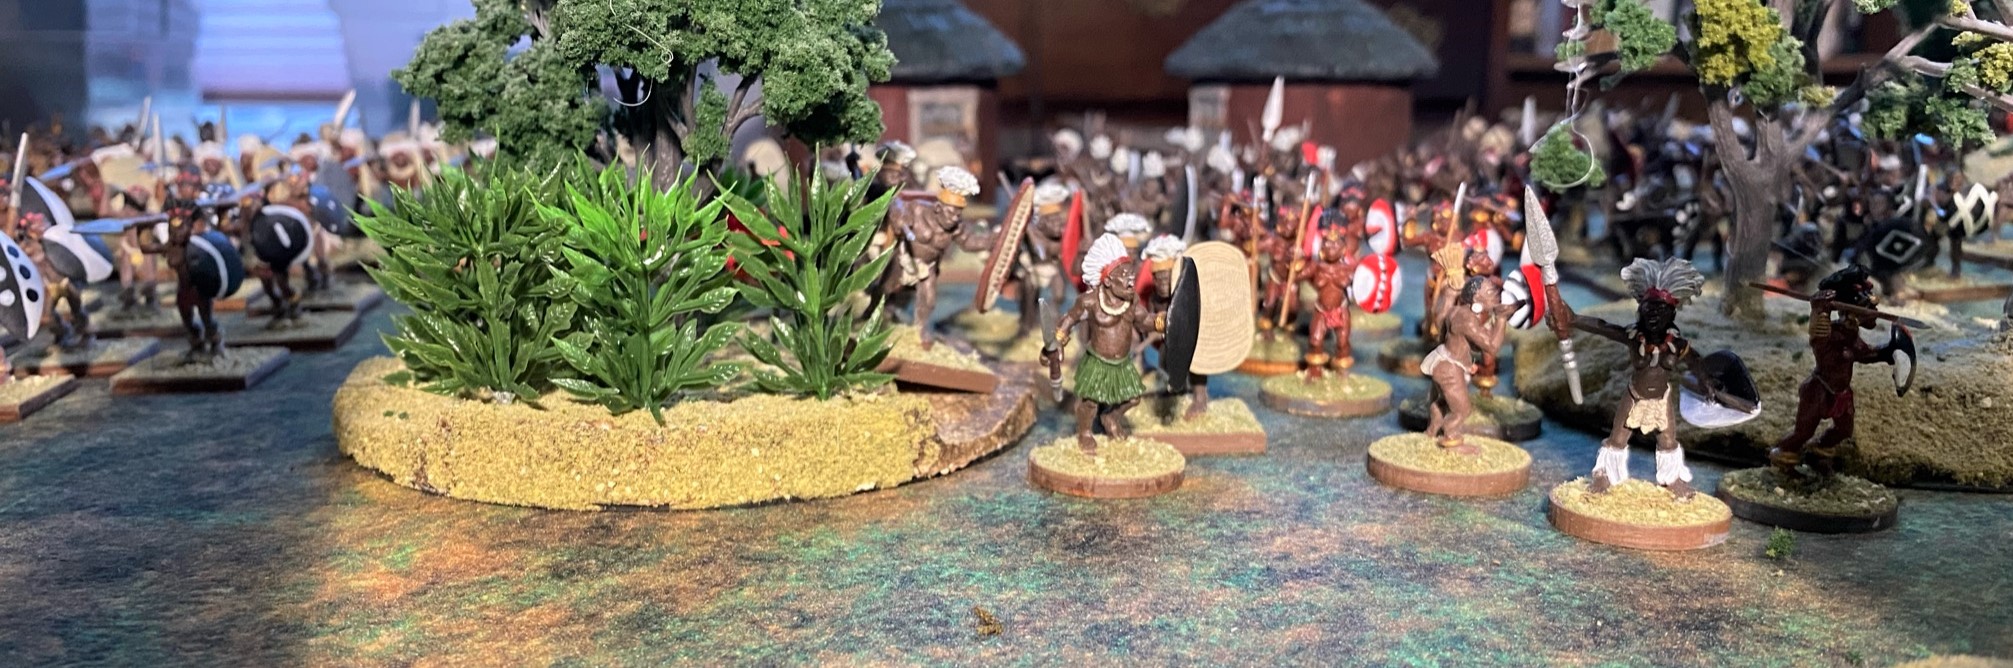
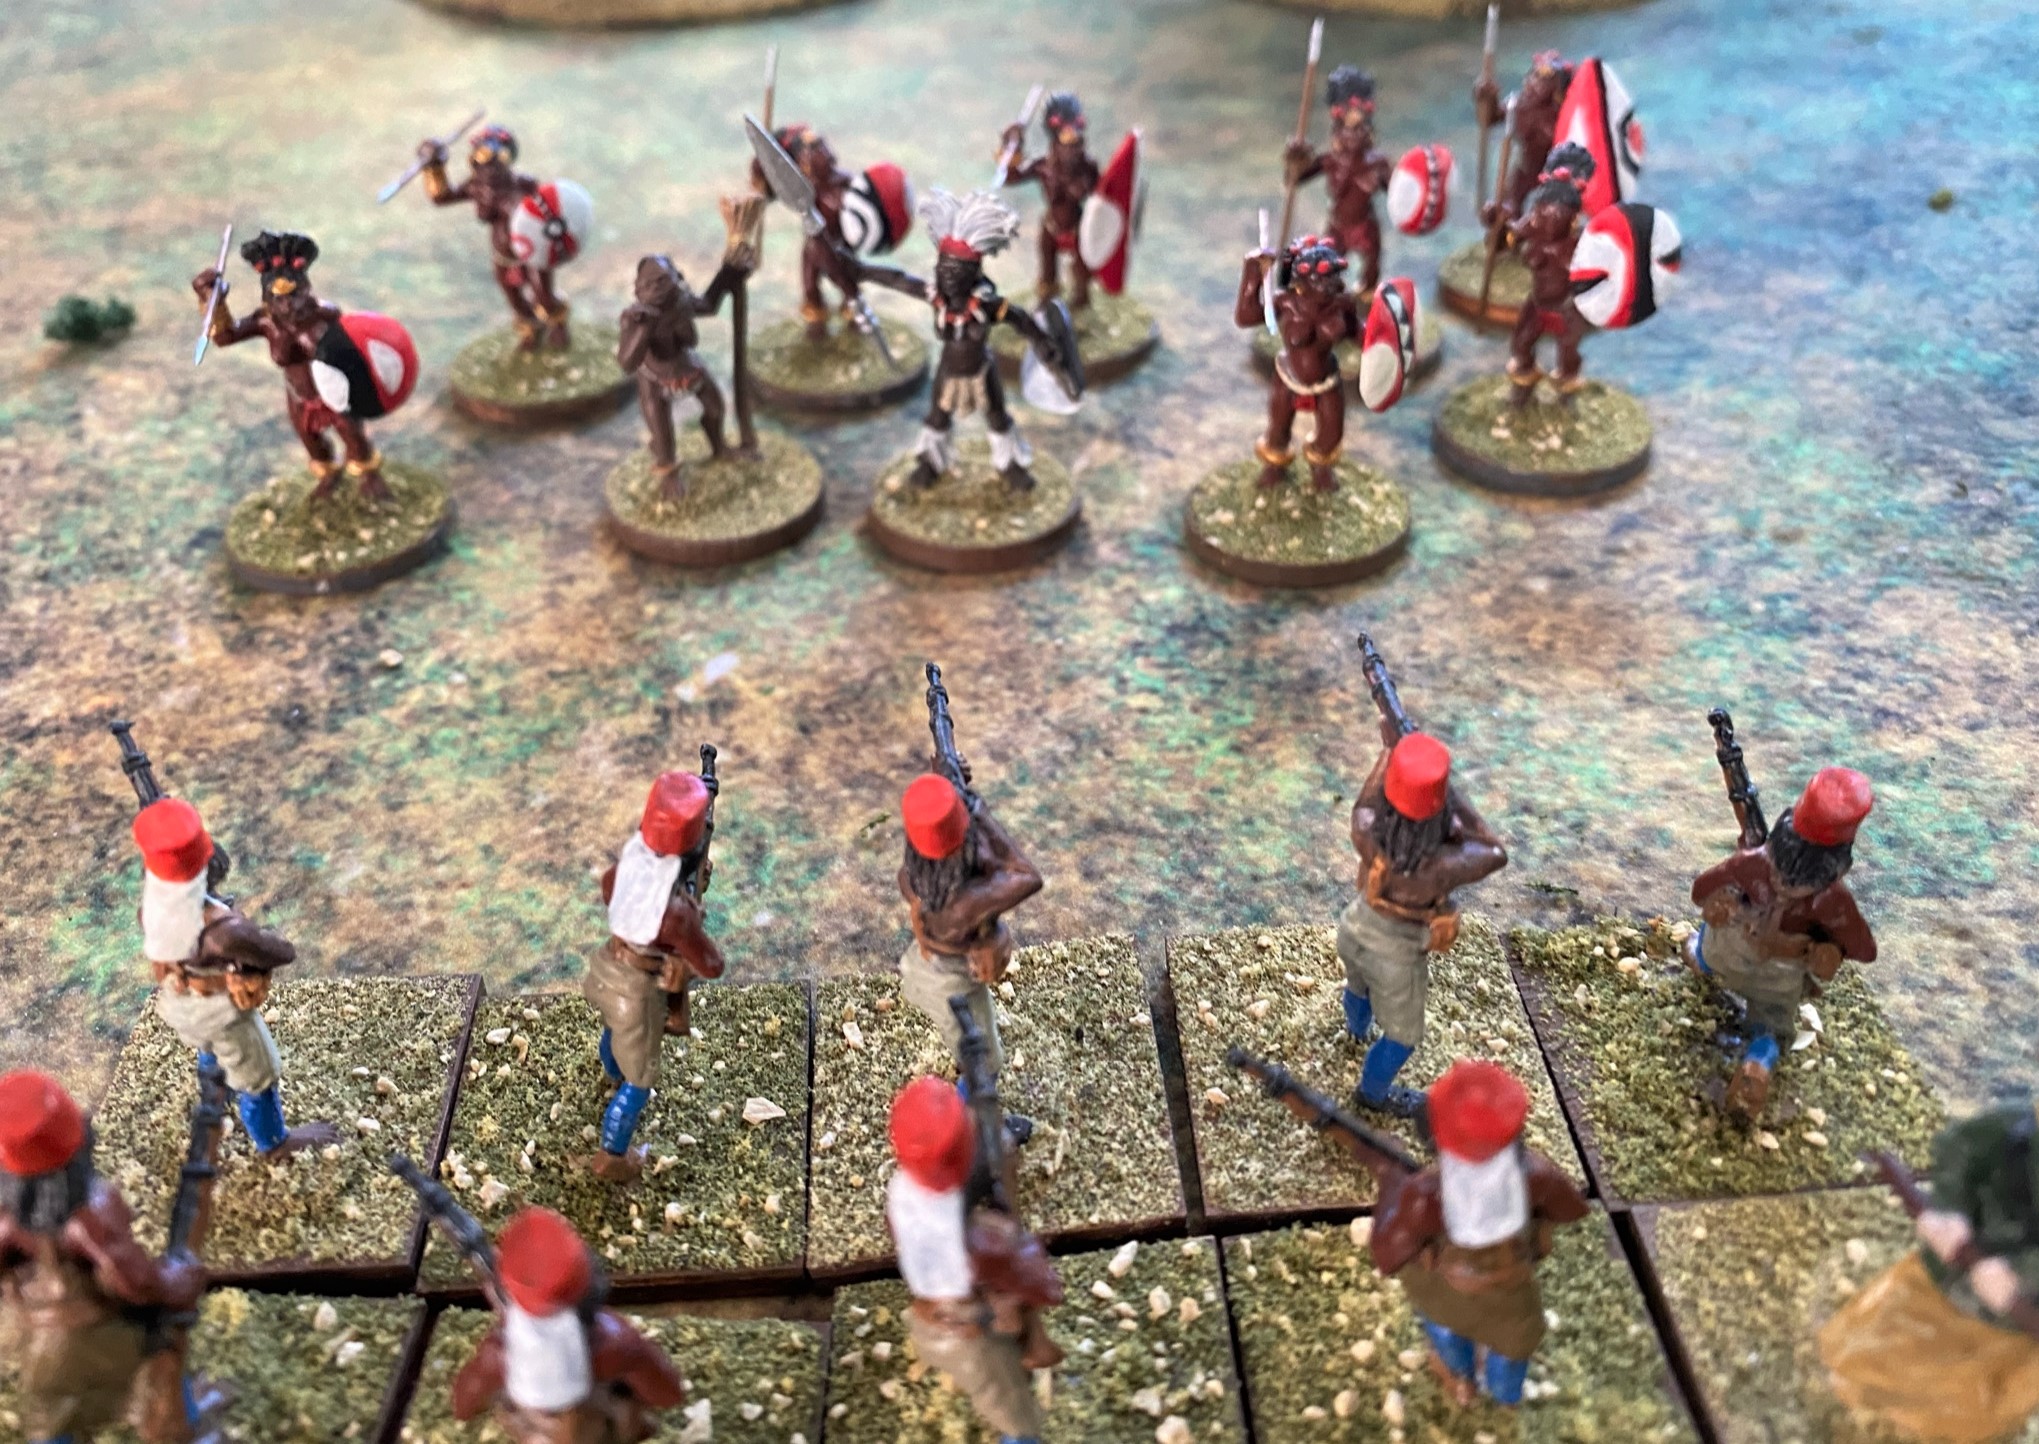
In this turn one of the Rebels’ elite units, Swift Snake Bendi Shujaa (Bendi Shujaa means “band of warriors”), moves close enough to the Third Platoon to trigger a Test of Will. As a result, Third Platoon volley fires, which causes Swift Snake to move closer. This action in turn triggers a Test of Will from the Fourth Platoon which also volley fires at the rebel unit. The Swift Snake Bendi Shujaa takes two casualties including its leader. Swift Snake fails the Lost Leader Test by rolling double sixes causing the entire unit to flee.
As the Swift Snake flees, the other rebel elite unit, Sleek Lioness Bendi Shujaa wa Kike (band of warrior women), emerges from the jungle in front of the Second Platoon causing it to take a Test of Will. In keeping with military doctrine, the Second Platoon volley fires at the Sleek Lioness. Rather than halting the warrior women, they charge the Second Platoon. The platoon fires a second volley inflicting a casualty, but the warrior women keep charging.
It is in melee where elite tribal units excel with their ferocity. The Second Platoon takes three casualties, but manages to Carry On.
The rest of the Rebel army continues to advance through the jungle toward the Royal Maiden Auxiliary Company.
In the RMA’s activation, the First Platoon volley fires at the Mountain Song Bendi Shujaa wa Kike. The result is that the women warriors, not being in range to charge, move closer to the First Platoon.
The Second Platoon continues its melee with Sleek Lioness, with the women warriors inflicting two more casualties.

Turn 5
The RMA activates first and immediately the First Platoon volley fires at the Mountain Song causing a casualty and one warrioress to run away while forcing the rebel unit to halt in place.
The Second Platoon is not so lucky, it loses the melee with the Sleek Lioness and is completely wiped out.
The Machine Gun Section changes direction as one action and fires at the Sleek Lioness as its second. Sleek Lioness takes two casualties, but is able to Carry On.
AS the rebel forces activate, the Rushing Wind Bendi Shujaa wa Kike, emerges from the jungle causing the Fourth Platoon to take a Test of Will. The Fourth Platoon volley fires and causes the Rushing Wind to halt in place.
There is no rest for the Fourth Platoon as the Forest Song Bendi Shujaa wa Kike enters the edge of the savannah causing another Test of Will. The Fourth Platoon fires another volley causing a casualty and forcing the Forest Song to halt in place.
Meanwhile, the Sleek Lioness charges the machine gun. The machine gun fires inflicting another casualty, but it is not enough as Sleek Lioness silences the gun and its crew.
The Mountain Song charges First Platoon. First Platoon volley fires inflicting two casualties including the leader. This forces two of the warrior women to run away and the entire unit to halt in place.
Turn 6
The First Platoon starts the sixth turn by pouring fire into the Mountain Song Bendi. The unit takes another casualty and another runs away forcing the unit to again halt in place.
The Third Platoon wheels in place as its first action and then volley fires at the Sleek Lioness. The women warriors take a casualty but press home the charge. Outnumbered by the Third Platoon, the Sleek Lioness is destroyed in the melee. However, the elite unit performed well – without support, Sleek Lioness eliminated two entire units of the RMA.
With two units poised to attack, the Fourth Platoon fires a volley at the Forest Song Bendi, forcing the unit to halt in place. Meanwhile, the Rushing Wind charges the Fourth Platoon. The platoon rushes another volley, but to no effect. However, Rushing Wind does not fare well in the initial melee, taking four casualties including its leader. One warrioress runs away, but the unit remains stuck in.
Charging Bull steps out of the jungle forcing a Test of Will on the Third Platoon, as a result, Third Platoon fires a volley causing the Charging Bull Bendi Shujaa to halt in place with two casualties and one fleeing warrior.
Turn 7
The First Platoon fires another volley at the Mountain Song. Though they took no casualties, the volley proved too much for the remaining women warriors causing them to flee the battlefield.
The Third Platoon wheels in place again to better place itself to confront the Charging Bull. The platoon volley fires causing the warriors to charge. In melee the platoon takes a casualty, but carries on.
The Fourth Platoon finally eliminates the Rushing Wind in melee and immediately fires a volley at the Forest Song causing one casualty and one to run away. The rifle fire incites the Forest Song to charge where another volley causes the warrior women to halt in place.
The Hornets Bendi Shujaa, the first of the musket armed units to arrive, fires at the First Platoon causing a casualty.
The Charging Bulls continues melee with the Third Platoon. Melee is an opposed dice roll where each side rolls the number of dice equal to the unit’s Rep and then adds or subtracts additional dice according to circumstances on the Melee table. The side with the most successes wins and the losing side takes casualties equal to the difference in the results. In this case, the Third Platoon rolled 5 successes and Charging Bulls rolled only 1, therefore taking 4 casualties. Regardless of the number of casualties, the Take Casualty Test is the same. The Charging Bulls remain in melee.
Turn 8
The First Platoon fires a volley at the Hornets causing two casualties, but only one runs away.
Unlike the tribal armies, European or European trained armies get to perform two actions when active. For its first action, the Third Platoon completes its melee with the Charging Bulls Bendi, destroying the unit. It uses its second action to fire a volley at the Red Shield Bendi causing a casualty and forcing the unit to halt in place.
The Fourth Platoon also fires at volley and the Forest Song Bendi causing the warrior women to also halt in place. The halt doesn’t last long, when the Rebels activate, the Forest Song charges the Fourth Platoon, which fires again, but fails to halt the charge. In the melee, Forest Song receives two casualties and one runs away.

Turn 9
The RMA opens turn 9 with the First Platoon firing a volley and the Hornets. The Hornets are unfazed and stand firm.
The Third Platoon fires at the Red Shield causing two casualties, but fails to disperse the warriors.
The Fourth Platoon destroys the last of the Forest Song in melee.
The Earth Song Bendi Shujaa wa Kike emerges from the forest triggering the Test of Will of the Fourth Platoon. The platoon fires and as a result, the Earth Song fails to charge.
At the same time, the Red Sun Bendi emerges. The Fourth Platoon fires causing two casualties and one warrior to flee. In response, the Red Sun charges. In the initial melee, Red Sun takes two casualties, but manages to Carry On.
To add to the confusion, the Red Shield is finally able to charge the Third Platoon. Red Shield does not fare any better in taking three casualties.
The Hornets again fire at the First Platoon causing another casualty, but the platoon doesn’t budge.
The White Heron appear causing the First Platoon to take a Test of Will. The platoon responds by firing causing a casualty and one warrioress to run away.

Black Buffalo Bendi also steps out of the forest causing another Test of Will. The First Platoon fails to inflict any casualties, but its volley forces Black Buffalo to halt in place.
Turn 10
Melee with the Red Shield is short and bloody with the Red Shield being cut down to a man. The Third Platoon then fires a volley at the White Heron. The women warriors take a casualty, but are unmoved.
The Fourth Platoon continues melee with Red Sun. Red Sun takes two casualties, but fails the Take Casualty Test and flees.

Calling an End to the Game
Part way into turn 11. I realized I had spent an entire day playing the game. These old school wargames take a long time to play! Anyway, the Rebels had lost about 50% of their army and Lt. Winnie Strutton had lost a good 25% of her force. I realized that if I continued to play, the battle would grind on to where one side or the other would eke out a slim victory at a horrendous cost to both sides. I just wasn’t interested in playing on. Ten years I would have played to the end, but by now I’ve learned a Pyrrhic victory is really no victory at all.
So, why aren’t more people playing games like Colonial Adventures? Well, here are a few thoughts, and mind you they are just my thoughts without any scientific backing:
- Colonial Gaming is seen as racist at times. The period of Colonial Expansion benefited the Europeans and even the Americans to a point while exploiting non-European cultures worldwide.
- Colonial Adventures has the reputation of the ranged firing being broken. This is in part due to casualties happening on a die result of one instead of a five or six as in other popular games. This is really a matter of perception as the casualty rate of Colonial Adventures is the same as that found in The Sword and the Flame (which many gamers insist is the best Colonial Era game).
- A lot of gamers coming from games like Warhammer and Warhammer 40K absolutely hated the idea that both sides had one figure run away at the start of melee.
- And perhaps the biggest reason of all is that our lives have changed, we no longer have the desire to spend an entire day playing one game and most of us don’t have the space. This change is true with many other hobbies as well, just look at stamp collecting and knitting for example. Our free time is such that if you did knit a sweater for a grandchild, the kid would have outgrown the sweater by the time you finished it.
I think Colonial Adventures is still a good game for the period when played by more than one person. It’s exhausting to do both sides of a big battle by yourself. Also, you need to set some agreed to break limits by either having turn limits to reach objectives or an army break point or morale clock. Fighting to the last figure on the table is often not a good idea – unless it’s the Little Big Horn (yeppers, not a Custer fan).
I hope you enjoyed this look at Colonial Adventures. Let me know what you think, especially if you played the game a time or two. Your comments and support are always welcome.
Time to say farewell:
If you enjoyed this look at Colonial Adventures, please consider making a small donation to keep the blog ad free and full of good content. Thank you!
Choose an amount
Or enter a custom amount
Thank you! Your contribution is appreciated.
Or if you prefer to use Pay Pal:

Colonial Adventures – Ambush at Juju Falls
If you enjoyed this look at Colonial Adventures, please consider making a small donation. Thank you!
$1.00

Comments
One response to “CA – Ambush at Juju Falls”
I think both sides taking a casualty in each round of melee is one of the best features of the game!