

There is an old saying, “Everything old is new again.” It has been a year since the “slapchop” painting technique has taken the hobby by storm. Slapchop is an update of a technique called “grisaille” which appeared as early as 1300 C.E. Grisaille is an underpainting technique using shades of grey to discover the shadows and highlights in creating a three-dimensional painting.
The current trend is to paint a miniature with a type of zenithal highlight and then to add color using contrast paints. However, the same affect can also be achieved using inks and glazes. The technique is a way to get miniatures to the tabletop faster than the traditional method of painting basecoats, applying washes, bring back the basecoat, and then apply shadows and highlights.
To be honest, I’ve seen miniatures painted using slapchop that look wonderful and I’ve seen miniatures painted with this method that are not so good. Not all contrast paints are created equal, and some require thinning, and some require more than one coat. But most of all, a little color theory will help immensely.
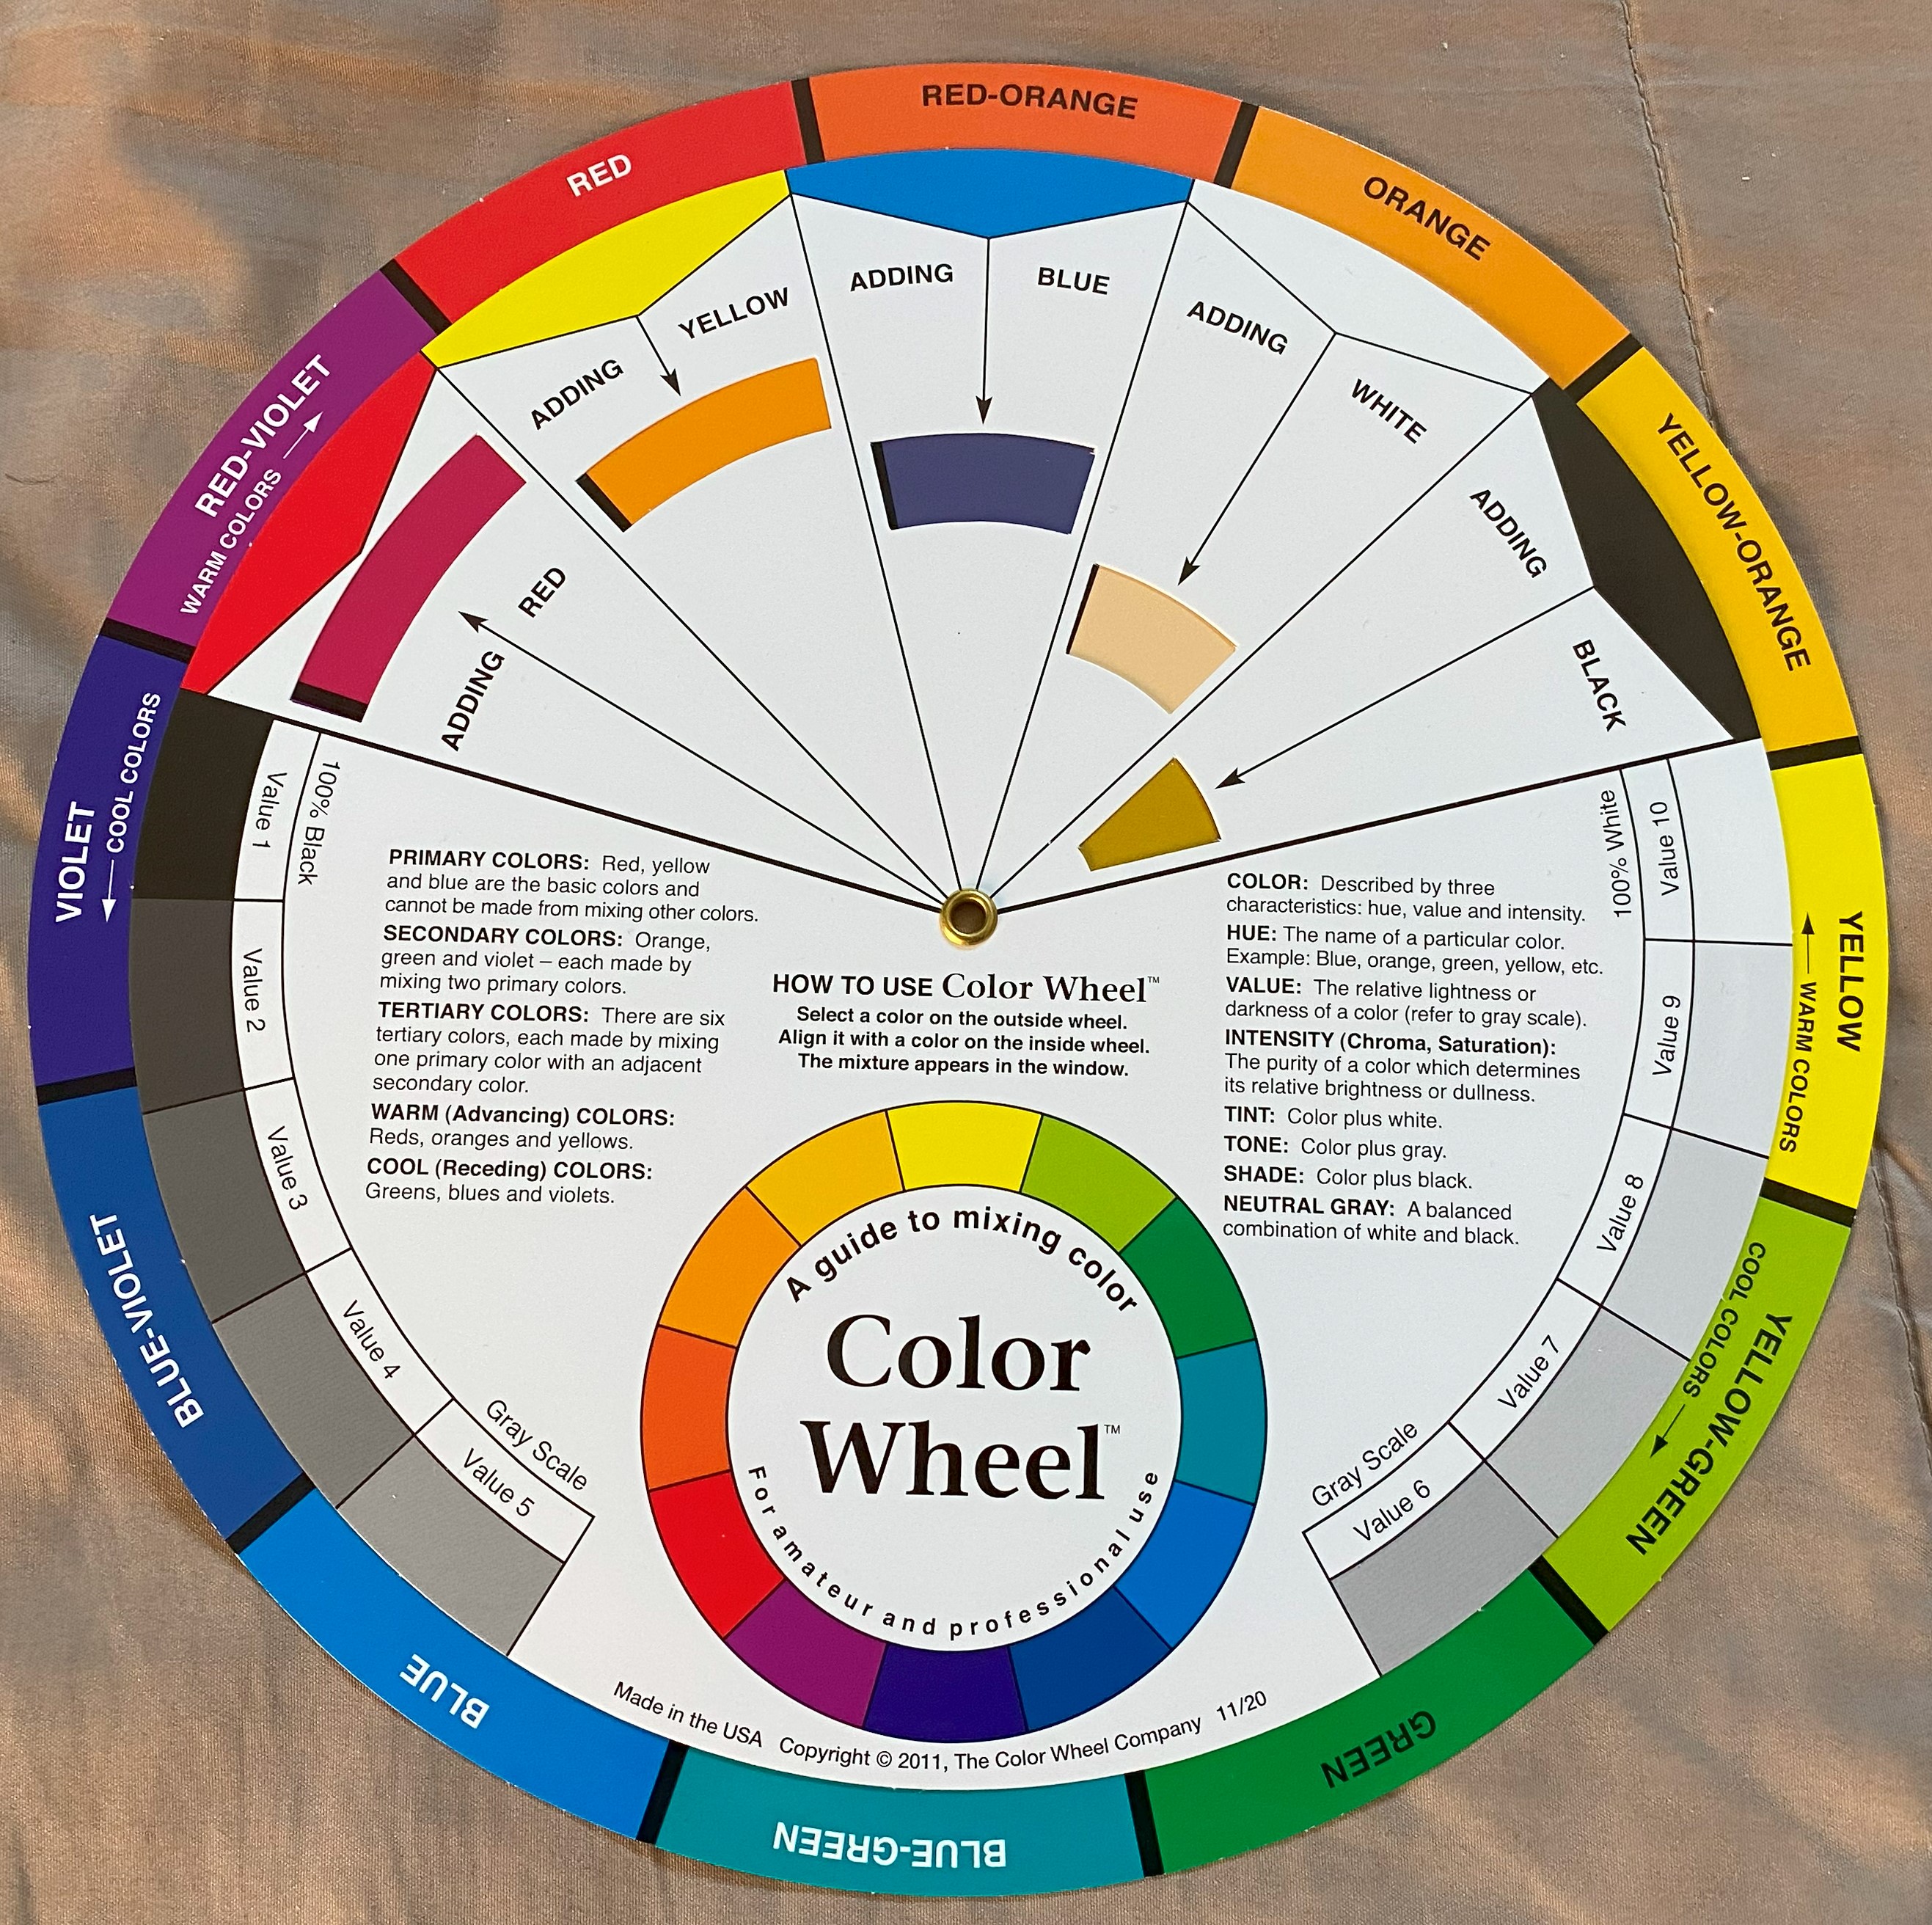
Anyway, if you are wanting to get better at painting, using a color wheel to help select colors is a way to level up quickly. We’ve all seen color combos that don’t work well.
Stargrave Miniatures
Stargrave is a science fiction game from Osprey Publishing. The game, like the 5150 game series from Two Hour Wargames, is miniatures agnostic. This means that you can use any miniature from any manufacturer. North Star Military Figures makes several box sets of multi-part plastic figures for the game. Each box contains 20 figures and is a very economical way to get figures on the table to play science fiction games.

The Crew box contains 20 male figures and the Crew II box contains 20 female figures. Each box contains four identical sprues with five figures per sprue.

For this painting guide, I’ve chosen to assemble and paint four figures – two from the Crew box and two from the Crew II box. On one of the female figures I’ve chosen to use a 3D print resin head (I wanted a head with space buns).

Priming and Zenithal Highlighting
I start by painting each figure with Vallejo Black Surface Primer. The reason for selecting black is that black serves as the darkest color for recesses since we will be applying grey as the foundation color. You don’t have to start with black, you could create a sketch using browns, which is called “brunaille” in art terms, or greens, which is called a “verdaille”, or any other color. However, since the slapchop method relies on contrast paints, which are recommended to be painted over a white or near-white surface, we’ll use greys and white for our sketch.
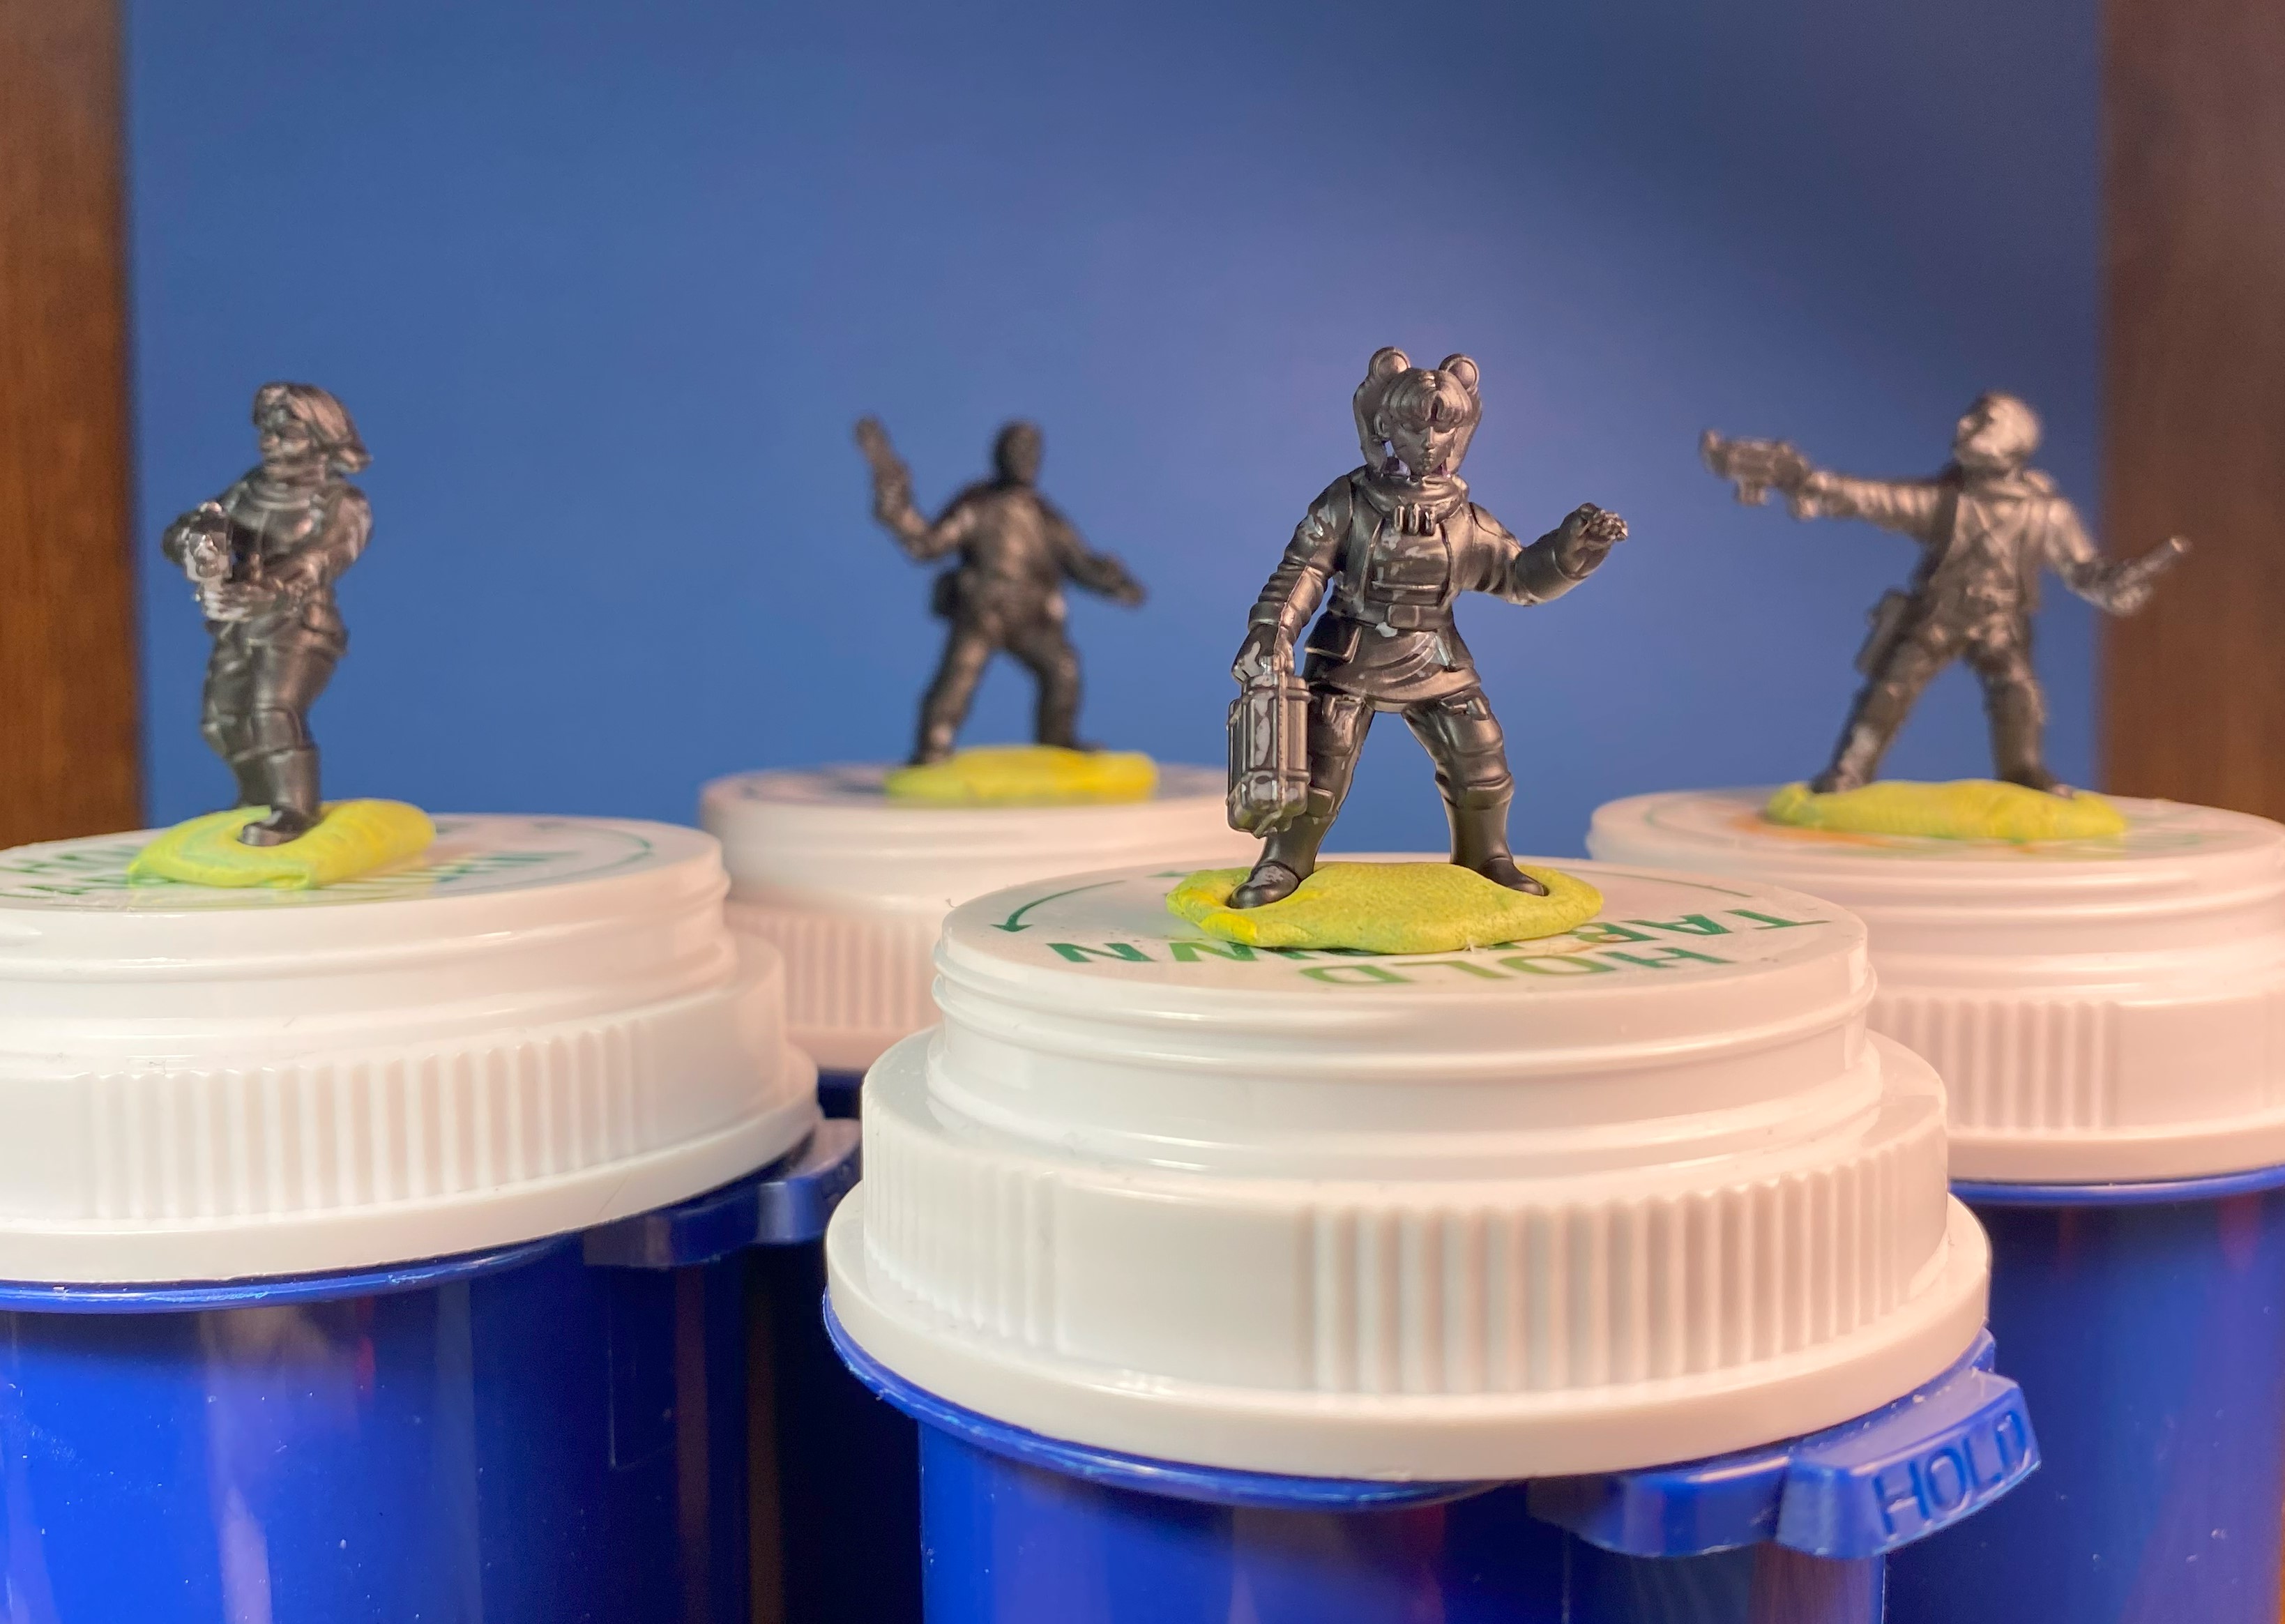
Once the black is dry, I then dry brushed a grey ink over each figure using an inexpensive makeup brush. Tip: when using an inexpensive makeup brush instead of a brush designed for dry brushing, be sure to check the figures for brush hairs that have come loose. Cheap brushes shed!
Sometimes I get overaggressive with my drybrush or perhaps I may have had too much paint on the brush and covered up the recesses. When this happens, you can apply a black wash over the figure to darken the recessed areas.

The final step is to apply a white highlight. If I were painting a display piece, I would apply the highlight according to the light source for the composition. For tabletop games, it’s much easier to apply the highlight as if the sun or light was directly overhead, at its “zenith.” White is applied to all top surfaces and any surface that would reflect direct light.

Painting Skin
I like to start with the skin and then paint the clothing as if I were getting dressed. This is sometimes called “painting inside out.” You don’t have to paint this way; it just seems natural to me. Some painters like to start with the largest area first like a coat, others start with the part of the miniature where they want the viewer’s attention. There’s no right or wrong place to start.
I own brushes in different sizes and conditions. My workhorse, the brush I use most, is a Winsor & Newton Series 7, size 2. It is a sable brush that holds a good sharp tip. I paint nearly every day and I get 12 to 16 months out of the brush before it has to be replaced. Once replaced, I use the older brushes mostly for terrain, washes, metallic paints, and priming.

Normally, I begin painting skin with Vajello Brown Rose, but since I’m focusing on using Cuttlefish Colors, I used a mix of Harlot Red and I Stepped in It Brown. The key is to build on a reddish-brown foundation for all skin tones. Colors I’ve used before that work are Golden Burnt Sienna, Vallejo Burnt Red, Reaper Redstone Highlight and Reaper Old West Pink.

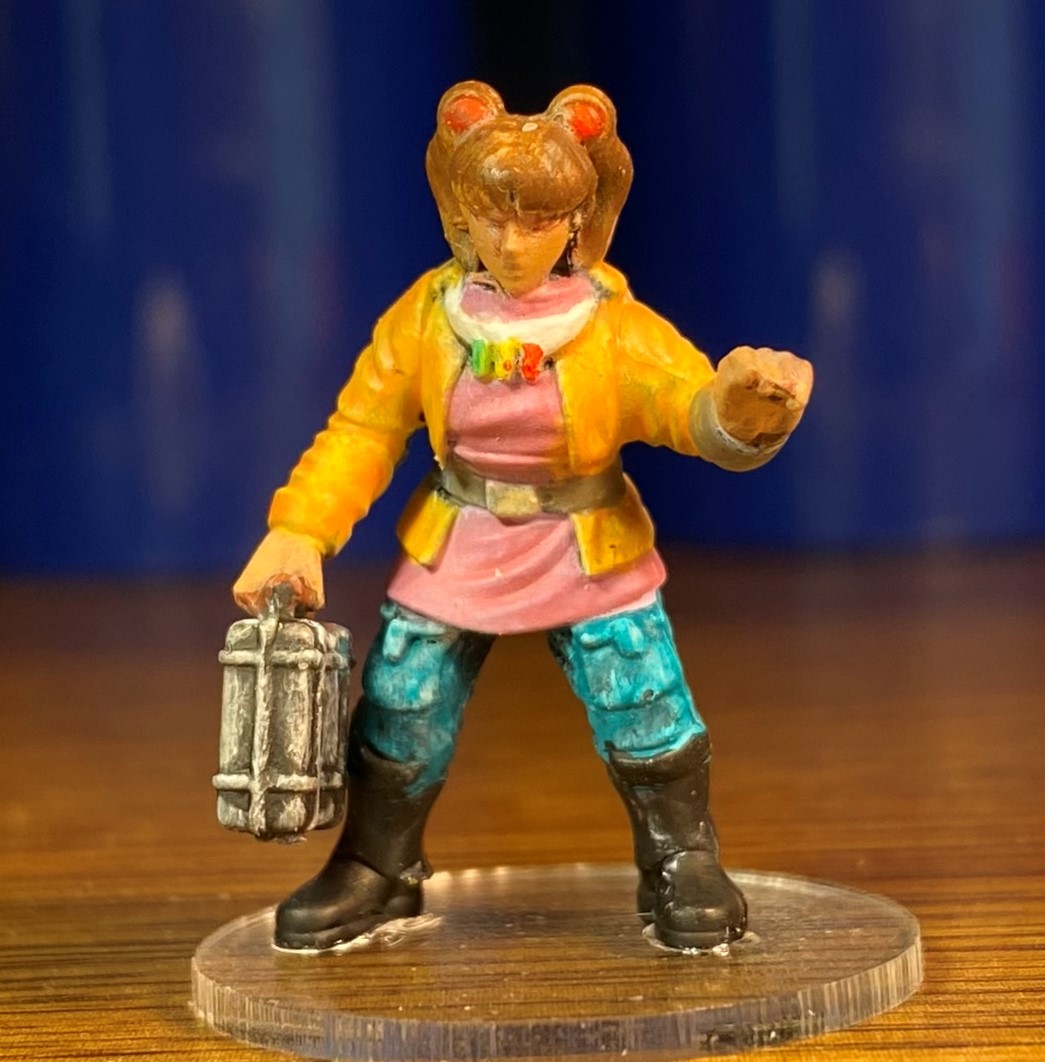
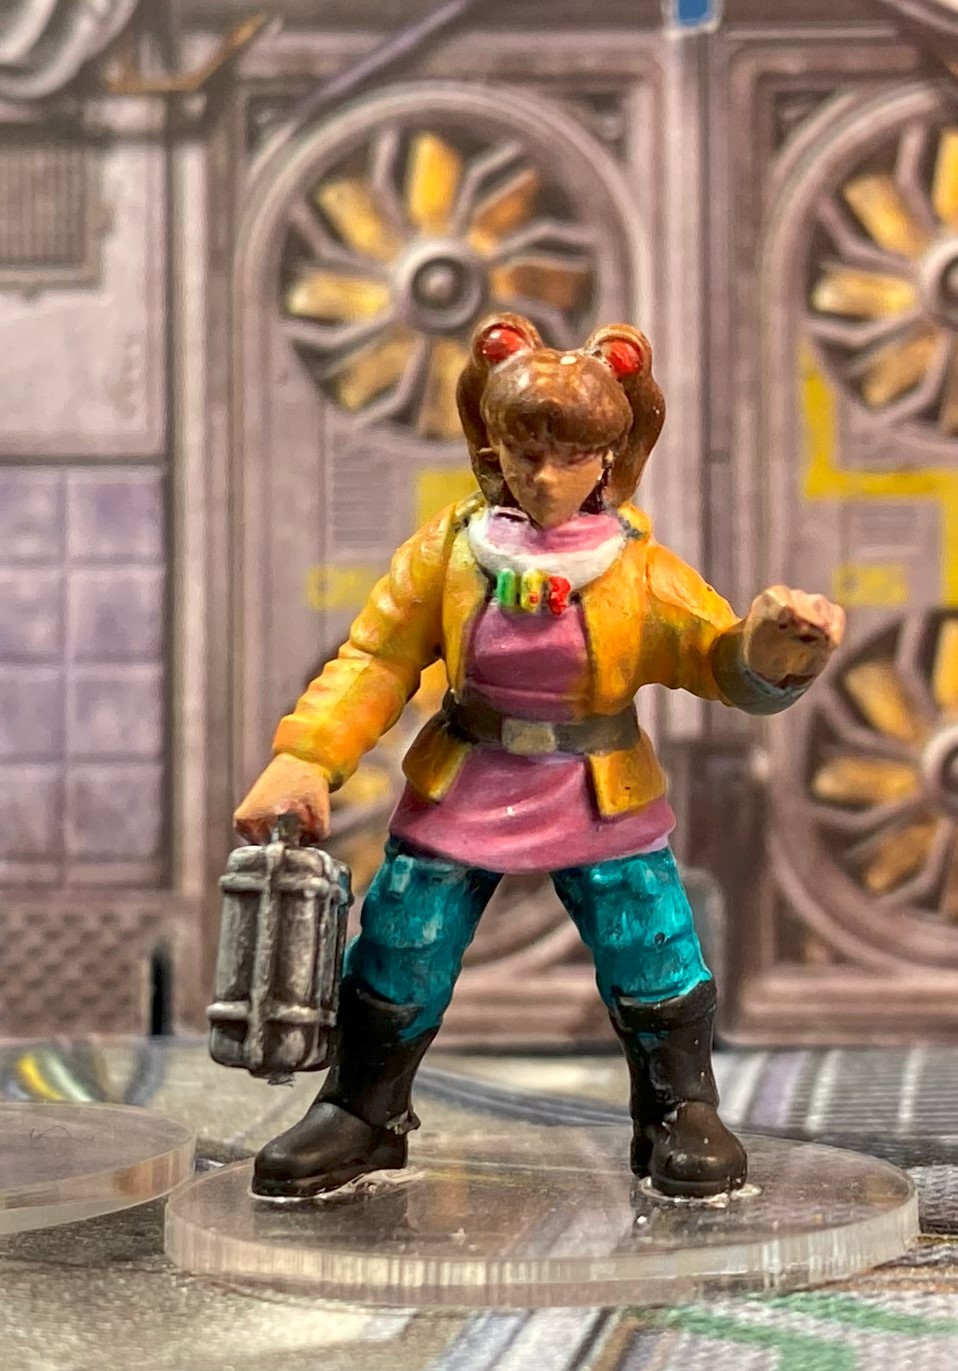
I decided to start with the girl with the space buns giving her an average Caucasian skin tone using Cuttlefish Colors Peachy Keen.

Clothing
While I was painting the skin of space buns girl, I already had some Cuttlefish Colors Brush Hawk on my palette from painting a different figure, so I decided to use this color to paint her trousers. My next task was to choose colors that work with the blue green trousers.
The Color Wheel I had bought from Jerry’s Artarama is a good beginner friendly tool for discovering complimentary colors, color triads and basic mixing results. Consulting the wheel, I decided to do a triad since most of these miniatures consist of trousers, a tunic and a coat or vest. The result is to incorporate a yellow-orange and a red-violet somewhere on the miniature.
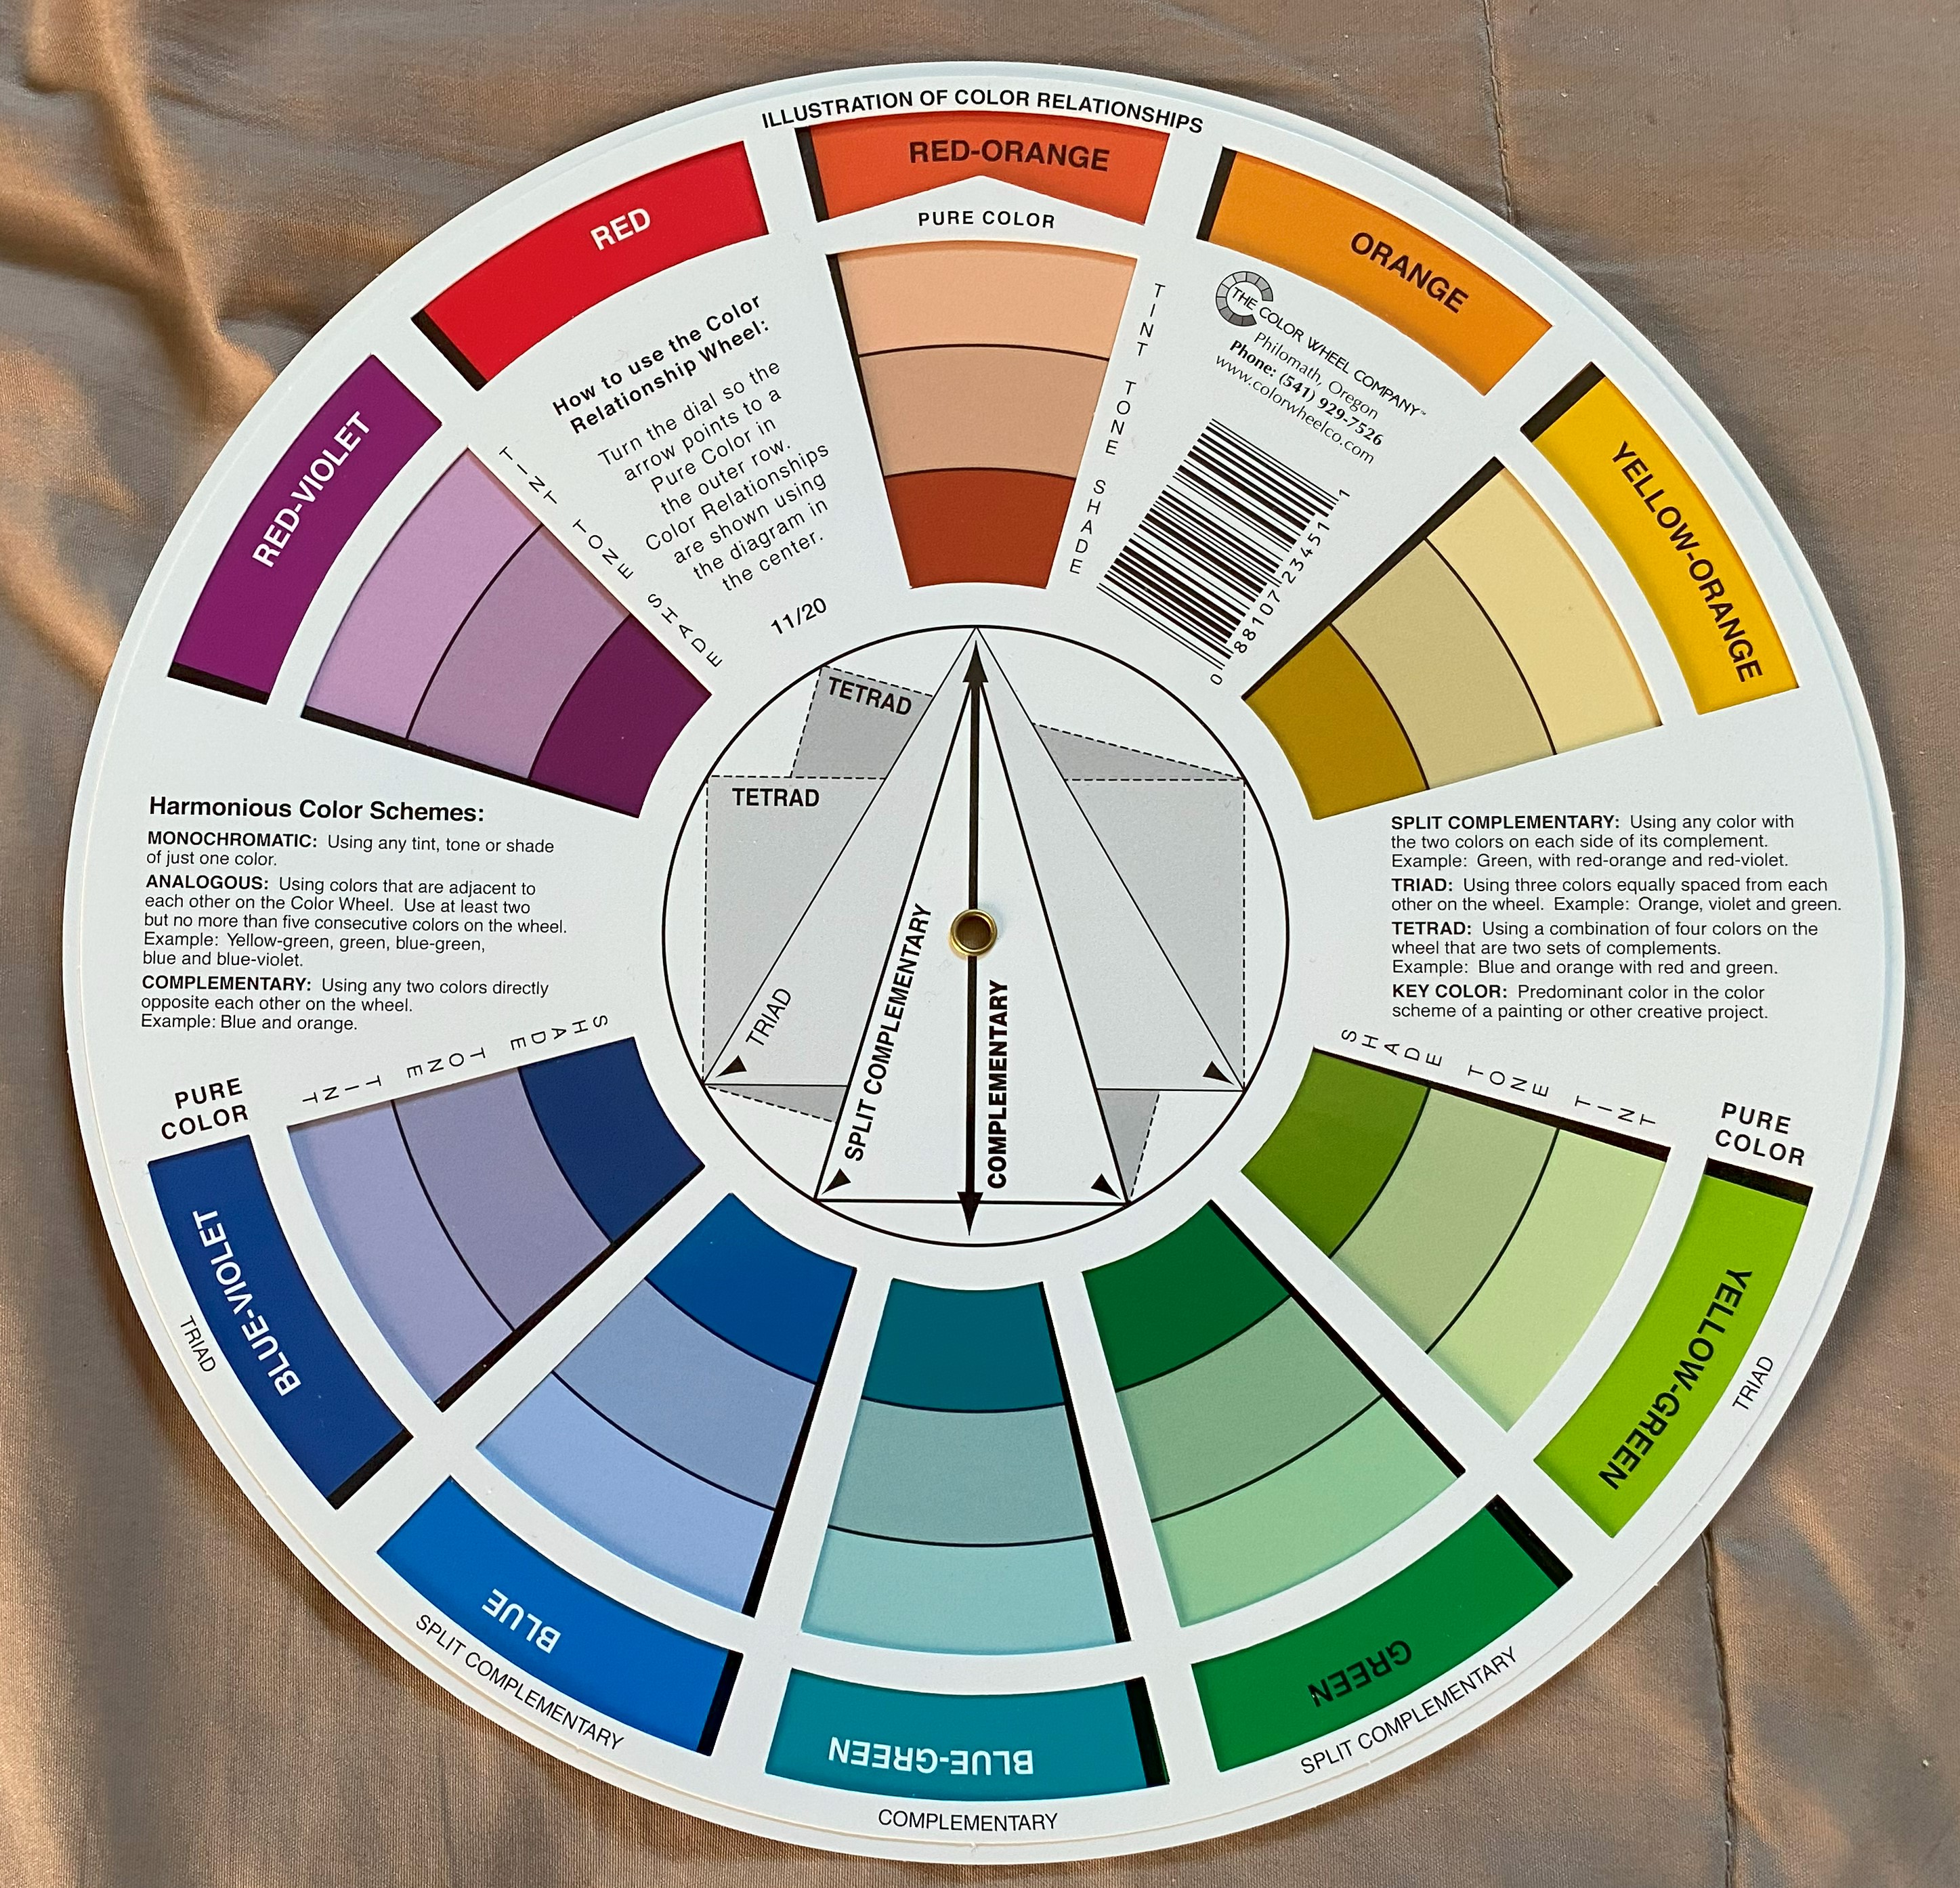
The yellow-orange coat is Liquid Yam and the red-violet tunic is Princess Purple mixed with a touch of Harlot Red. Though I love the glazes and sketch paints, I have to admit Cuttlefish Colors’ cutesy names are beginning to wear thin.

Leather, Gear & Hair
With the main colors blocked in, everything else is painted with neutral colors and whites. Since she has yellow in her coat and a red in her tunic, I decided her hair color should brown.

Final Details
Technically she if finished. However, by adding a few targeted washes, some lining, and a little more shading and highlighting, we can greatly improve the readability of the miniature on the tabletop.
While she isn’t a detailed display model, counting drying time, it has only taken a couple of hours to go from zenithal primed to tabletop. Again, this includes time allowing the paints to dry, consulting the color wheel, mixing colors, applying a final matte medium finish and attaching the miniature to a base.
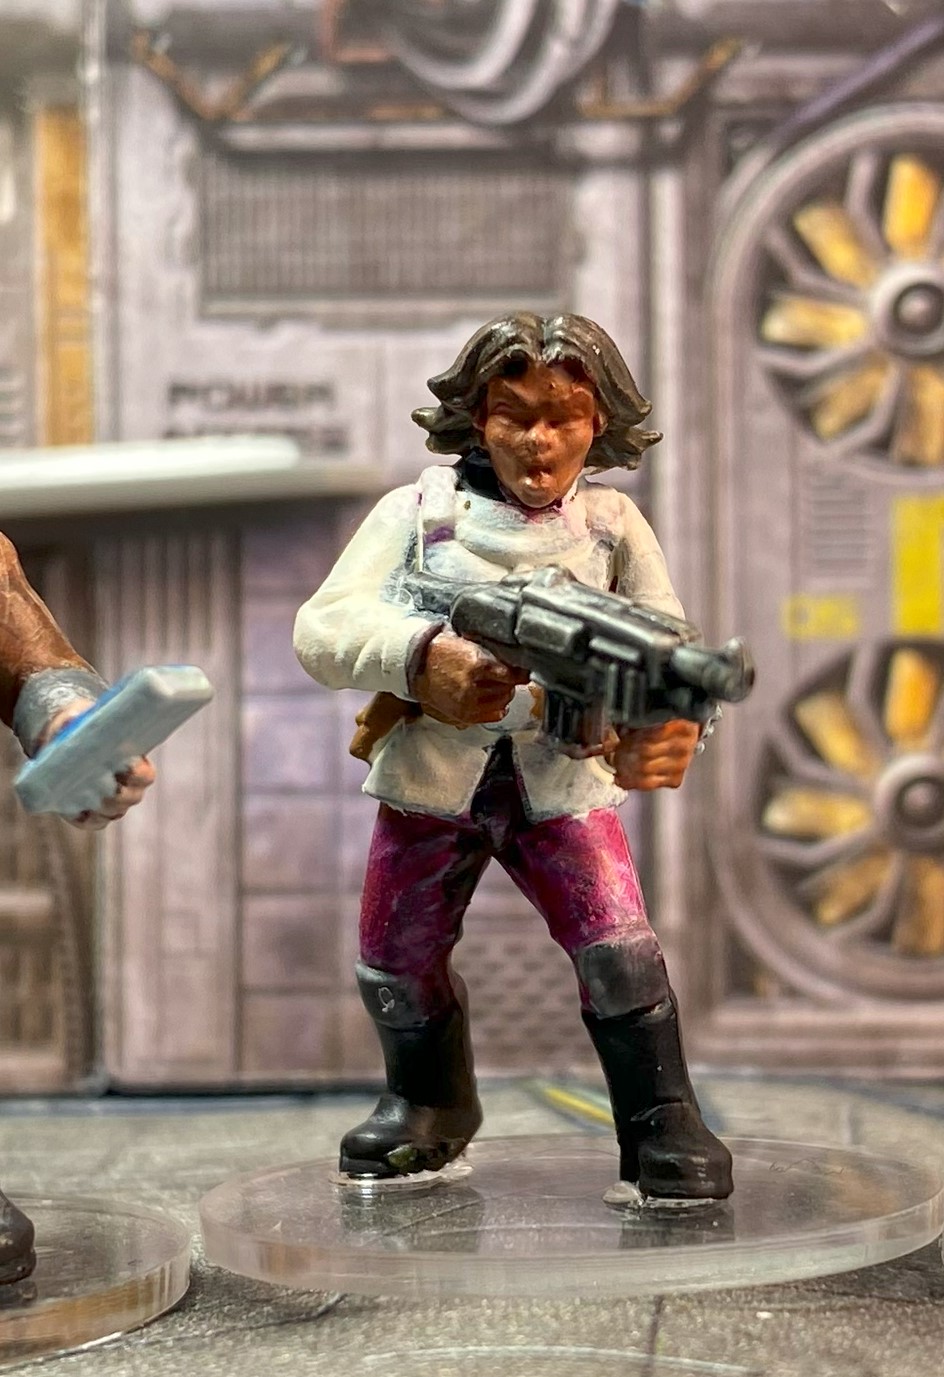
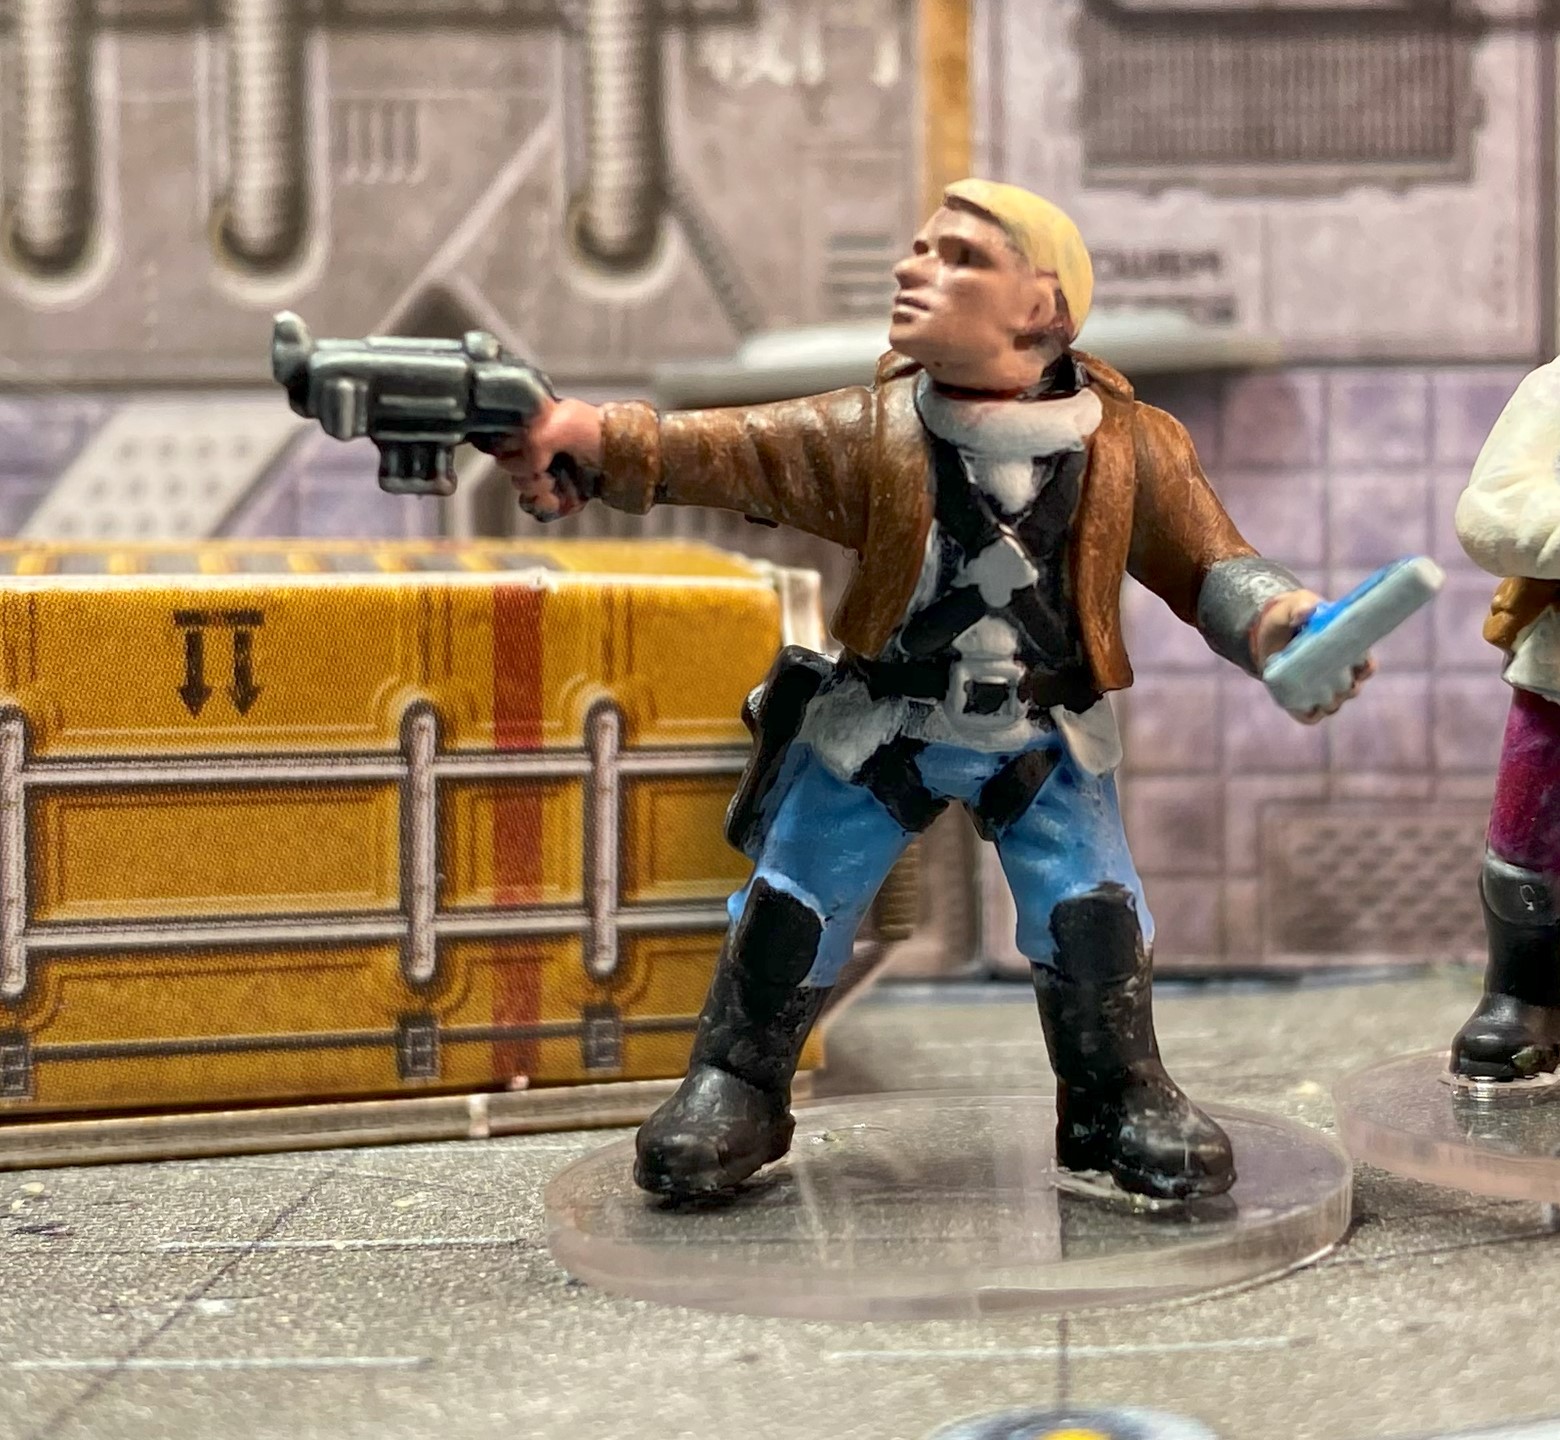
Here’s another photo of her with a few crewmates. The space elf heads on two of the figures are from MadHatModels.

The other three were painted in a similar manner, but with a mix of paints from Vallejo and Reaper, as well as Cuttlefish Colors.
Before I show the other three models painted with space buns girl, I want you to know that I really love these paints. However, like Vallejo, you really have to shake the Dickens out of them before you put them on the palette, especially the oranges and yellows. Honestly, the only downside to these paints is the vigorous amount of shaking required to mix the pigments and binders. Did I say you really, really have to SHAKE these paints each time before putting them on your palette?


Final Thoughts
Does “slapchop” live up to all of the hype? Yes and no. Is it quicker than the traditional basecoat-wash-highlight method, yes. Is it easier to do? Not always, contrast paints and glazes seem to require one to fix any mistakes right away, making brush control a little more impotant. With the traditional method if I get paint in the wrong areas, I can leave it & correct it in the next stage. Using glazes, if I get paint in the wrong areas, I need to correct it right away before it dries. That being said, for me the slapchop method does seem faster and for me, it is certainly more enjoyable.
What do you think? I’d love to hear your thoughts on miniature painting.


Comments
One response to “Slapchop? Painting Stargrave with Cuttlefish Colors”
Great tutorial and explanation, most appreciated!