

I’ve come to believe that growing and learning is something we should endeavor to do until we draw our last breath. Why? Things change. It’s often been said that change is the only constant in the universe.
So, what has all of this talk about growth and change have to do with Tavern Floor Tiles? Well, because like many crafters, my needs for these tiles have changed a little and, I hope, I think I can improve a little on what I’ve done before. Almost three years ago, I created my first set of dungeon tiles and floor tiles in the post “DIY Dungeon Tiles.” It has turned out to be the most viewed post on my blog.
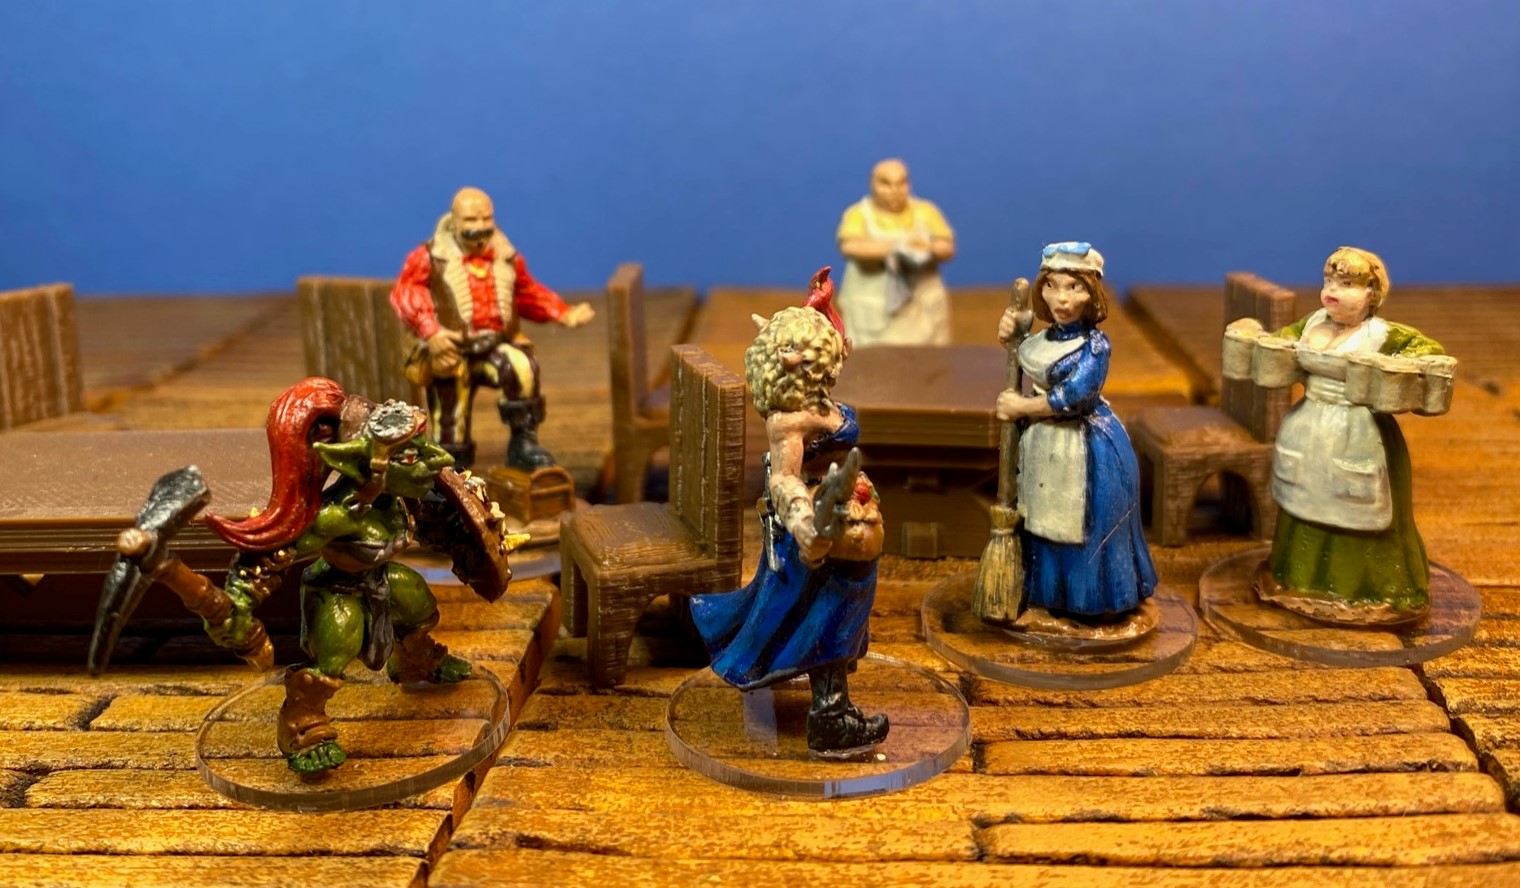
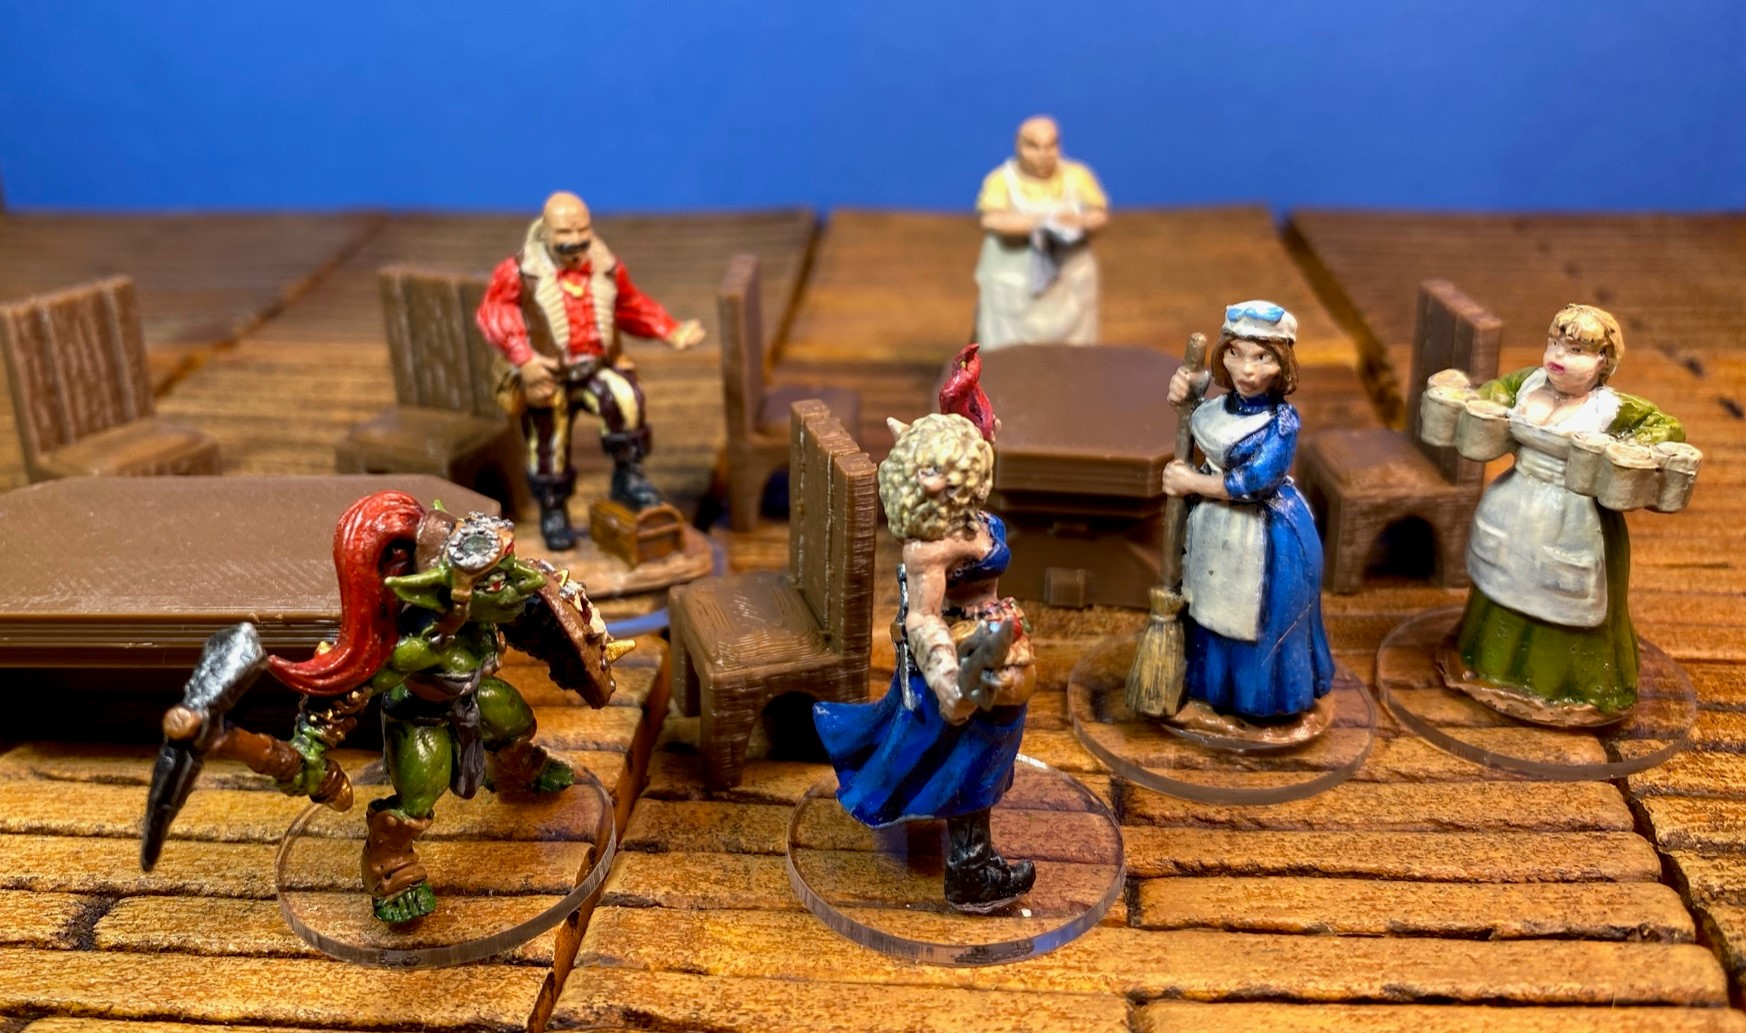
The construction of the tiles is basically the same now as then, but with a few minor changes. The first has to be the size of the floorboards. The original tiles were 4″x 4″ with 1/2″ wide boards. Functional, but since I’ve started using clear bases for my RPG figures, it looks like they are standing on beams instead of a hardwood floor. The new tiles are 3″x 3″ and have 1/4″ wide boards. While still a little out of scale, they look much better with my figures.
The Materials
The material you have to be picky about is the foam board. This is important, when you shop Wal-Mart, Amazon, Michaels, etc., you will most likely find foam board made by companies such as Elmer’s or 3M which make wonderful adhesives. That is the problem for this project because the paper is not going to peel away from the foam. You want to find the foam board sold at most dollar stores such as Dollar Tree, Dollar General, etc. The brand sold by my local Dollar Tree is Readi-Board. The reason this is important is that that the paper on both sides can be easily peeled away. If you purchase higher quality foam board such as Elmer’s, expect to spend a good amount of time trying to remove the paper – voice of experience speaking here.

Though not required, but recommended, is something to base your tiles on. This could be chipboard, corrugated cardboard, cardstock, MDF board, or cork board. I used corrugated cardboard, simply because it is plentiful and free.
Regardless of your chosen foam board and basing material, you will need an adhesive to hold them together. The important thing is to choose an adhesive that does not have a high content of water. Moisture added to any material made from wood equals an increased opportunity for warping. I used hot glue, but contact cement, E6000, undiluted wood glue and Aileen’s Tacky glue would work – just avoid Elmer’s School Glue, white glue (PVA) and any glue with lots of water in it.
You will need paint. The inexpensive craft paints work the best for terrain. For Tavern Floor Tiles, you will need black, a medium brown color and a light brown or tan color.
Finally, you need a sealant such as Mod Podge or Matte Varnish to strengthen the tiles and make them more durable for repeated game play.

The Tools
There are no fancy tools required. You probably already have most, if not all, of them. They are in no particular order:
- A utility knife with a new sharp blade.
- A ruler.
- A T-Square or small framing square. (Basically, any tool which will help create 90-degree angles.)
- A pencil, pen or fine tip marker.
- A wire brush. (Used to quickly create a wood texture in the foam – you could just use the tip of a knife or a very sharp pencil, the wire brush just does it faster.)
- A cutting mat. (Heaven won’t be able to help you if you cut a gash in the dining room table.)
- A paint brush.
The Process
Just as in my Dungeon Tiles post, you first use your T-square or framing square to cut 3″ squares out of the foam board and cardboard. Then you glue them together and set them aside to dry.
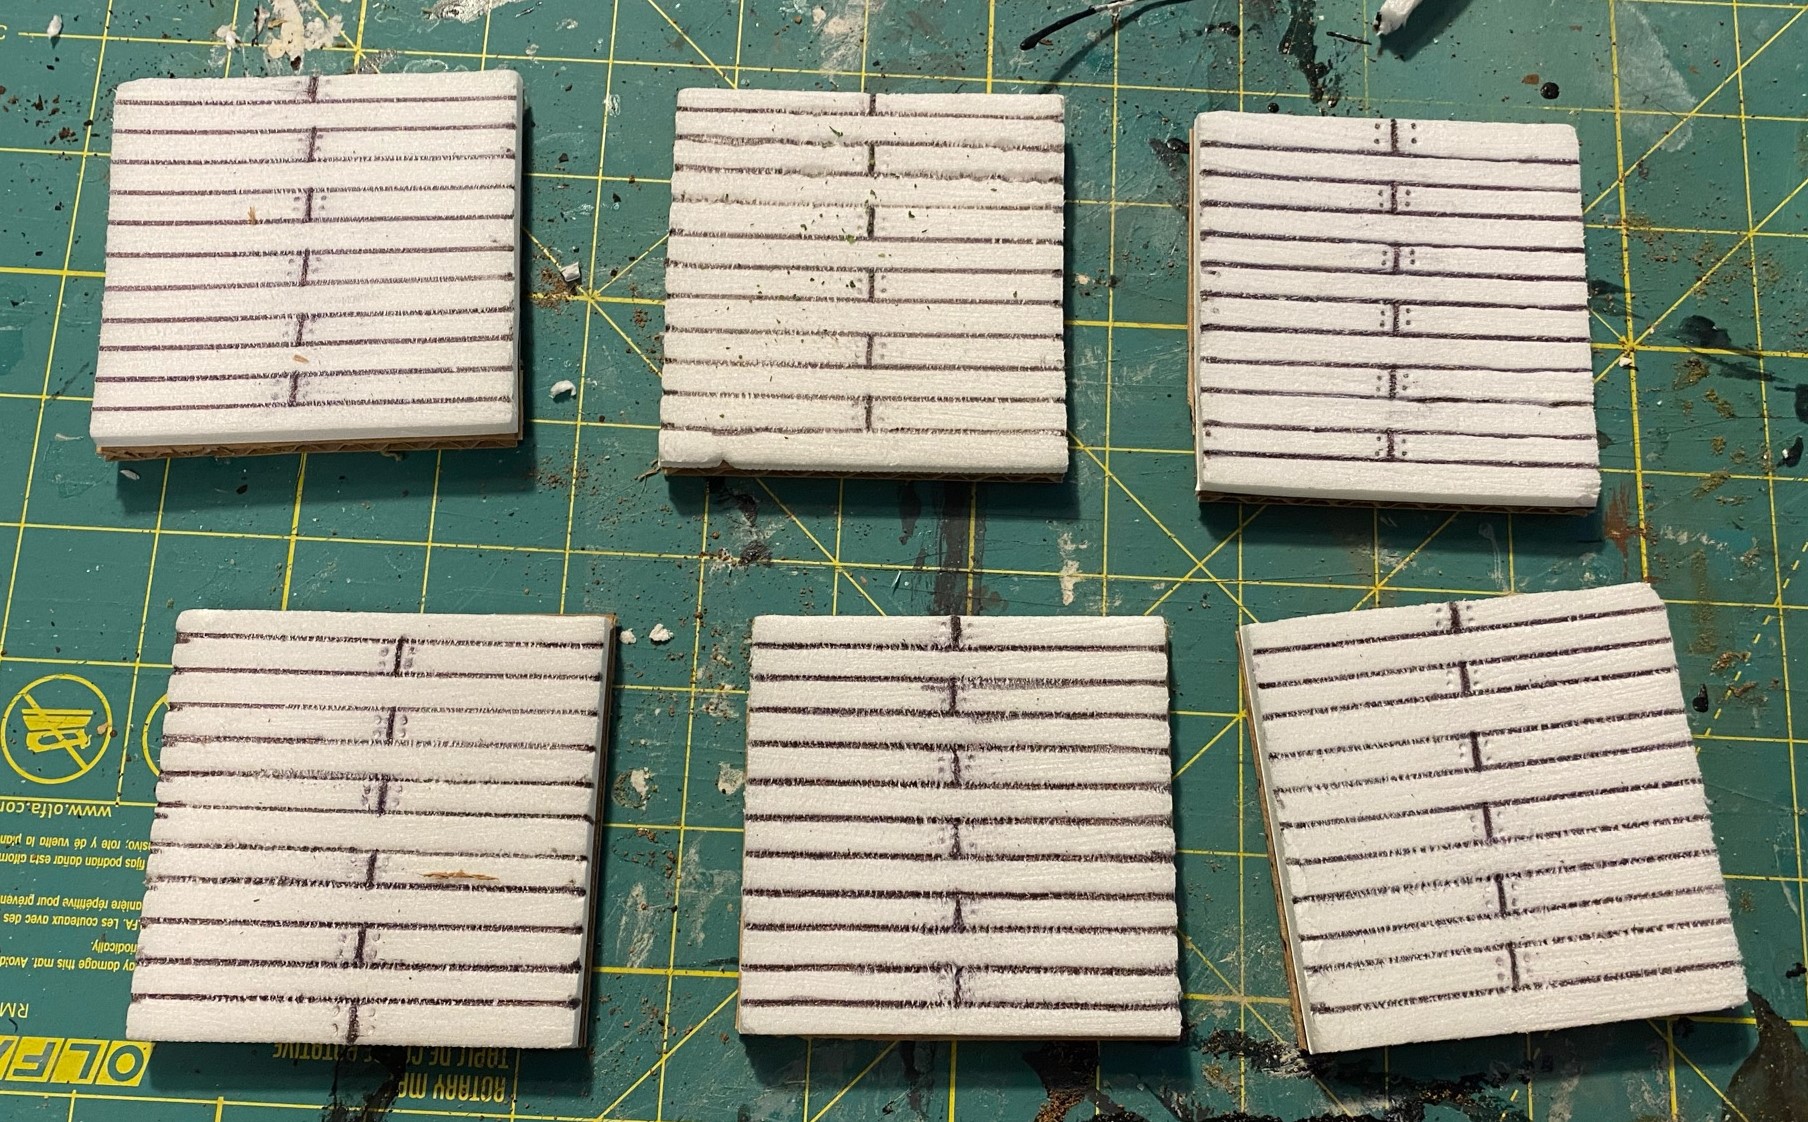
The next step is to peel off the top layer of paper from each tile and using a ruler, I drew lines making 1/4″ strips. I then divided every other strip in half and placed a couple of dots to represent nails. After that, I used the wire brush to gently add a texture to simulate wood grain.
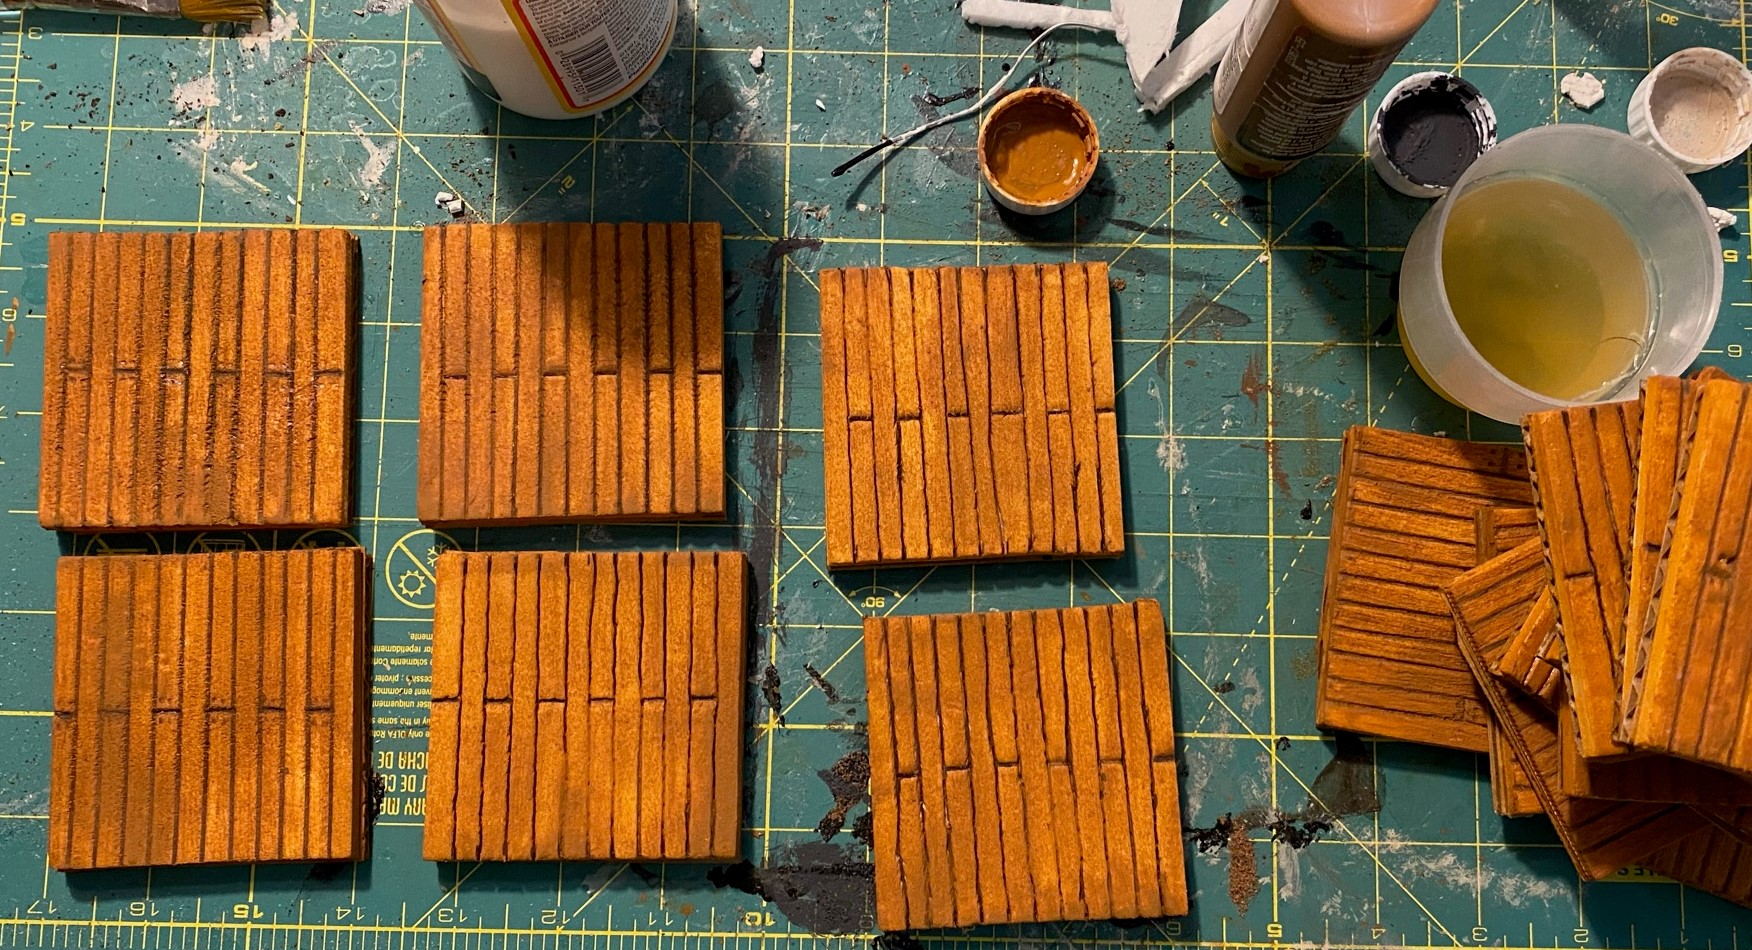
Maybe I’m lazy, or the project really didn’t need it. This time I did not mix black paint with my Mod Podge. I just gave each tile a generous coat of Mod Podge, & with it being late, put them aside to dry and cure overnight.
I chose to paint the tiles with raw sienna paint to represent wood with an orangish tint to the brown. Once that was dry, I covered the tiles with a black wash.

Once the wash was dry, I mixed equal parts of raw sienna and beachcomber beige together and gave each tile a good dry brushing.

Once everything was completely dry, I added a final coat of Mod Podge to seal it.
Alternative Method
If you think I’m a slow painter, I’m an even slower crafter. I cut out the tiles and scored the floorboards on half of them months ago, if I didn’t need them for an upcoming post, they would still be sitting unfinished in a box filled with other craft projects awaiting attention.
Anyway, between the time I cut the tiles and finished them, Brent of Goobertown Hobbies showed a method of making tavern floors using “popsicle” sticks on Paint Bravely the Podcast. In this method you trim craft sticks, or wooden coffee stirrer sticks to size and then glue them to foam board.
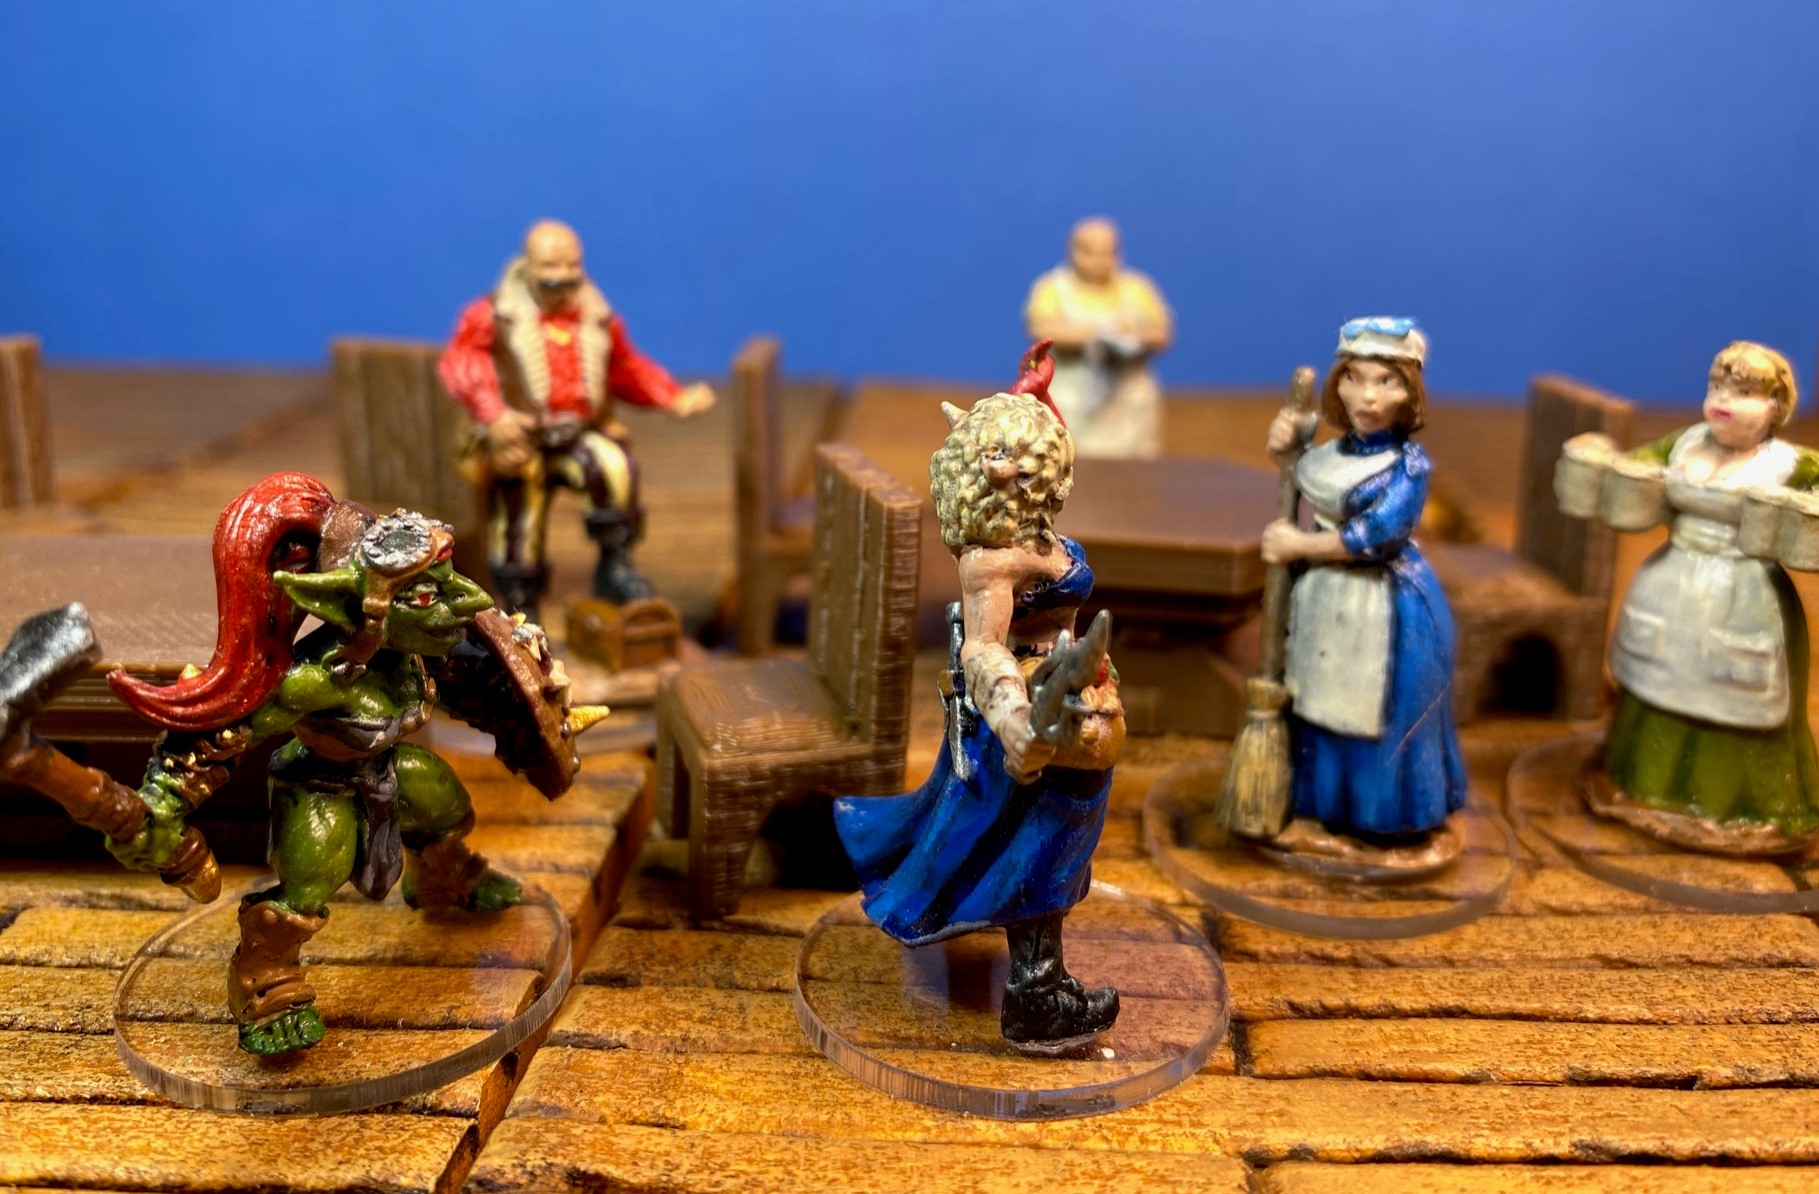
I hope you found this post helpful and maybe inspire you to make some of your own RPG terrain. Let me know what you think – comments and suggestions are always appreciated. Next, I need to build some interior tavern walls!
If you enjoyed this post on making tavern floor tiles, please consider making a small donation to help keep the blog going and free of ads.
Choose an amount
Or enter a custom amount
Thank you, so very much, your support is appreciated.
Or if you prefer using PayPal:
DIY Tavern Floor Tiles post
If you enjoyed this post on crafting your own tavern floor tiles, please consider making a small contribution to support this blog. Thank you!
$1.00

Comments
One response to “DIY Tavern Floor Tiles”
Great DIY guide, thanks!